View methods side by side.
Choose up to four methods. Add them using the search and share the comparison by copying its link.
| Criterion | 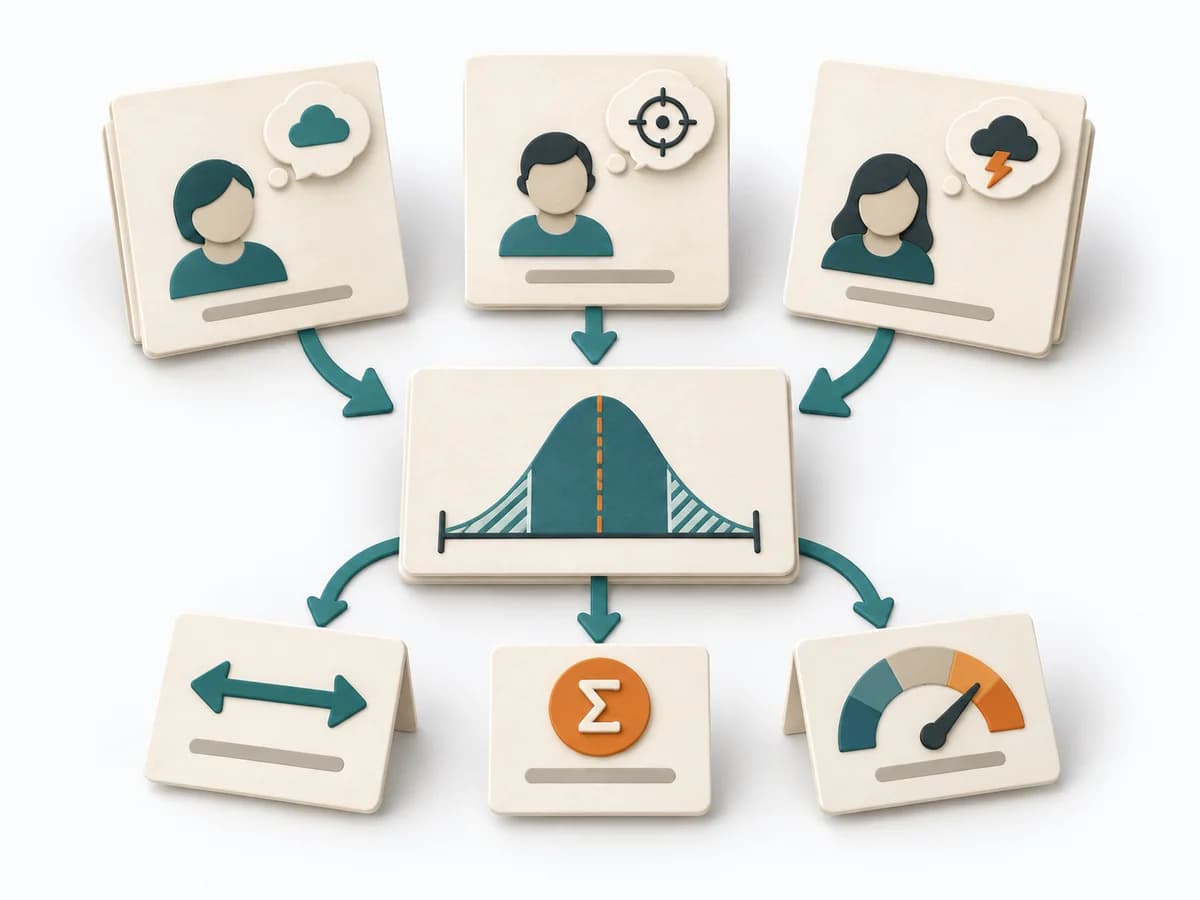 Decision Making Three-Point Estimation |  Systems Thinking Leverage Points | 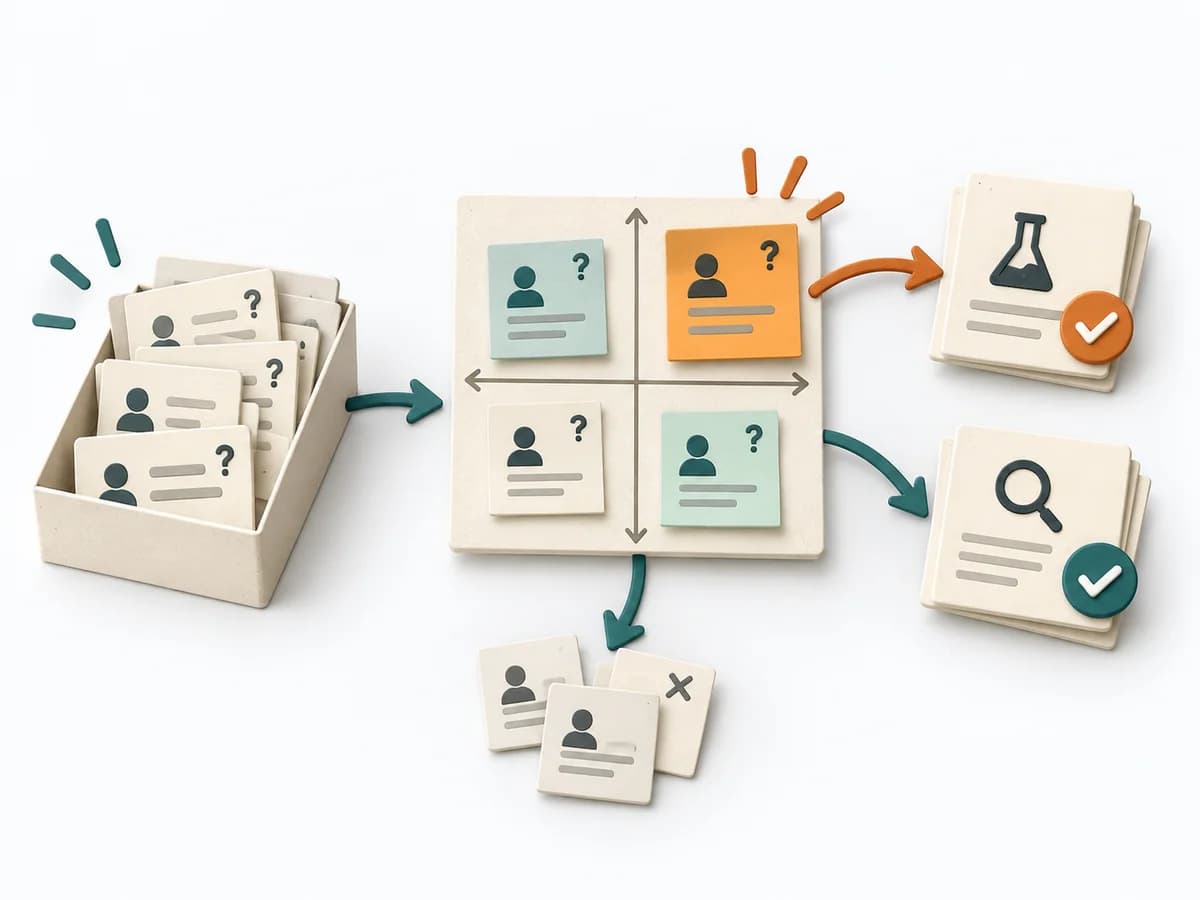 Decision Making Assumption Surfacing |
|---|---|---|---|
Purposedifferent | A single estimate for effort, time, or risk often looks too smooth for the real uncertainty behind it. It separates options, evaluation criteria, and open risks. The result is captured as a Three-Point Estimate, Risk Range, and Assumption Notes. | Leverage Points show exactly where interventions in a system produce a disproportionate effect. It draws relationships, patterns, and feedback loops. The result is captured as a leverage map and action strategy. | Plans often contain assumptions that were never openly stated and remain dangerous precisely because of that. Assumption Surfacing makes these silent premises visible and prioritizes which of them carry the initiative or could sink it. |
Complexitydifferent | Medium | High | Low |
Timedifferent | 10-30 min je Item | Half day | 45-90 min |
Participantsdifferent | 1-8 | 3-12 | 2-8 |
Formatdifferent | Workshop + async | Workshop | Workshop + async |
Outputdifferent | Three-Point Estimate, Risk Range, Assumption Notes | Leverage Map, Action Strategy | Assumption List, Critical Assumptions, Learning Plan |
Tagsno overlap | EstimationUncertaintyForecasting | Systems thinkingChangeStrategy | AssumptionsRiskDecisionDiscovery |
Often compared together
Methods with strong topical overlap with the current selection, not yet in the comparison.