View methods side by side.
Choose up to four methods. Add them using the search and share the comparison by copying its link.
| Criterion | 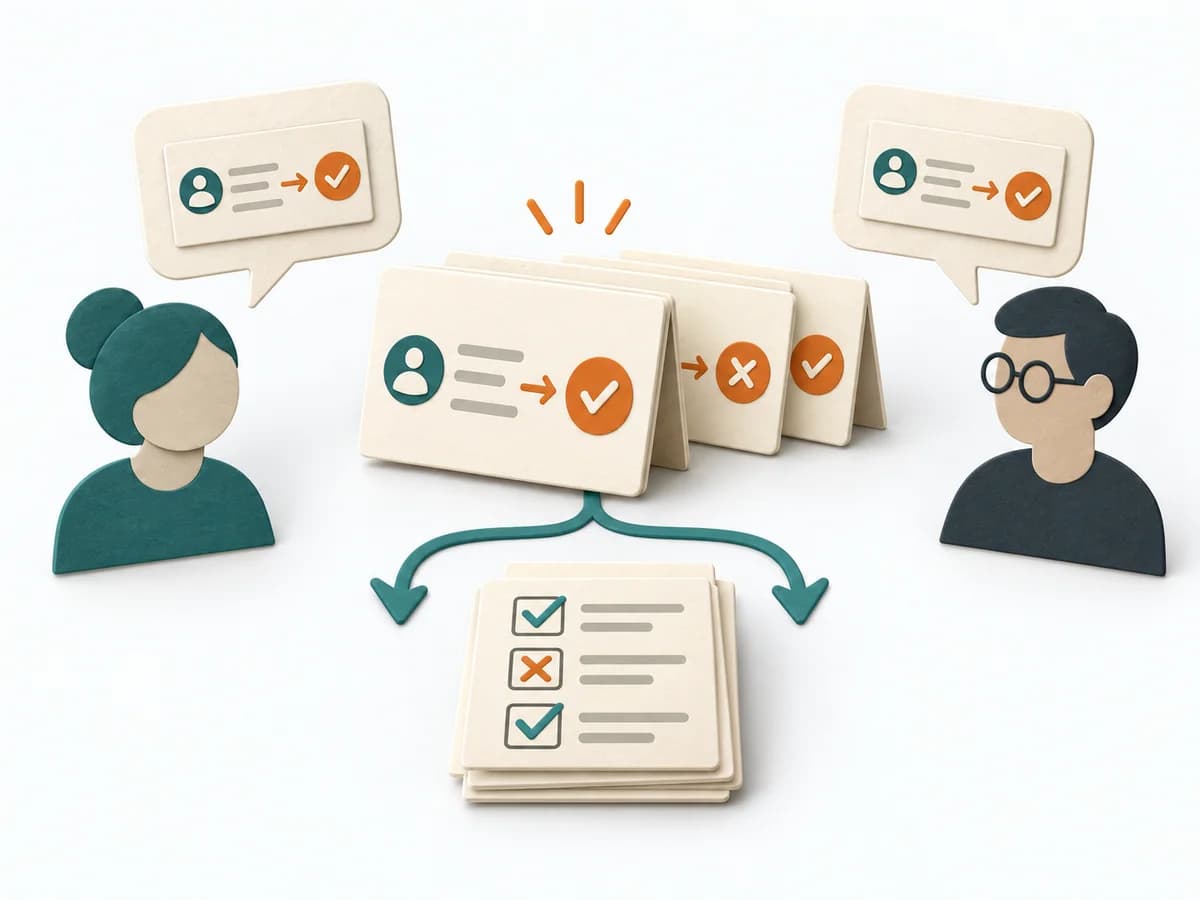 Agile Specification by Example | 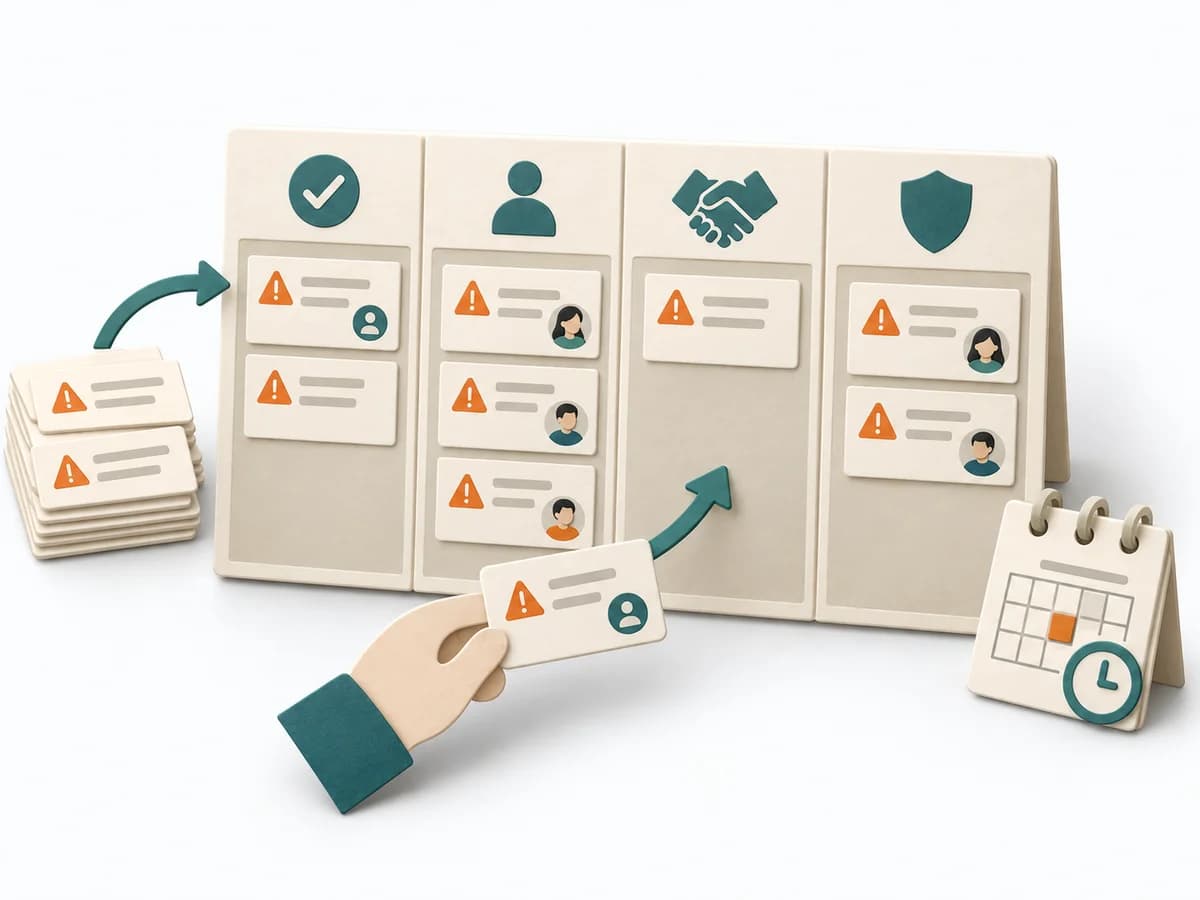 Agile ROAM Board |  Agile Three Amigos |
|---|---|---|---|
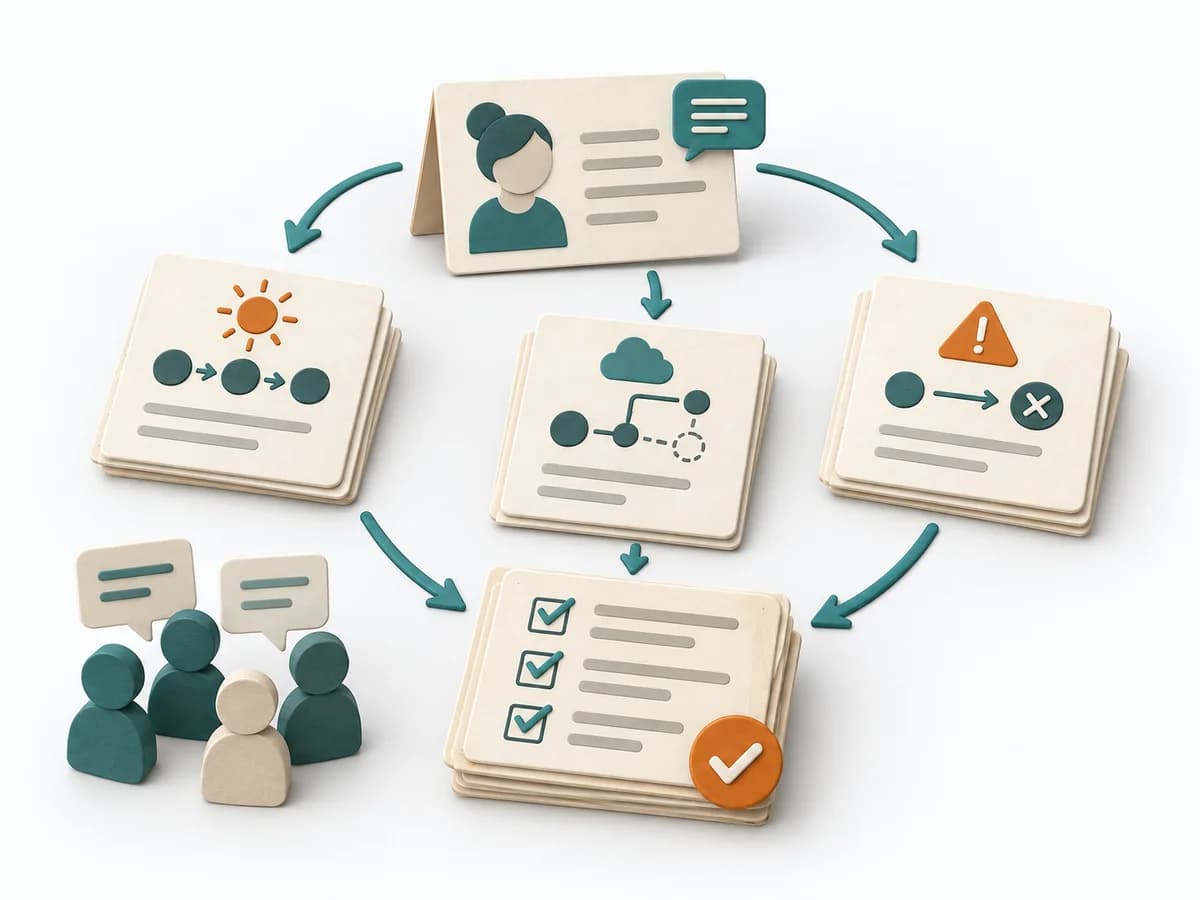
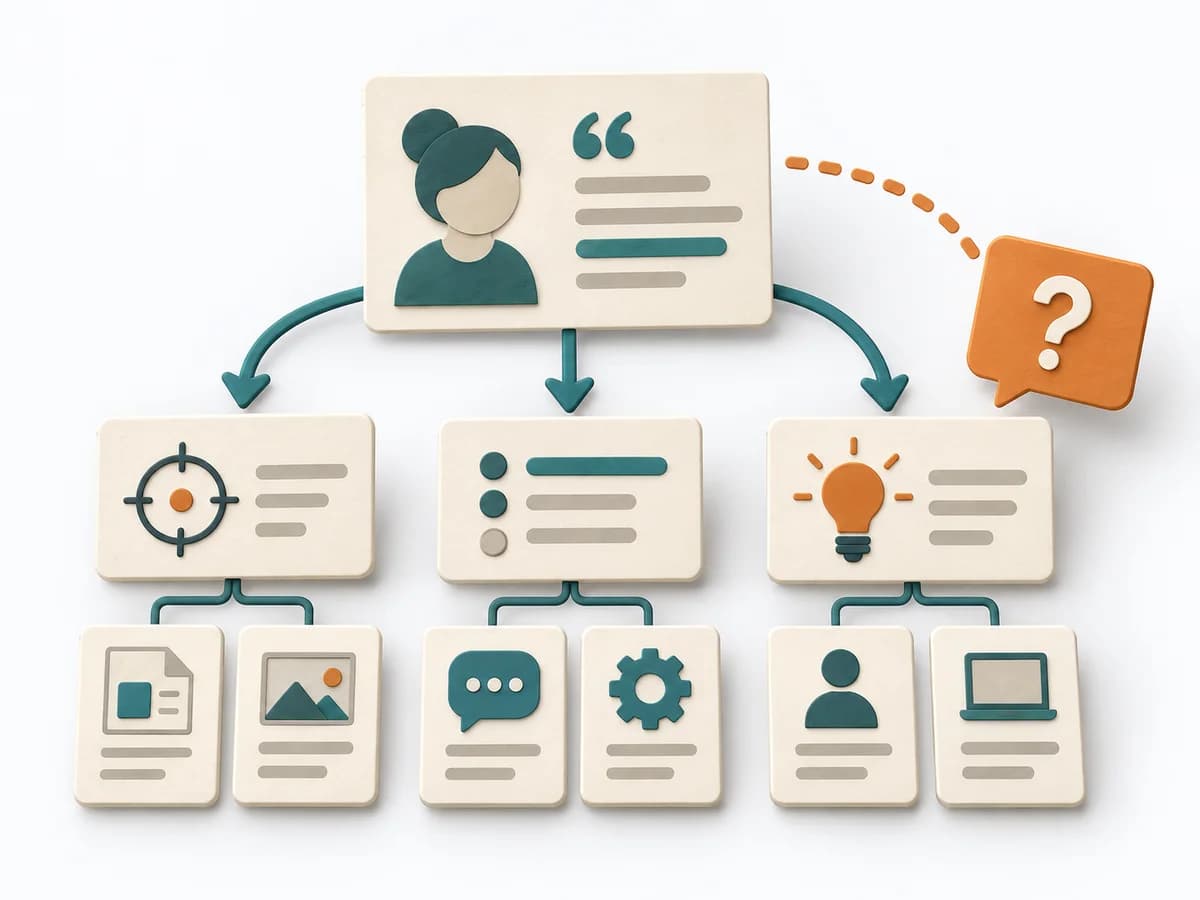
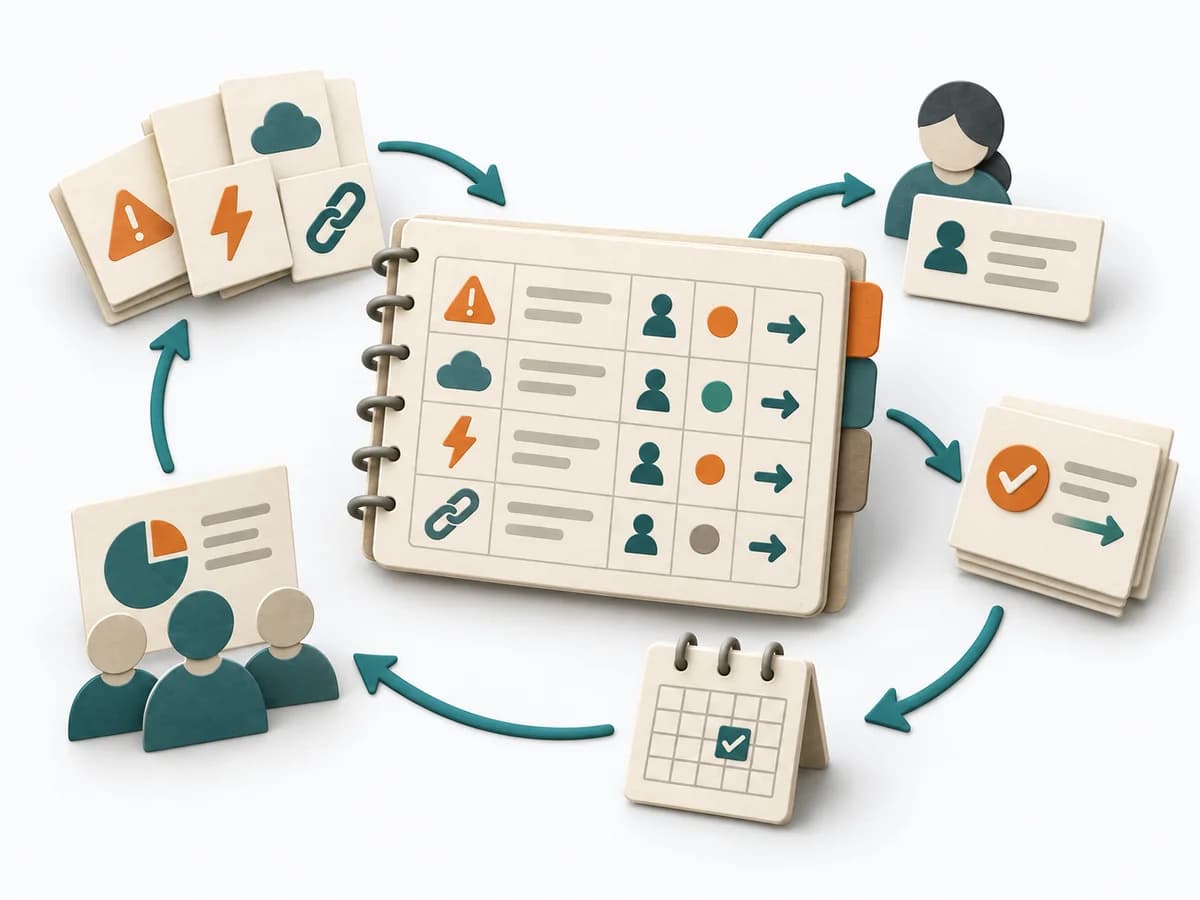
Purposedifferent | When business rules need to become precise, it ties language, example, and test together. It sorts work by value, risk, and delivery ability. The result is captured as an Example Table and Acceptance Tests. | When work needs to move between different states or columns, it makes that movement and its handoffs legible. It sorts work by value, risk, and delivery ability. The result is captured as a ROAM Board and an Owner List. | When story, test, and implementation could drift apart, it brings business perspective, engineering, and quality together early. It prevents a story from being read differently only late in the process. |
Complexitydifferent | Medium | Low | Low |
Timedifferent | 60-90 min pro Feature | 20-40 min initial, dann laufend | 15-30 min |
Participantsdifferent | 3-6 | 3-15 | 3 |
Formatdifferent | Workshop | Workshop + async | Workshop + async |
Outputdifferent | Example Table, Acceptance Tests | ROAM Board, Owner List | Clarified Story, Test Examples, Open Questions |
Tagsno overlap | AgileRequirementsExamplesBehavior-Driven Development | RiskAgileTrackingAlignment | CollaborationBehavior-Driven DevelopmentQualityRefinement |
Often compared together
Methods with strong topical overlap with the current selection, not yet in the comparison.