View methods side by side.
Choose up to four methods. Add them using the search and share the comparison by copying its link.
| Criterion | 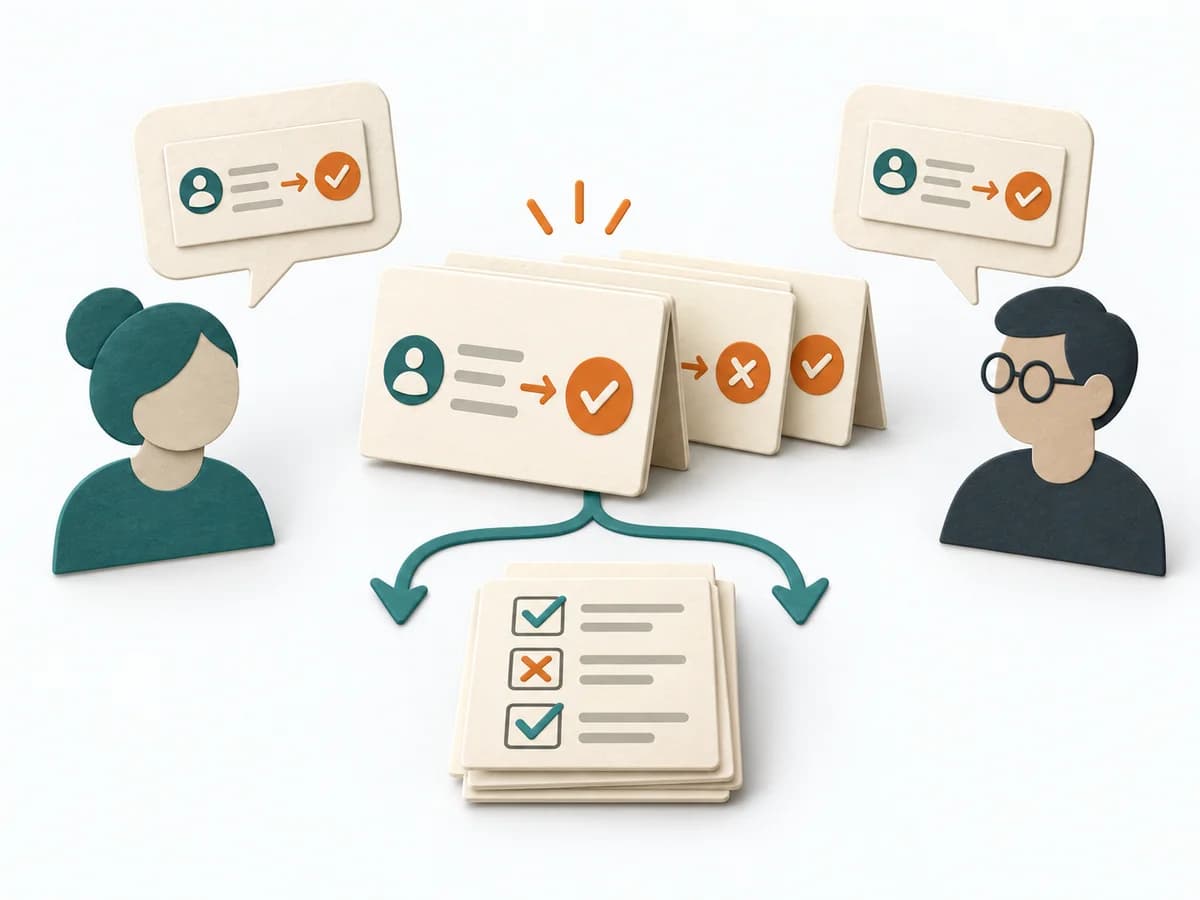 Agile Specification by Example | 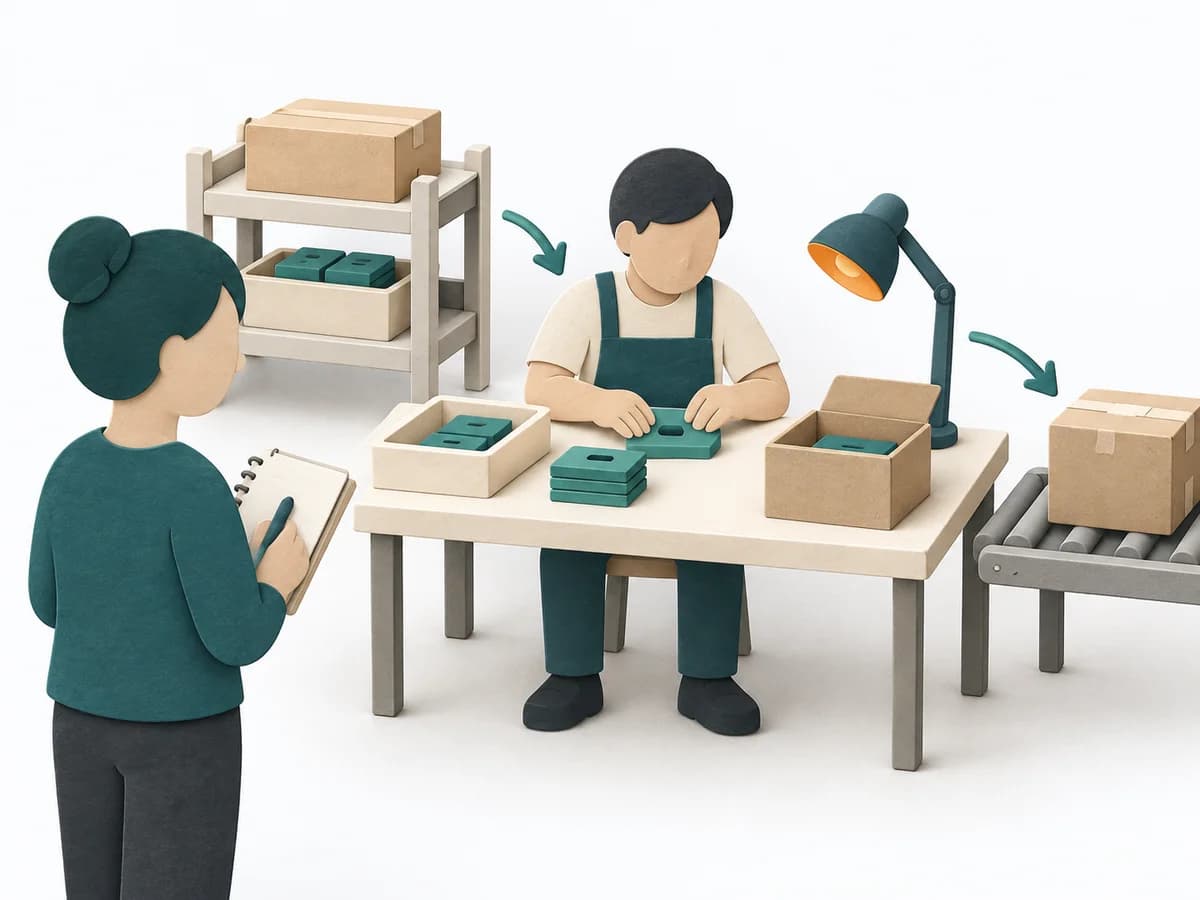 Operations Gemba Walk | 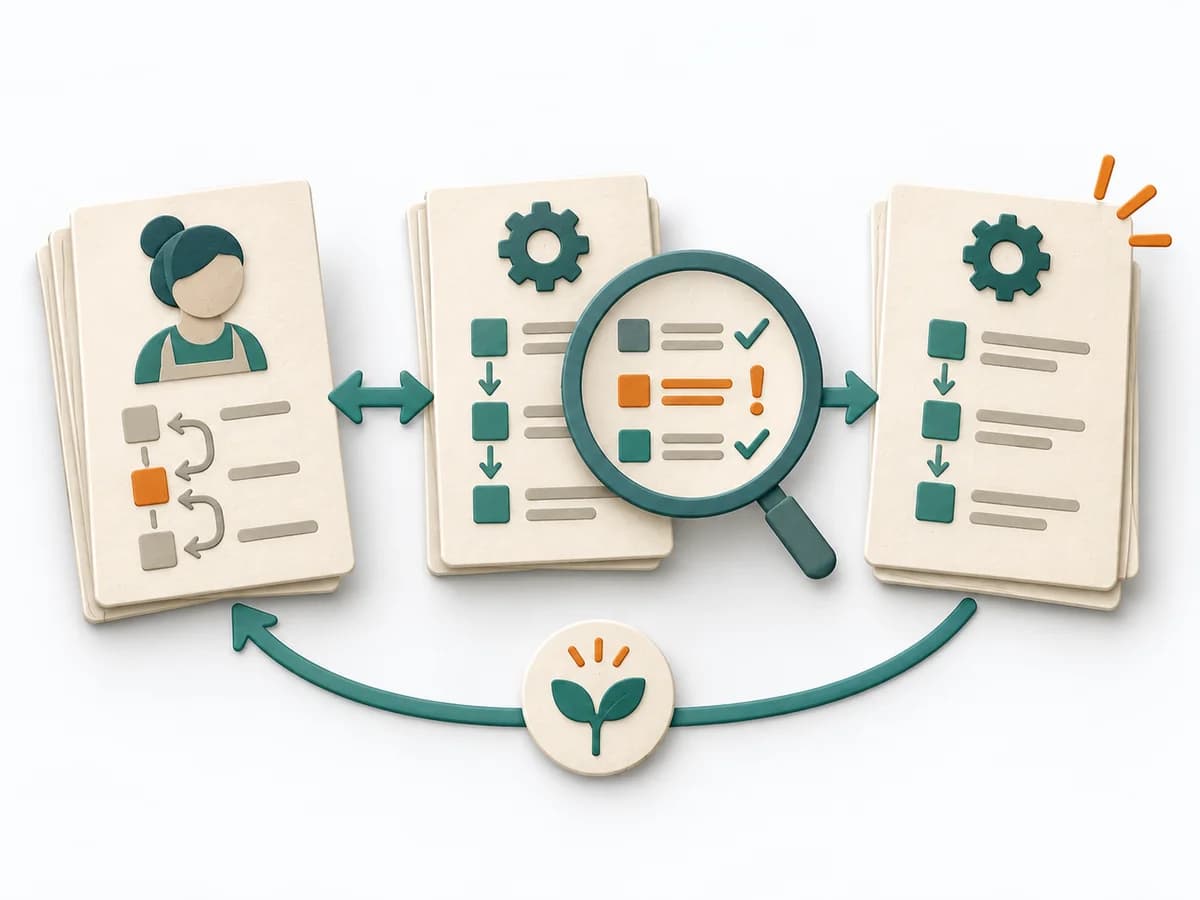 Operations Standard Work Analysis |
|---|---|---|---|
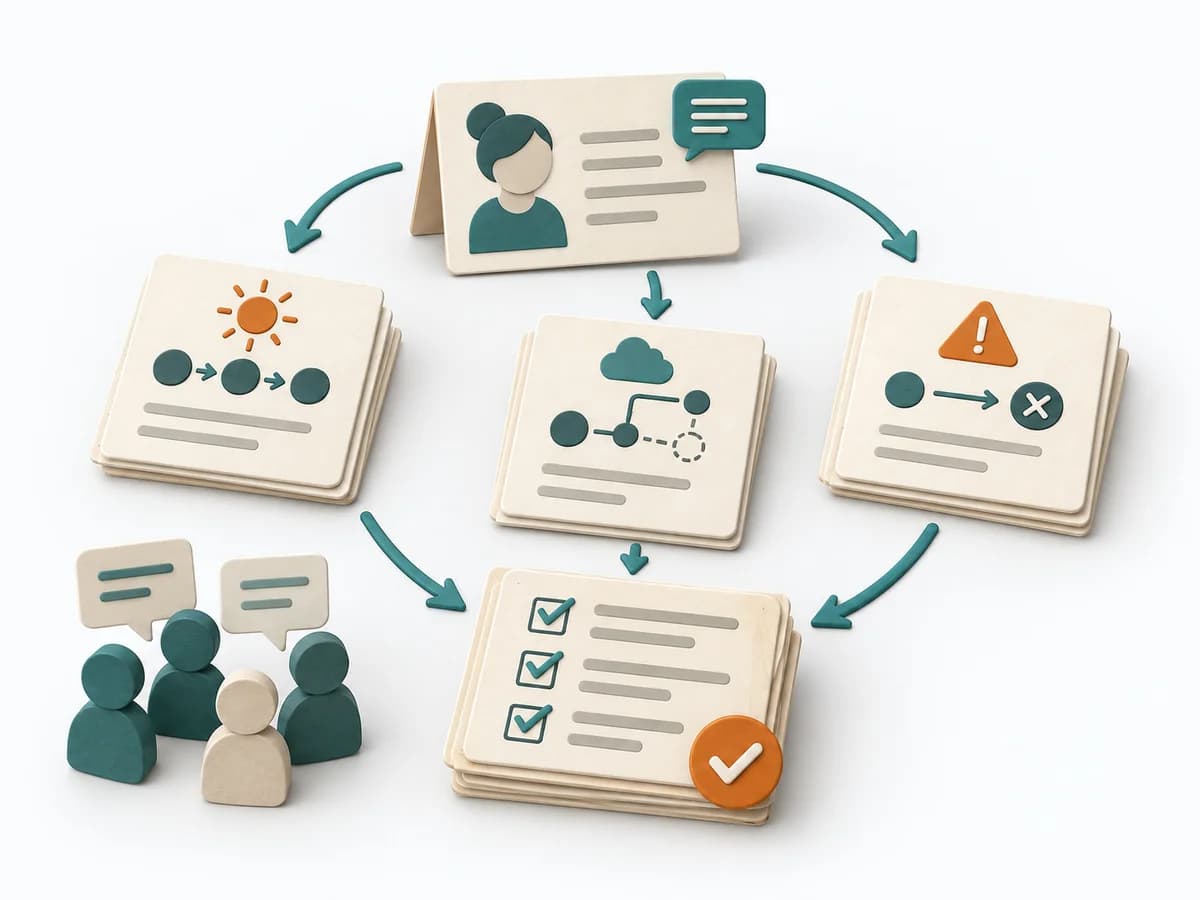
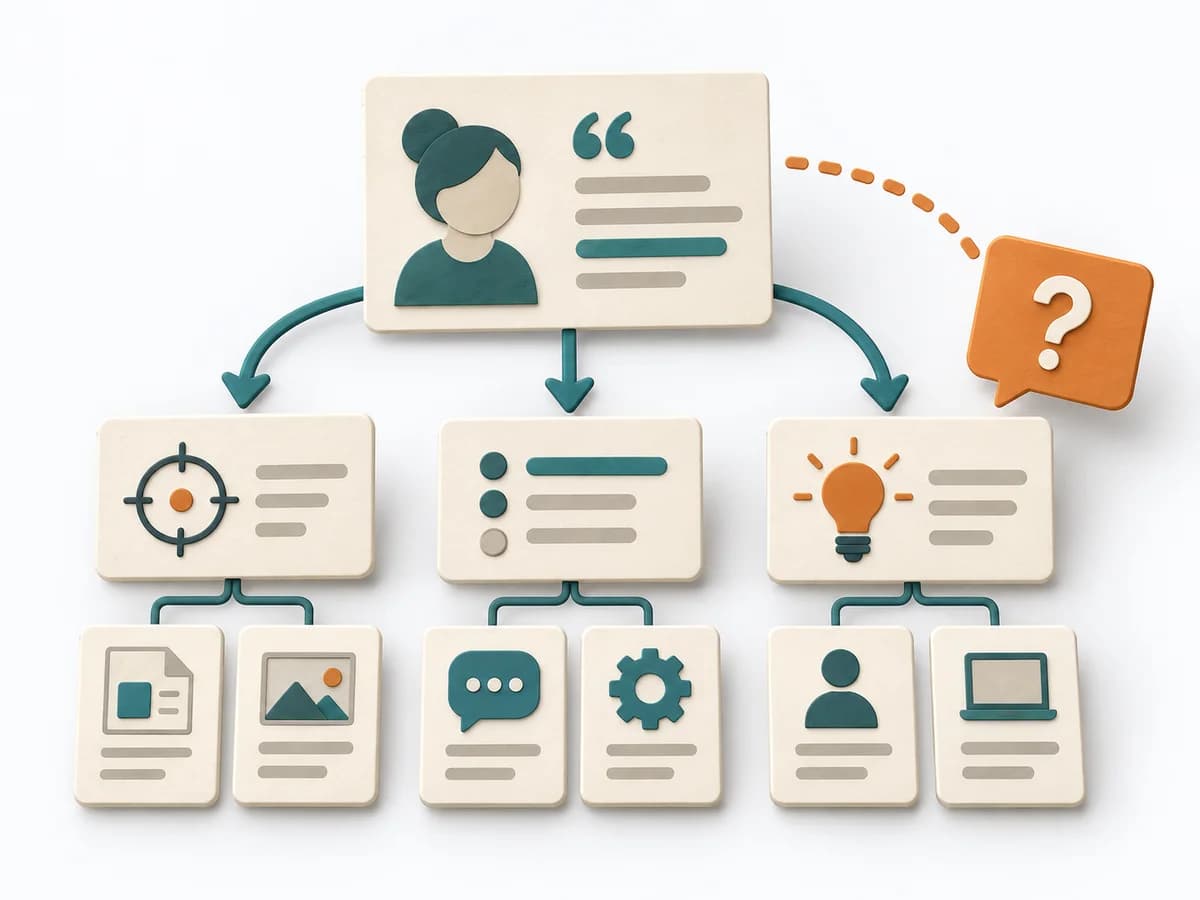
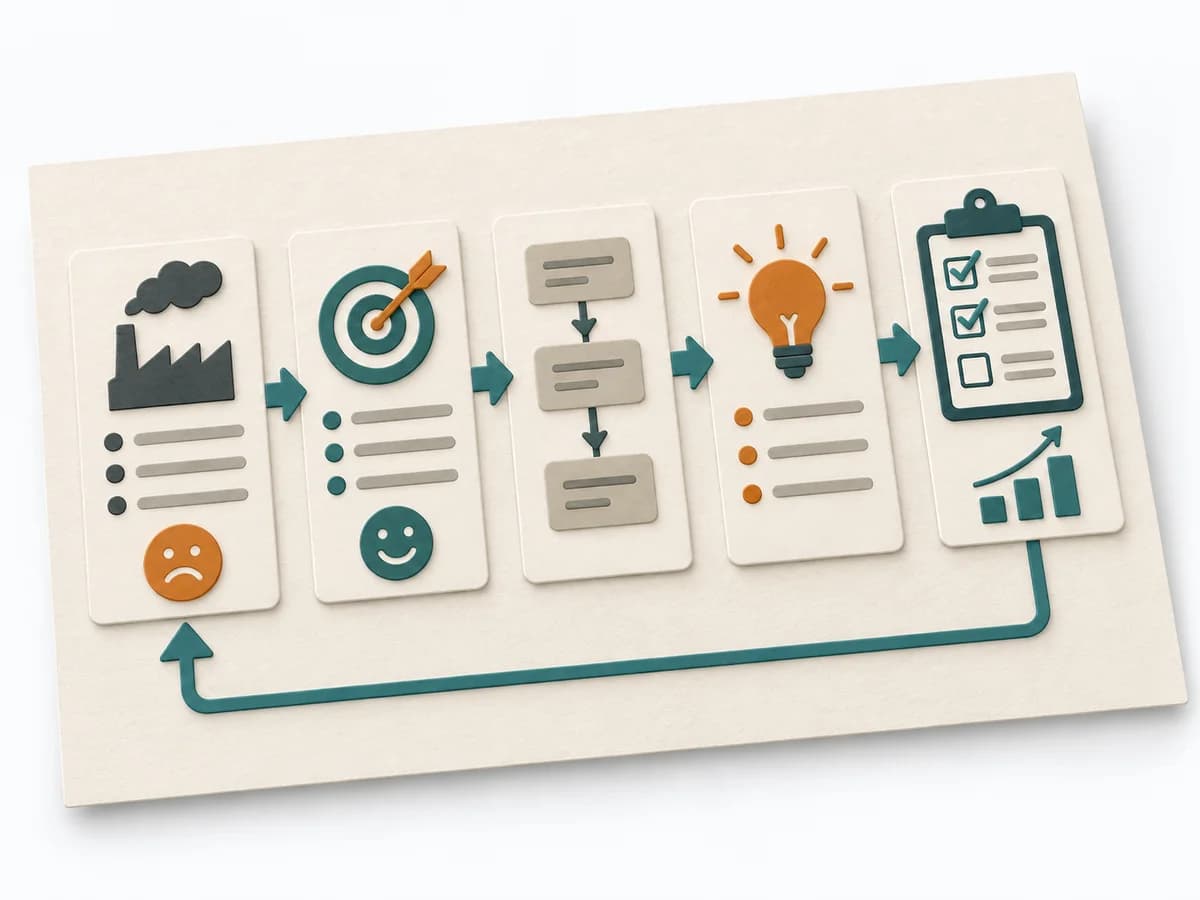
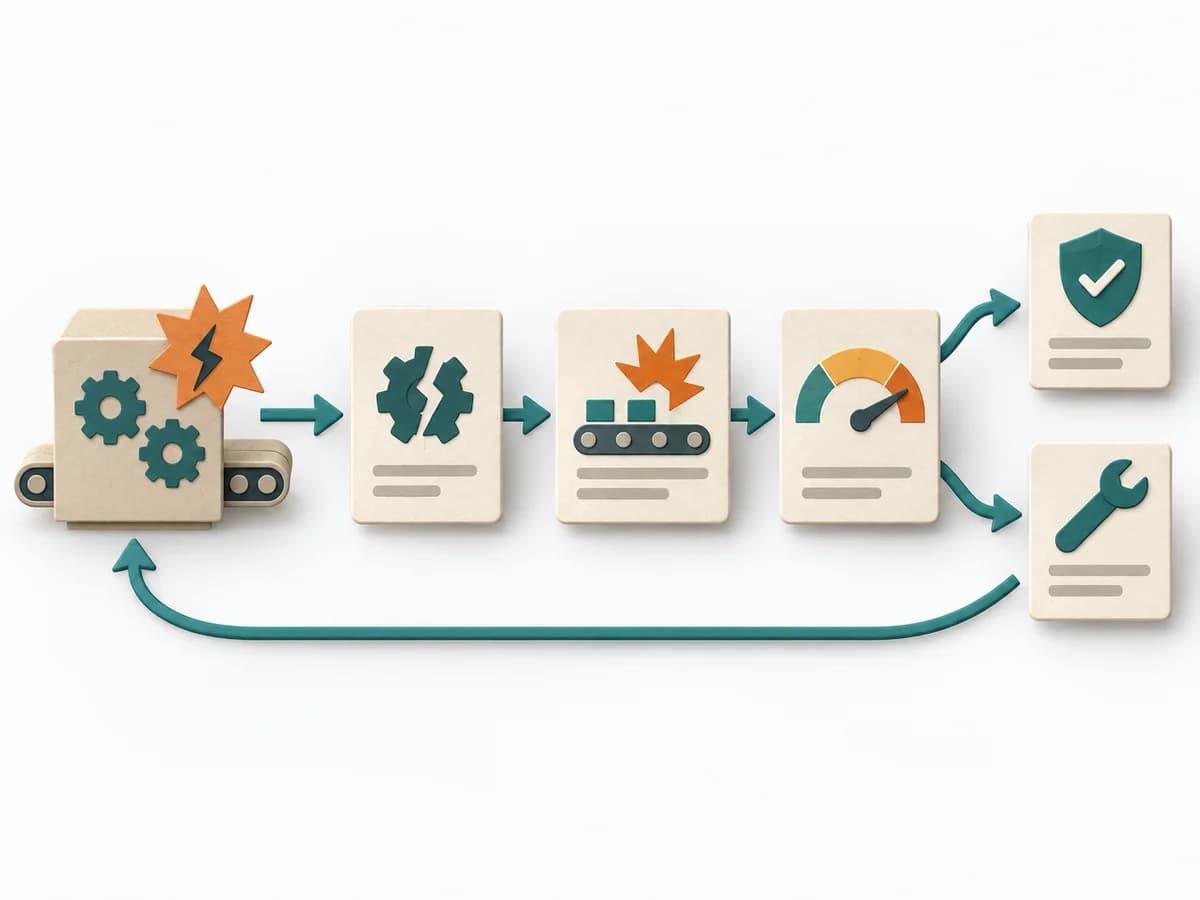
Purposedifferent | When business rules need to become precise, it ties language, example, and test together. It sorts work by value, risk, and delivery ability. The result is captured as an Example Table and Acceptance Tests. | When there is uncertainty about the real course of a process, the method brings observation to the place where work happens. It combines perception, follow-up questions, and process knowledge so decisions rest on actual workflows instead of assumptions. | When the same task is done differently depending on the person, the method exposes the reliable core. It creates comparability without unnecessarily choking off needed latitude. |
Complexitydifferent | Medium | Low | Medium |
Timedifferent | 60-90 min pro Feature | 30-120 min | 1-3 h |
Participantsdifferent | 3-6 | 2-6 | 2-6 |
Formatsame | Workshop | Workshop | Workshop |
Outputdifferent | Example Table, Acceptance Tests | Observation Notes, Improvement Ideas | Standard Work Sheet, Deviation List, Improved Standard, Training Needs |
Tagsno overlap | AgileRequirementsExamplesBehavior-Driven Development | LeanObservationProcessOperations | LeanProcessQuality |
Often compared together
Methods with strong topical overlap with the current selection, not yet in the comparison.