View methods side by side.
Choose up to four methods. Add them using the search and share the comparison by copying its link.
| Criterion | 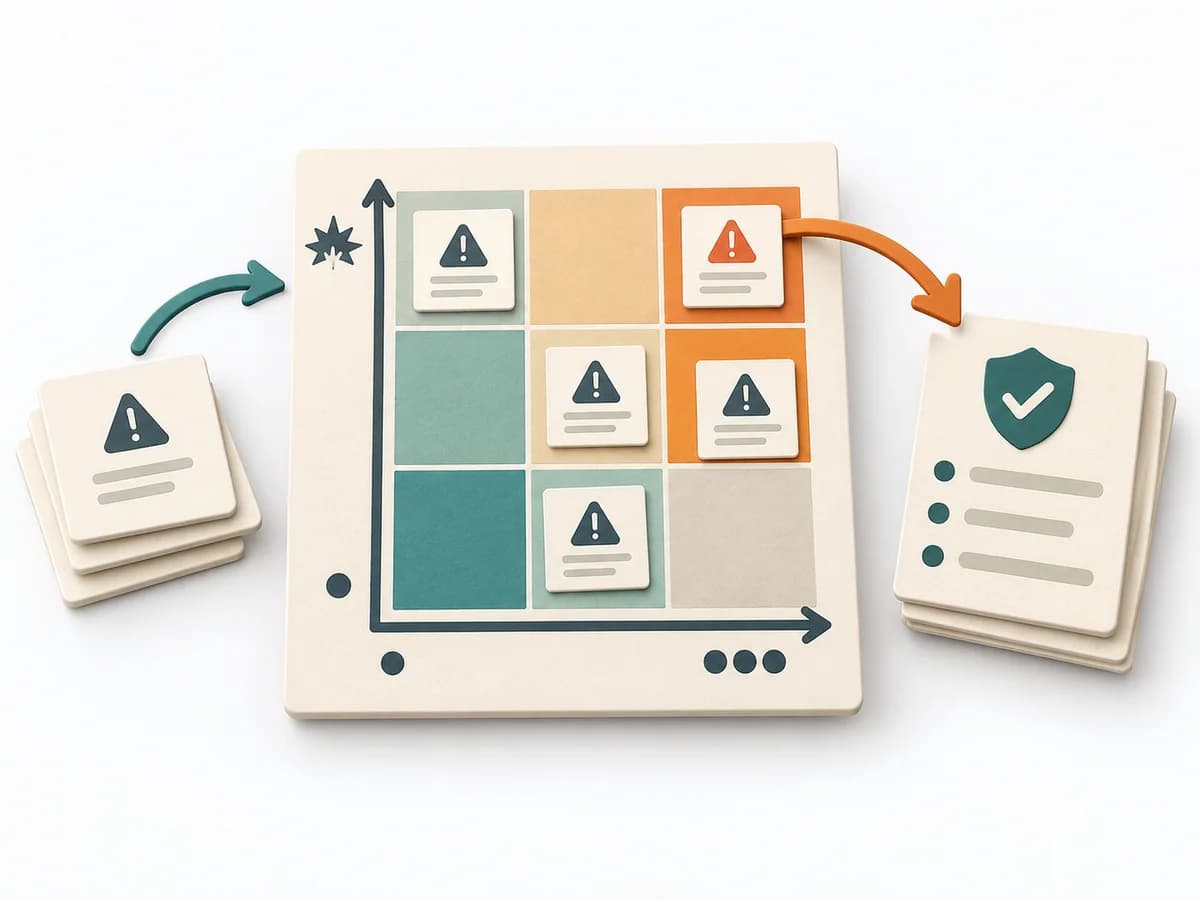 Decision Making Risk Matrix | 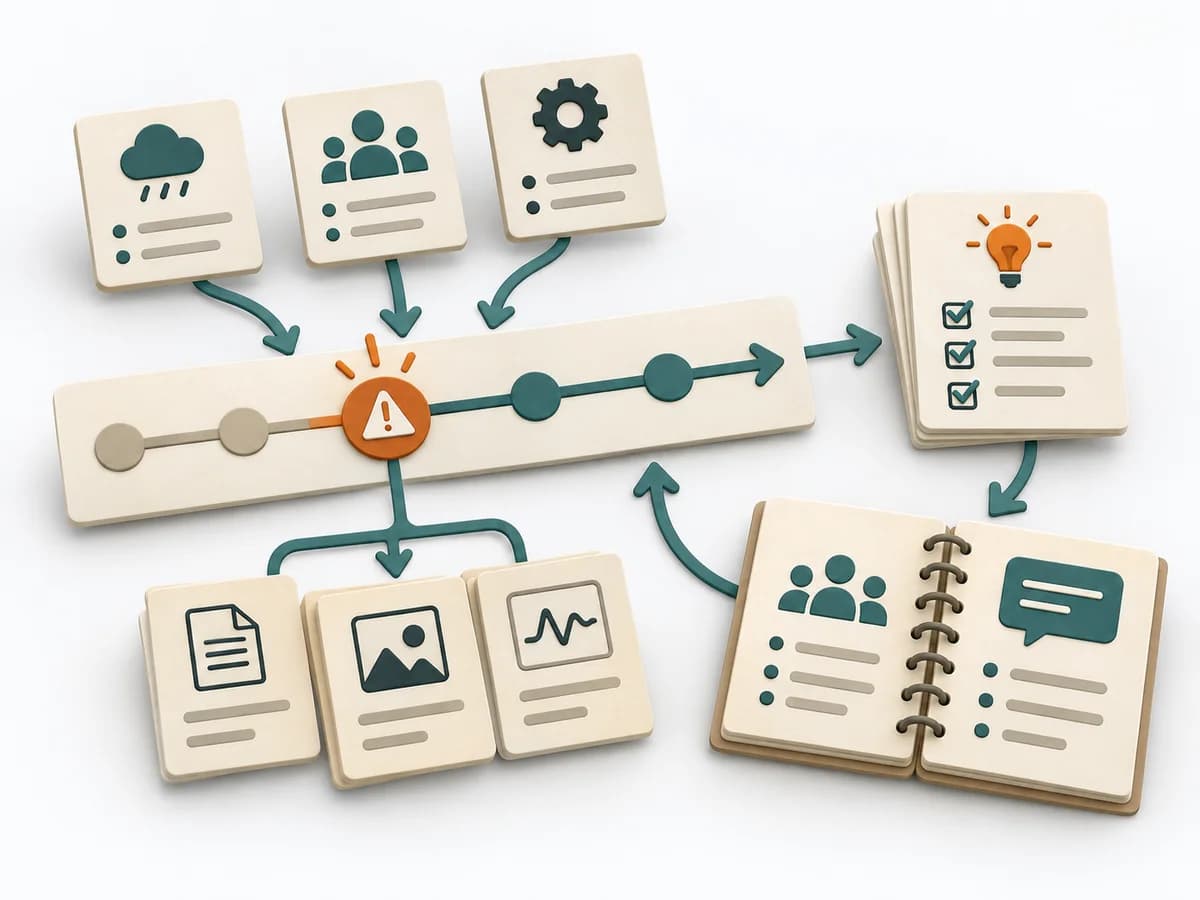 DevOps Blameless Postmortem |  Decision Making OODA Loop |
|---|---|---|---|
Purposedifferent | When a project faces many possible disruptions, it quickly becomes unclear which risks deserve attention first. It separates options, evaluation criteria, and open risks. The result is captured as a Risk Matrix and a Top Risk List. | After an incident with damage or a near miss, the method creates a sober field for learning without assigning blame. It directs attention to the course of events, conditions, and effective countermeasures. | In dynamic situations, decisions become outdated faster than they can be prepared. The OODA Loop holds observing, orienting, deciding, and acting together as a recurring rhythm so reaction does not slide into inertia. |
Complexitydifferent | Low | Medium | Medium |
Timedifferent | 30-60 min | 30-90 min | 15-60 min je Zyklus |
Participantsdifferent | 3-10 | 3-12 | 1-8 |
Formatsame | Workshop + async | Workshop + async | Workshop + async |
Outputdifferent | Risk Matrix, Top Risk List | Postmortem Doc, Action Items, Timeline | Situation Assessment, Decision Loop, Action Updates |
Tagsno overlap | RiskDecisionPrioritizationAssessment | Site Reliability EngineeringIncidentLearningReliability | DecisionChangeLearningStrategy |
Often compared together
Methods with strong topical overlap with the current selection, not yet in the comparison.