View methods side by side.
Choose up to four methods. Add them using the search and share the comparison by copying its link.
| Criterion | 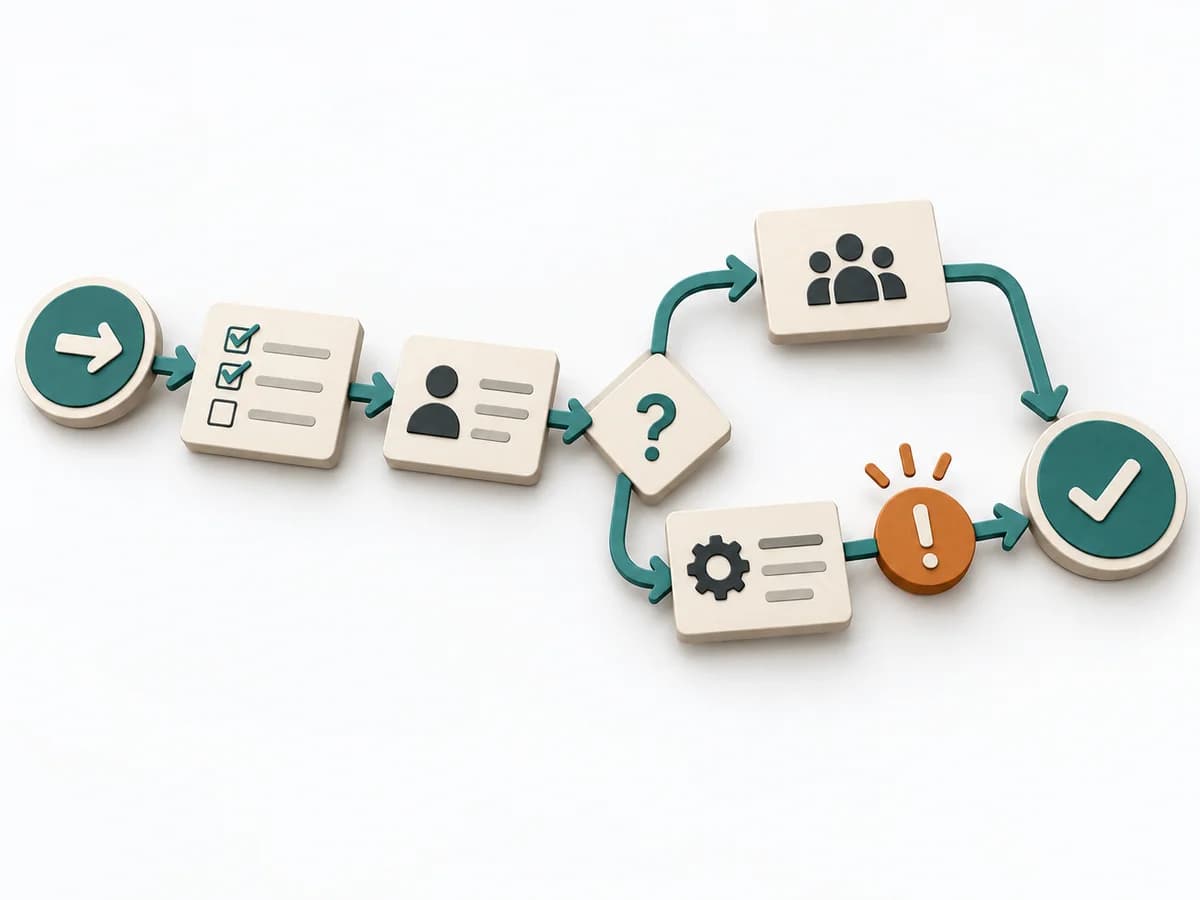 Operations Process Mapping |  Decision Making OODA Loop | 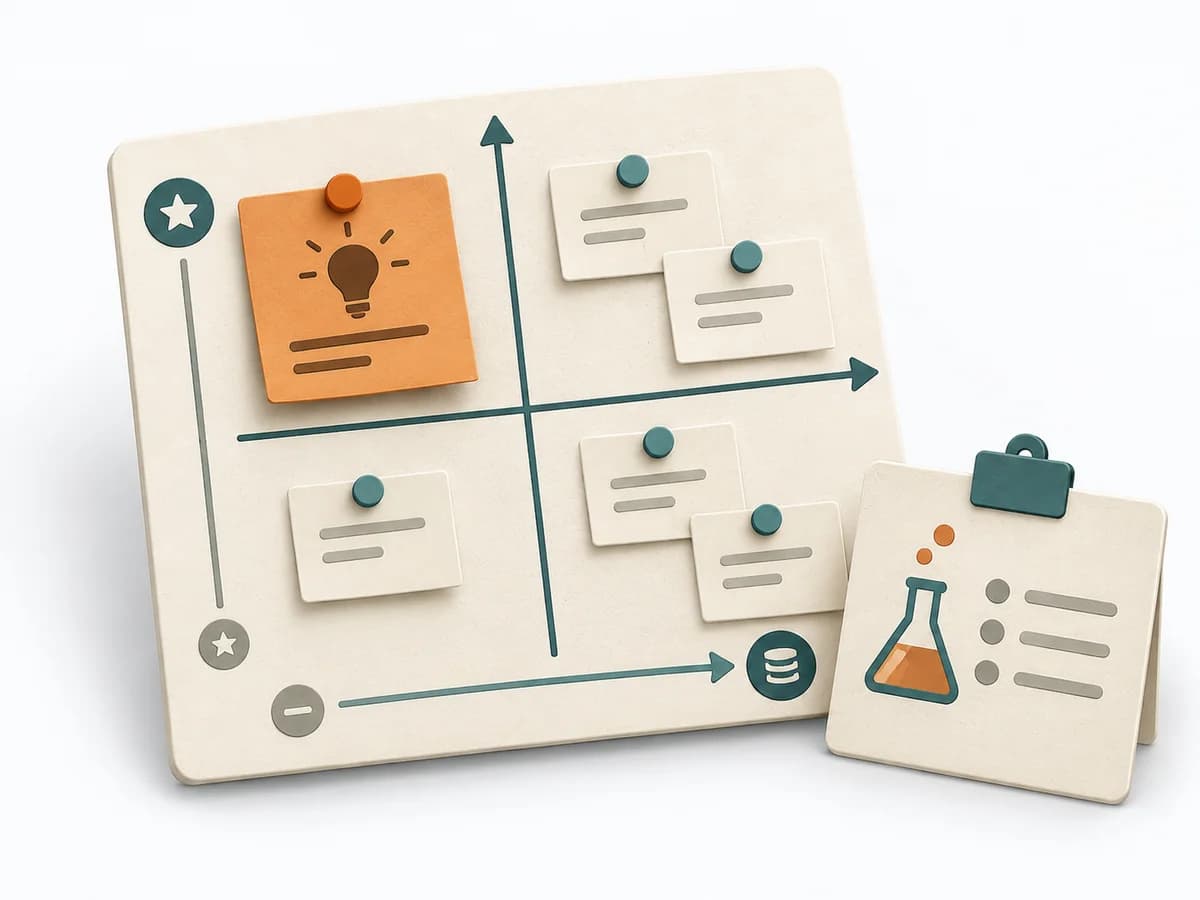 Product Discovery Assumption Mapping |
|---|---|---|---|
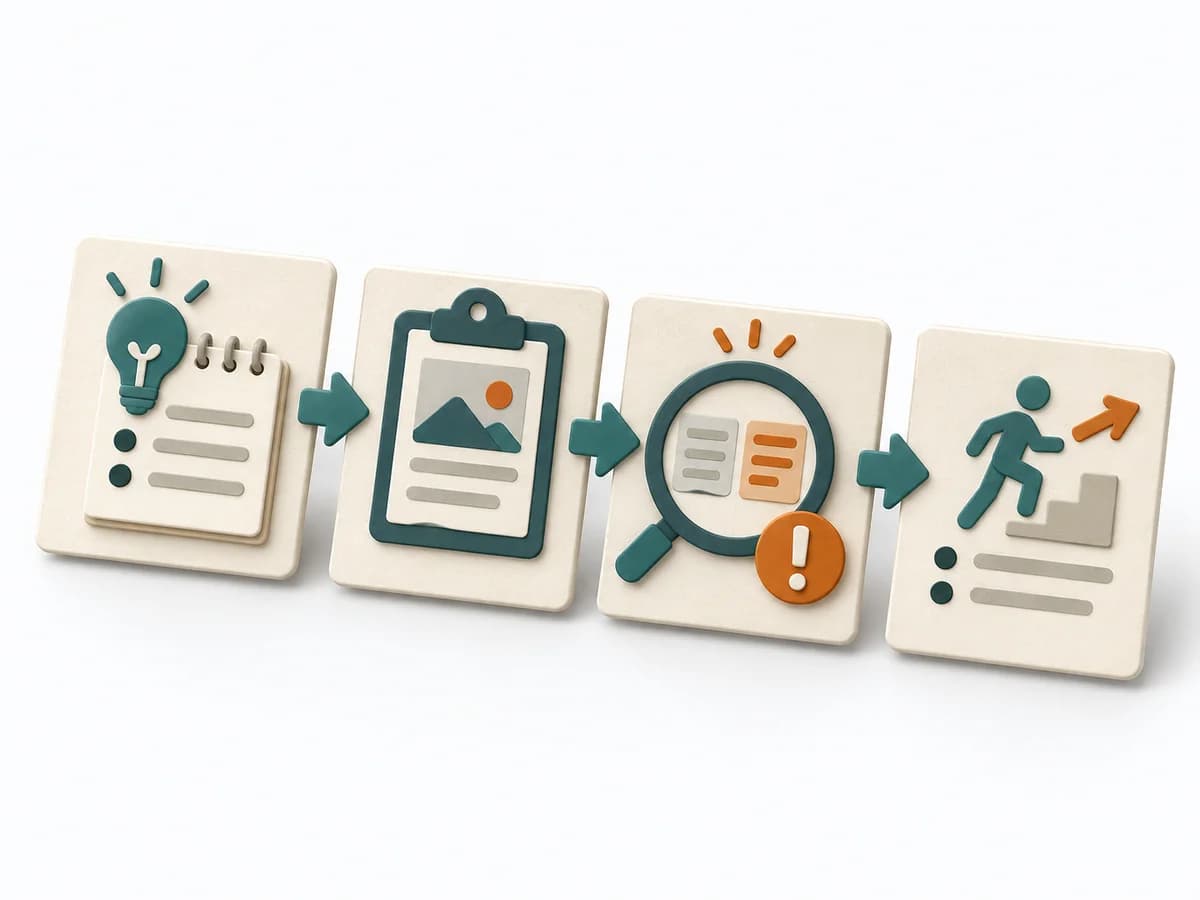
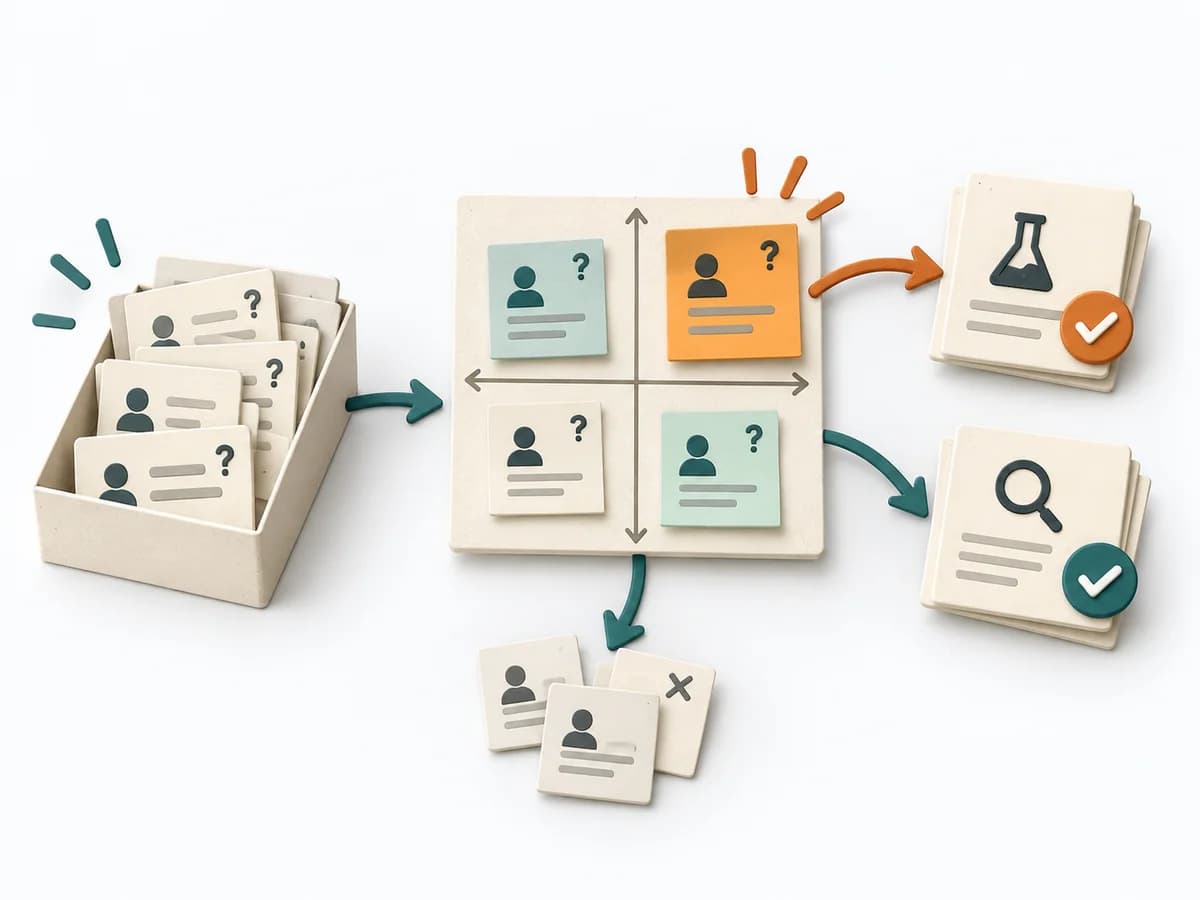
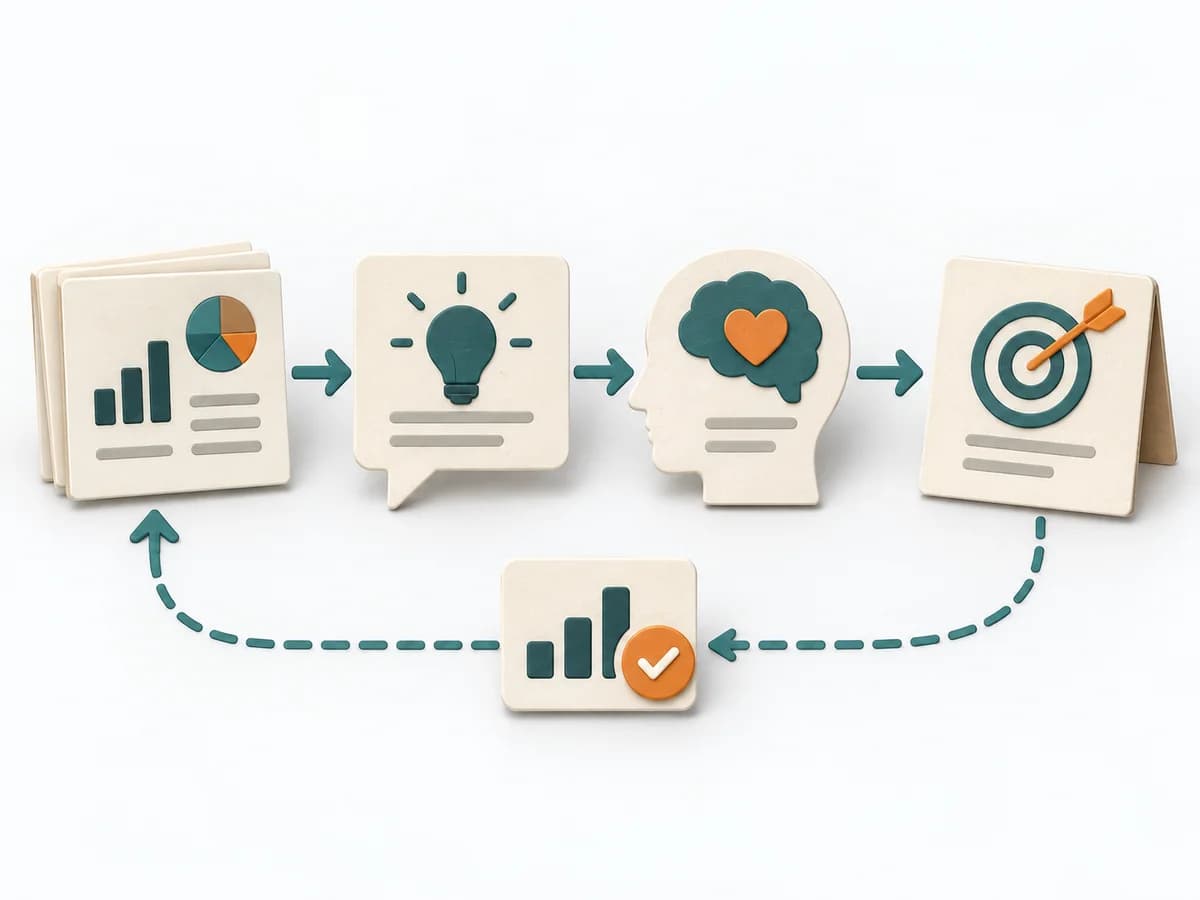
Purposedifferent | With a confusing workflow that has many handoffs, the method makes the actual process visible. It shows where work is passed on, delayed, or duplicated, so improvement targets the right spots. | In dynamic situations, decisions become outdated faster than they can be prepared. The OODA Loop holds observing, orienting, deciding, and acting together as a recurring rhythm so reaction does not slide into inertia. | When assumptions still sit unordered in the room, it weighs uncertainty against leverage. It makes visible which hypotheses should be checked first. |
Complexitysame | Medium | Medium | Medium |
Timedifferent | 1-3 h | 15-60 min je Zyklus | 45-60 min |
Participantsdifferent | 3-10 | 1-8 | 2-8 |
Formatdifferent | Workshop | Workshop + async | Workshop + async |
Outputdifferent | Process Map, Handoff List, Improvement Backlog | Situation Assessment, Decision Loop, Action Updates | Assumption map, Test backlog, Risk ranking |
Tagsno overlap | ProcessOperationsImprovement | DecisionChangeLearningStrategy | AssumptionsRiskExperimentsValidation |
Often compared together
Methods with strong topical overlap with the current selection, not yet in the comparison.