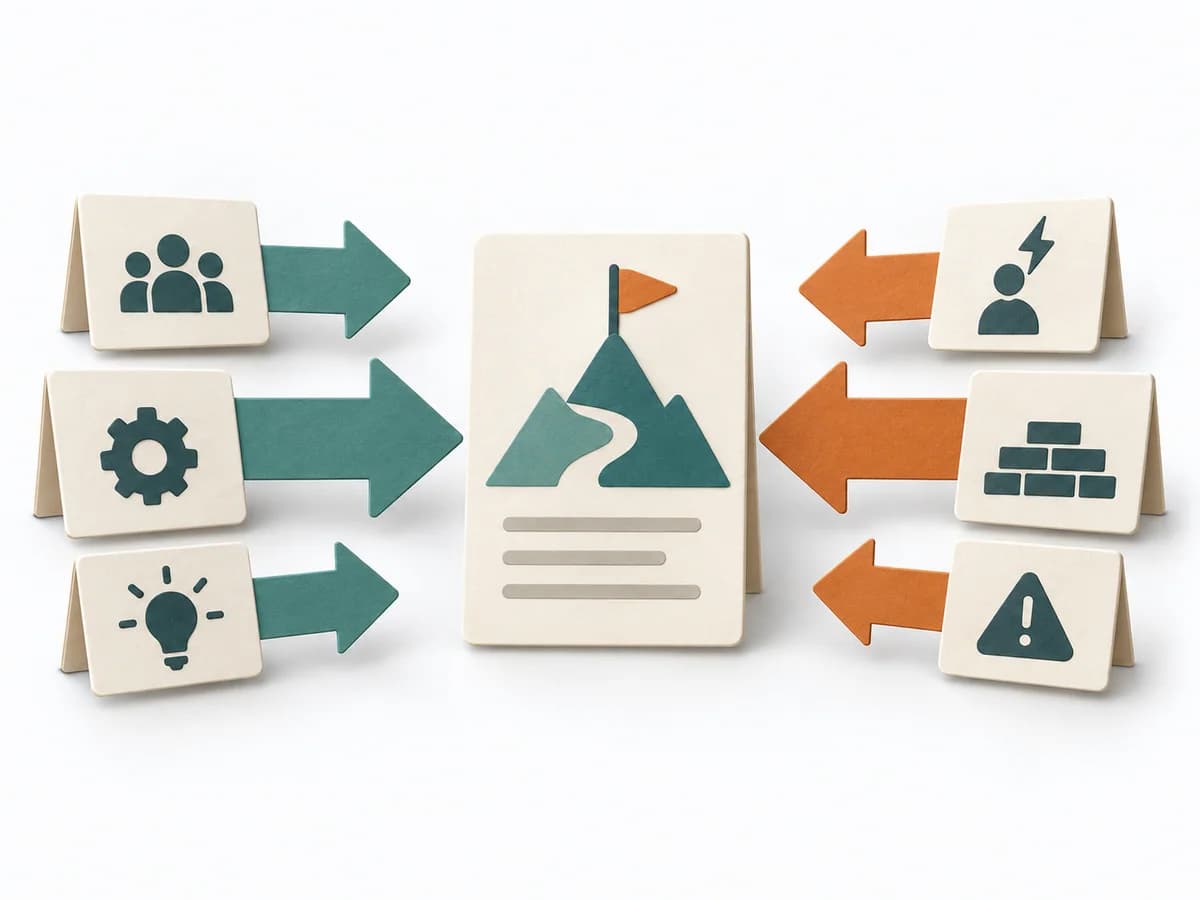
View methods side by side.
Choose up to four methods. Add them using the search and share the comparison by copying its link.
| Criterion |  Decision Making OODA Loop |  Operations Kepner-Tregoe | 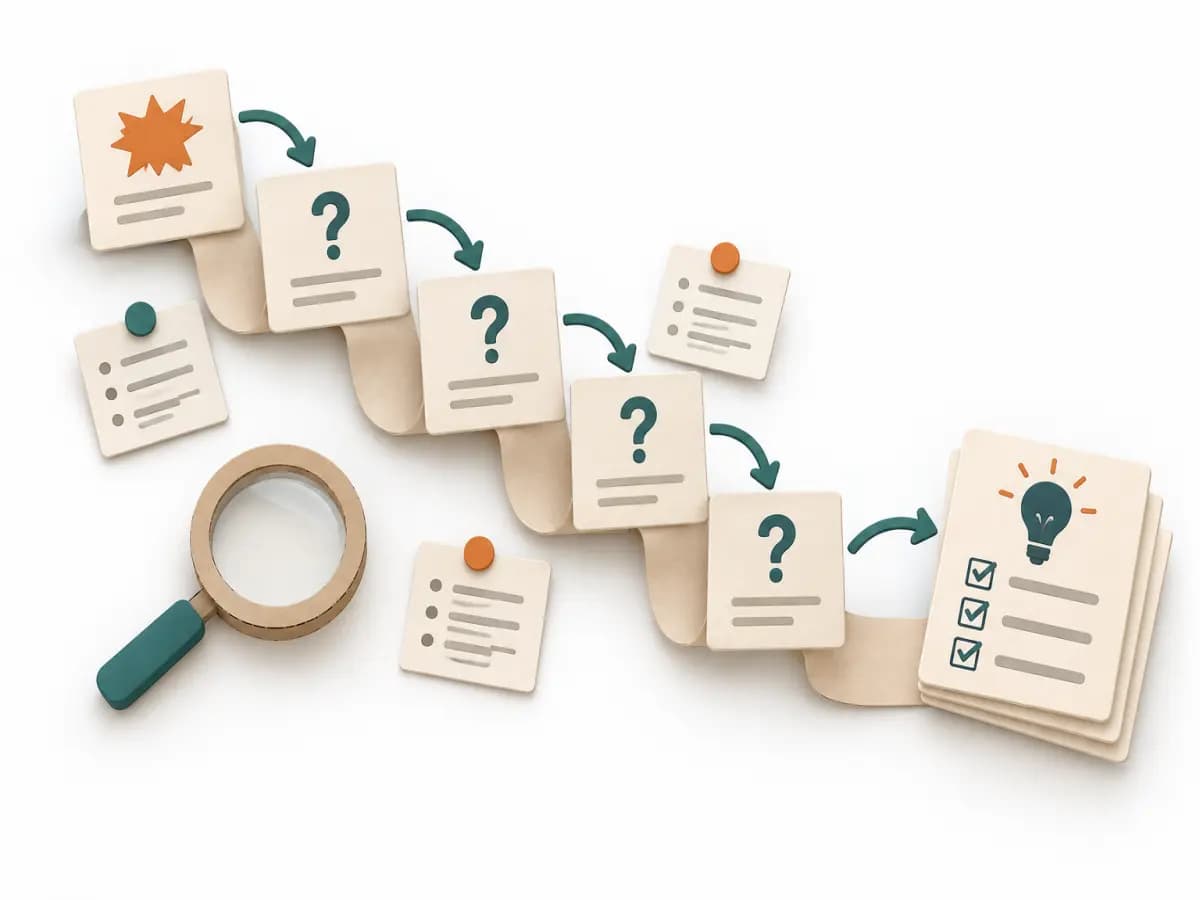 Operations 5 Whys |
|---|---|---|---|
Purposedifferent | In dynamic situations, decisions become outdated faster than they can be prepared. The OODA Loop holds observing, orienting, deciding, and acting together as a recurring rhythm so reaction does not slide into inertia. | For a disturbance that's hard to pin down, the method cleanly separates problem, cause, and decision. It reduces mixing when symptoms allow several interpretations. | For a single, hard-to-explain deviation, the method exposes the causal chain behind the visible symptom. It keeps the cause open until a controllable condition emerges instead of a mere description. |
Complexitydifferent | Medium | High | Low |
Timedifferent | 15-60 min je Zyklus | 2-8 h | 15-30 min |
Participantsdifferent | 1-8 | 2-8 | 2-6 |
Formatdifferent | Workshop + async | Workshop + async | Workshop |
Outputdifferent | Situation Assessment, Decision Loop, Action Updates | Problem Analysis, Decision Analysis, Risk Plan | Root cause notes, Countermeasures |
Tagsno overlap | DecisionChangeLearningStrategy | Problem solvingRoot causeDecisionOperations | Root causeIncidentLeanProblem solving |
Often compared together
Methods with strong topical overlap with the current selection, not yet in the comparison.