View methods side by side.
Choose up to four methods. Add them using the search and share the comparison by copying its link.
| Criterion |  Systems Thinking Leverage Points |  Decision Making Pre-Mortem |  Business Strategy Value Chain Analysis |
|---|---|---|---|
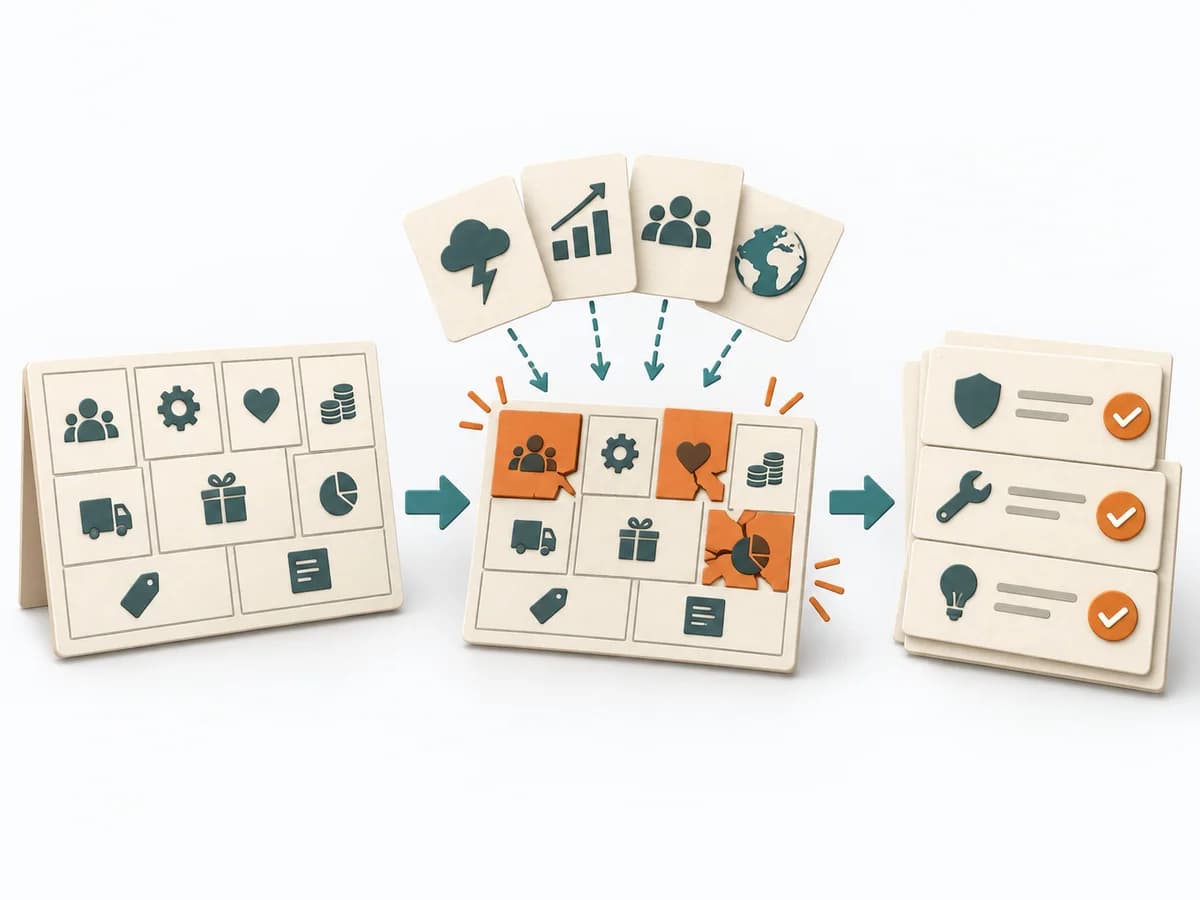
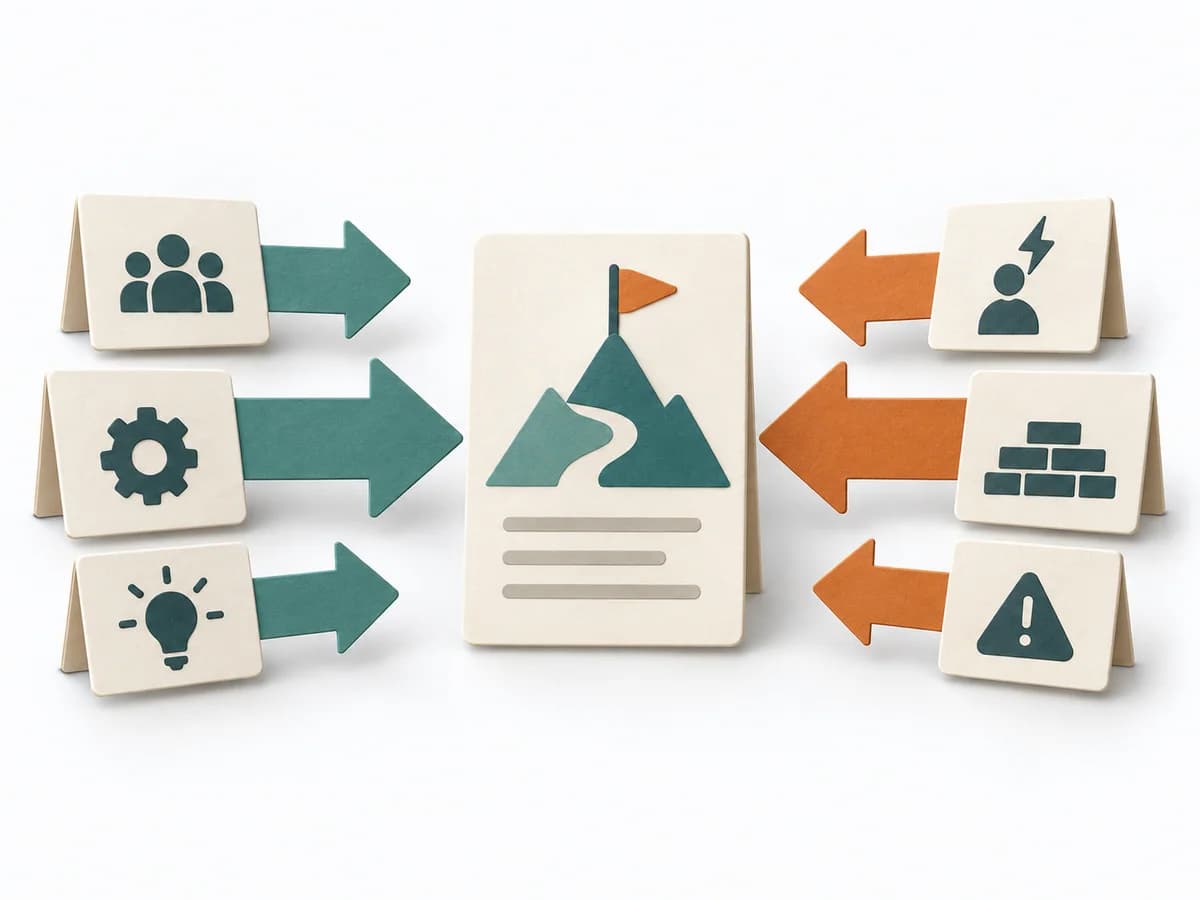
Purposedifferent | Leverage Points show exactly where interventions in a system produce a disproportionate effect. It draws relationships, patterns, and feedback loops. The result is captured as a leverage map and action strategy. | In early initiatives with many uncertainties, planning quickly turns too optimistic. A pre-mortem makes the expected failure visible in advance and sharpens the view of causes, gaps, and countermeasures. | Value Chain Analysis shows where value is created, costs accrue, and differentiation becomes possible along the process. It compares strengths, risks, market logic, and courses of action. The result is captured as a value-chain map and lever list. |
Complexitydifferent | High | Low | High |
Timedifferent | Half day | 20–45 min | Half day |
Participantsdifferent | 3-12 | Small cross-functional group | 3-8 |
Formatsame | Workshop | Workshop | Workshop |
Outputdifferent | Leverage Map, Action Strategy | Risk list, Mitigation plan, Assumption log | Value Chain Map, Lever List |
Tagsno overlap | Systems thinkingChangeStrategy | RiskDecisionFailurePlanning | StrategyBusiness modelDiagnosisAnalysis |
Often compared together
Methods with strong topical overlap with the current selection, not yet in the comparison.