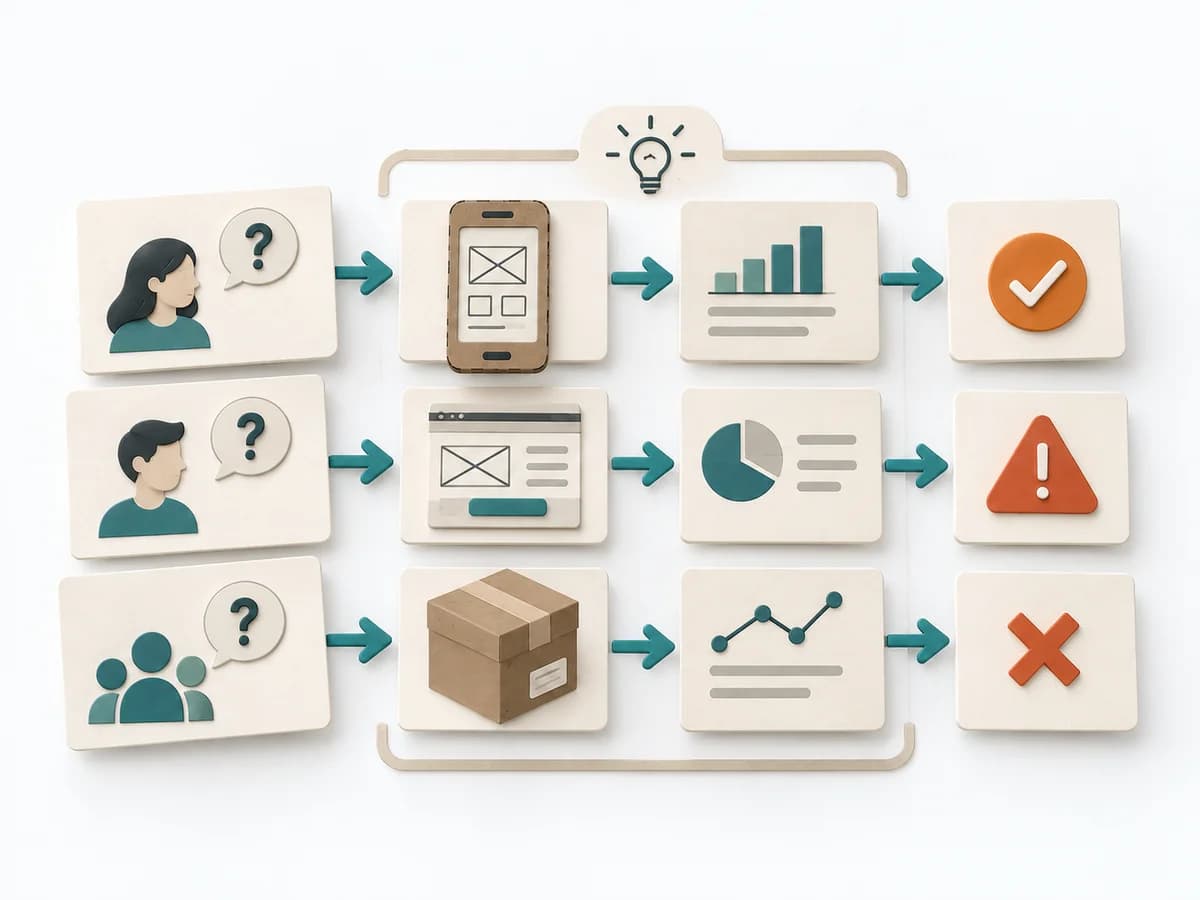
View methods side by side.
Choose up to four methods. Add them using the search and share the comparison by copying its link.
| Criterion |  Growth Hooked Model | 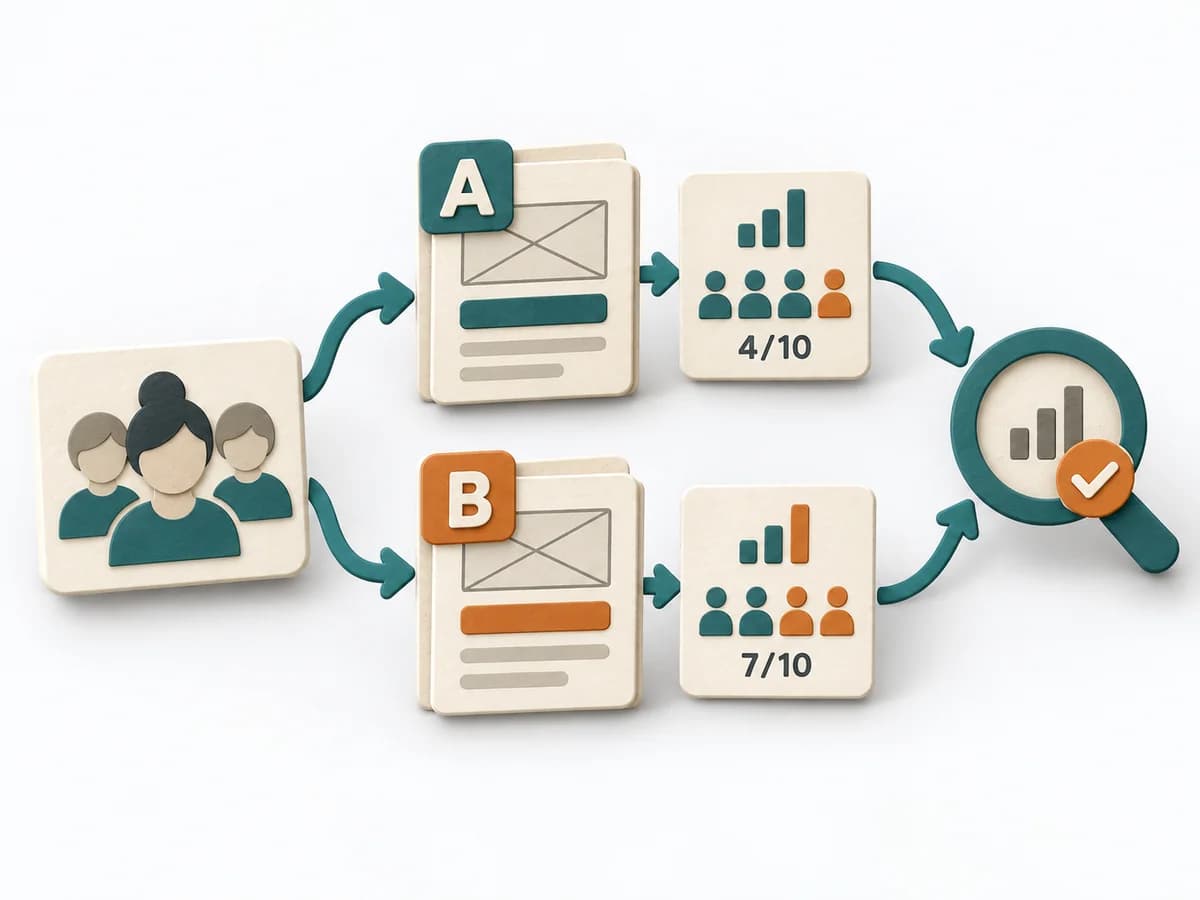 Growth A/B Testing | 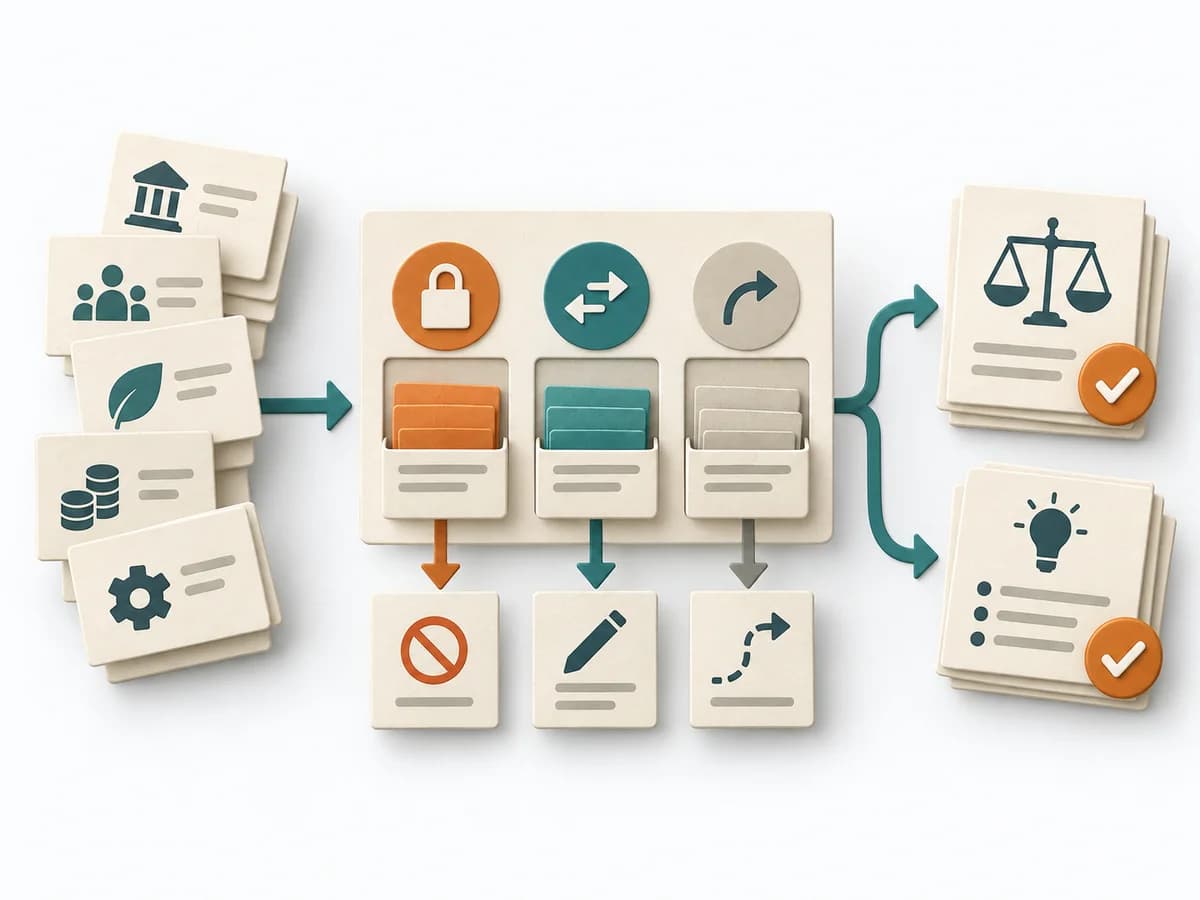 Decision Making Constraint Analysis |
|---|---|---|---|
Purposedifferent | The Hooked Model helps clarify engagement loops, user behavior, and experiments. It makes repeat behavior measurable and captures the result as a hooked loop, trigger map, and reward design. | When two variants compete, discussions quickly decide by taste rather than effect. A/B Testing checks behavior under controlled conditions and separates real improvement from chance or expectation effects. | When an initiative stalls, the limit often lies not in the idea but in hard or soft boundary conditions. Constraint Analysis separates these limits and shows which of them can actually be shaped. |
Complexitydifferent | Medium | High | Low |
Timedifferent | Multiple workshops over several weeks | 1-4 Wochen | 30-90 min |
Participantsdifferent | 2-8 | 1-6 | 2-8 |
Formatdifferent | Workshop + async | Async | Workshop + async |
Outputdifferent | Hooked loop, Trigger map, Reward design, Ethics check | Experiment results, Decision log, Learning summary | Constraint List, Hard/Soft Classification, Option Impact Notes, Decision Boundaries |
Tagsno overlap | GrowthBehaviorRetention | ExperimentsGrowthAnalyticsValidation | ConstraintsDecisionPlanningOptions |
Often compared together
Methods with strong topical overlap with the current selection, not yet in the comparison.