View methods side by side.
Choose up to four methods. Add them using the search and share the comparison by copying its link.
| Criterion | 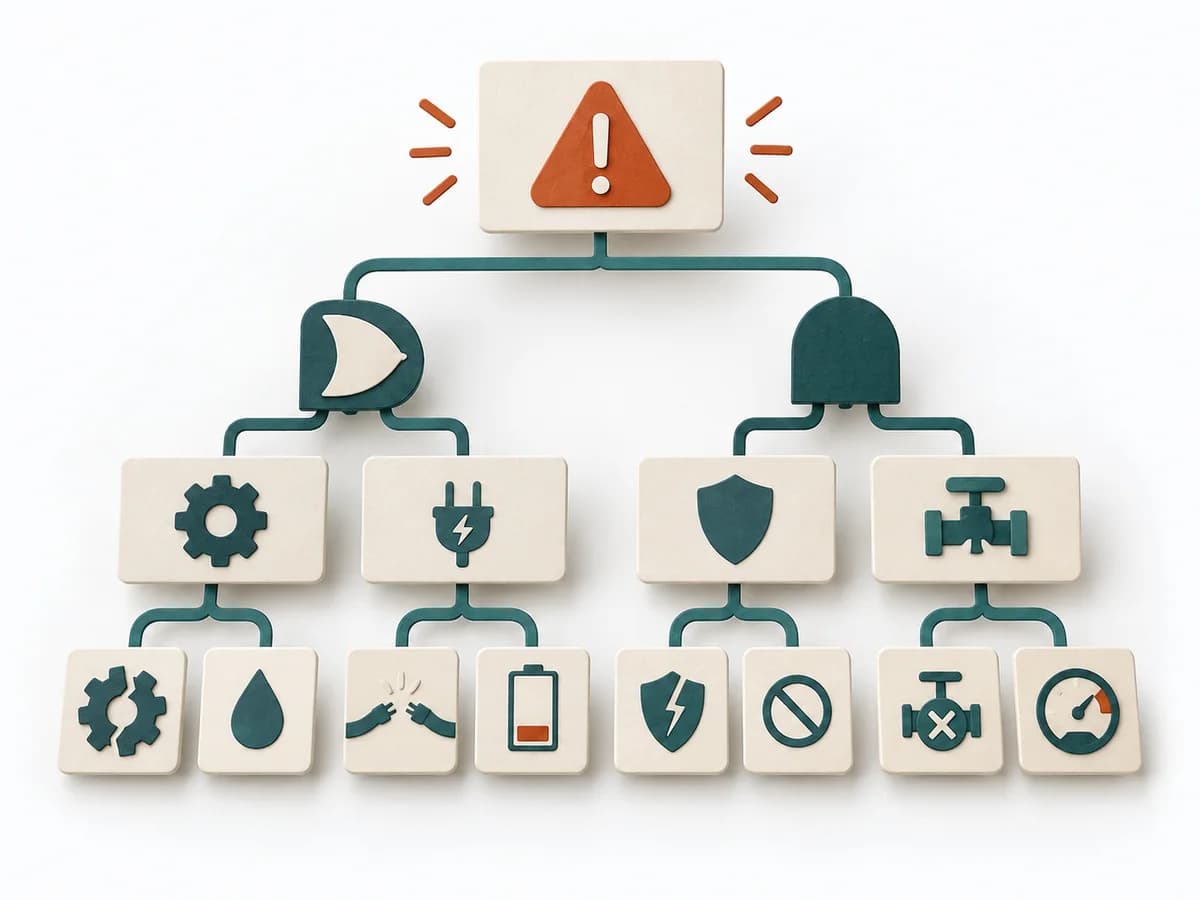 Operations Fault Tree Analysis | 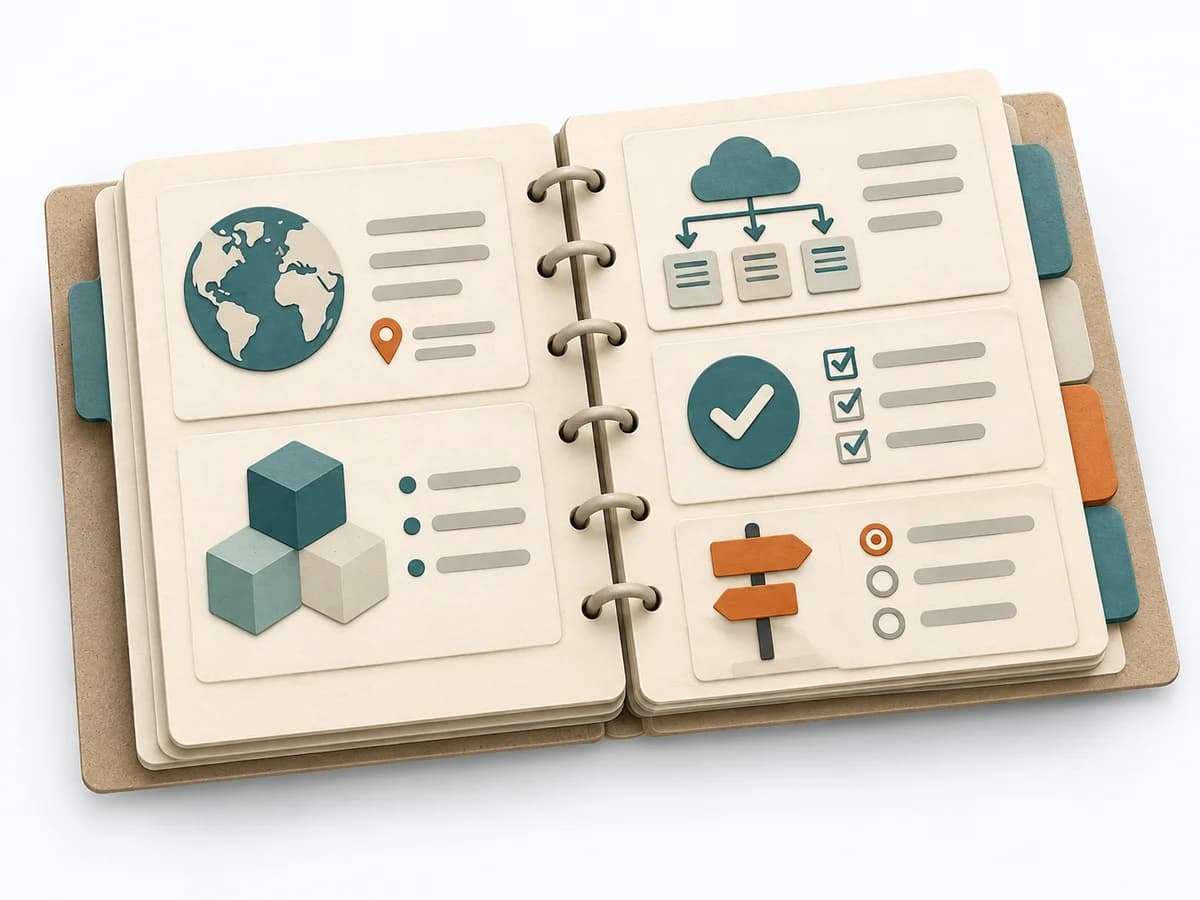 Architecture arc42 | 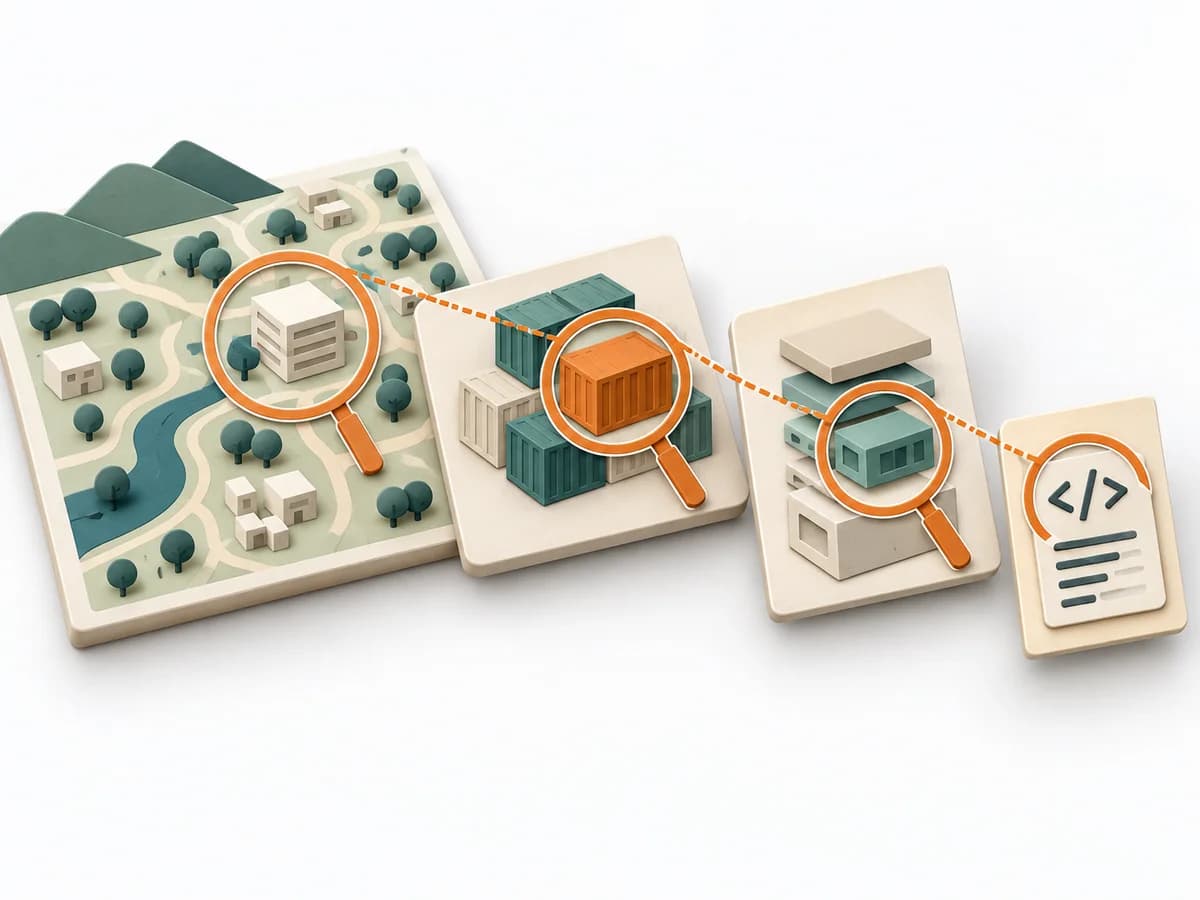 Architecture C4 Model |
|---|---|---|---|
Purposedifferent | For a critical top event with several possible triggers, the method logically models failure paths. It makes visible which combinations of conditions can lead to damage. | arc42 structures architecture knowledge so teams can document system, decisions, and risks consistently. The template builds a living understanding of the architecture instead of scattered notes. | The C4 Model makes a system legible across several resolution levels, from context down to code. It suits situations where different audiences need to understand the same architecture from different altitudes. |
Complexitydifferent | High | Low | Low |
Timedifferent | 2-6 h | 1-2 Tage | 1-4 h |
Participantsdifferent | 3-8 | 1-4 | 1-5 |
Formatsame | Workshop + async | Workshop + async | Workshop + async |
Outputdifferent | Fault Tree, Critical Paths, Cause Hypotheses, Control Actions | Architecture Document, Context View, Runtime View, Deployment View | Context Diagram, Container Diagram, Component Diagram |
Tagsno overlap | RiskRoot causeSafety | ArchitectureDocumentationCommunication | ArchitectureCommunicationVisualization |
Often compared together
Methods with strong topical overlap with the current selection, not yet in the comparison.