View methods side by side.
Choose up to four methods. Add them using the search and share the comparison by copying its link.
| Criterion | 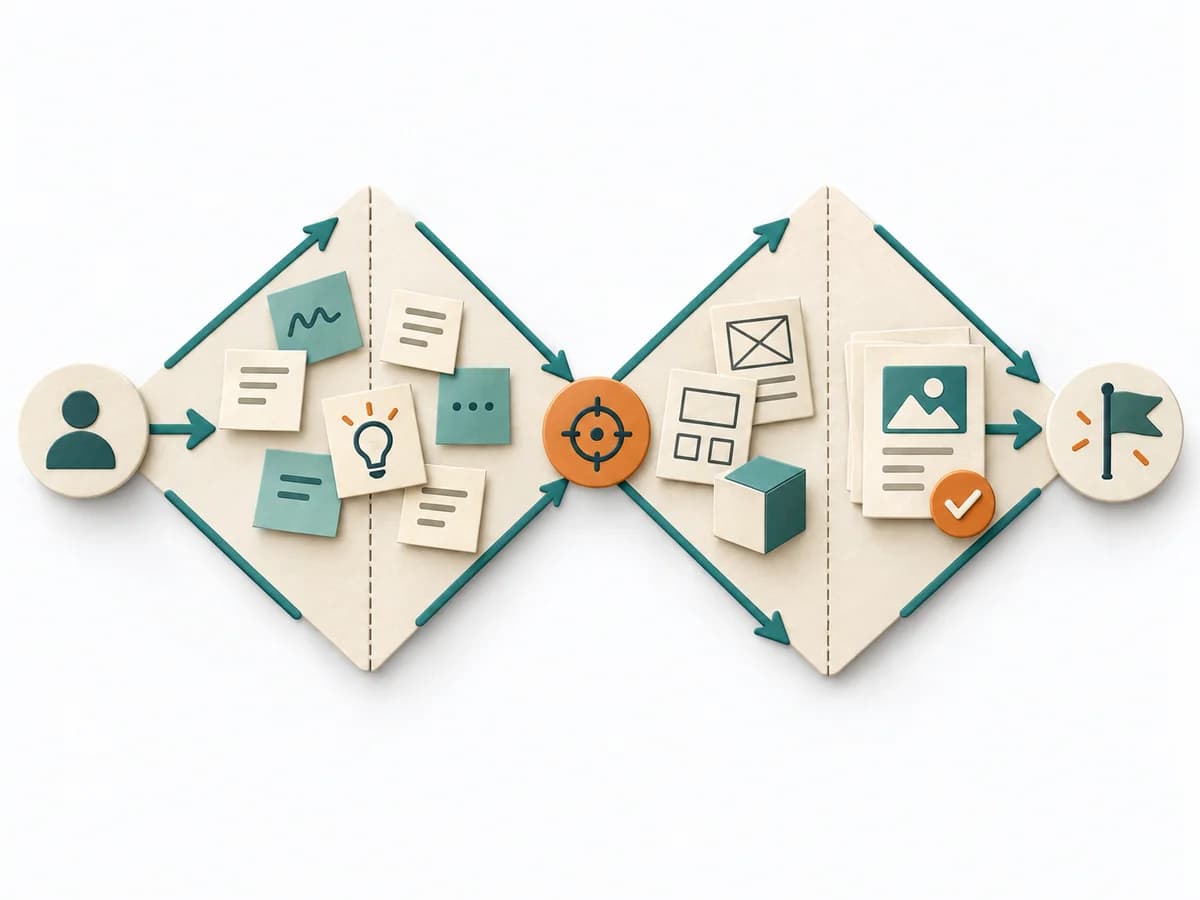 Innovation Double Diamond | 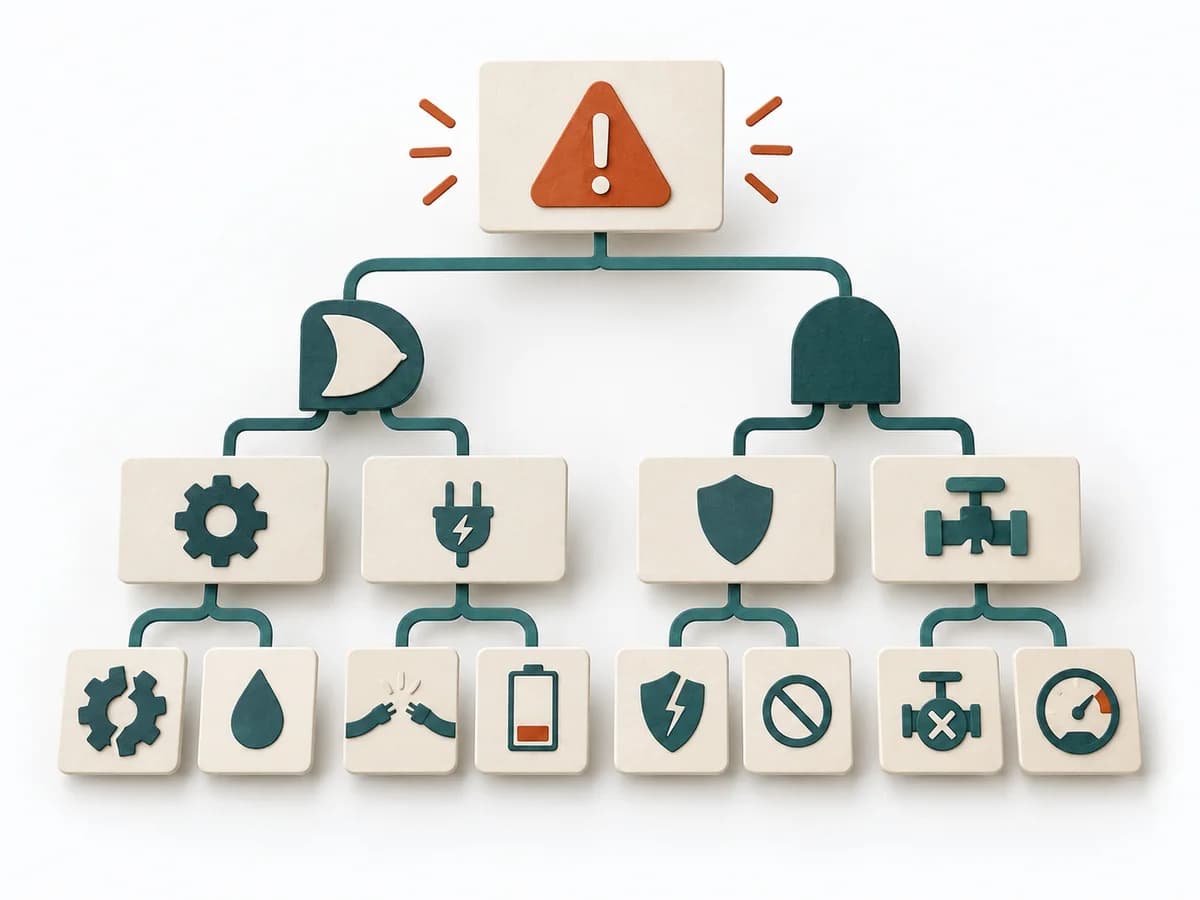 Operations Fault Tree Analysis | 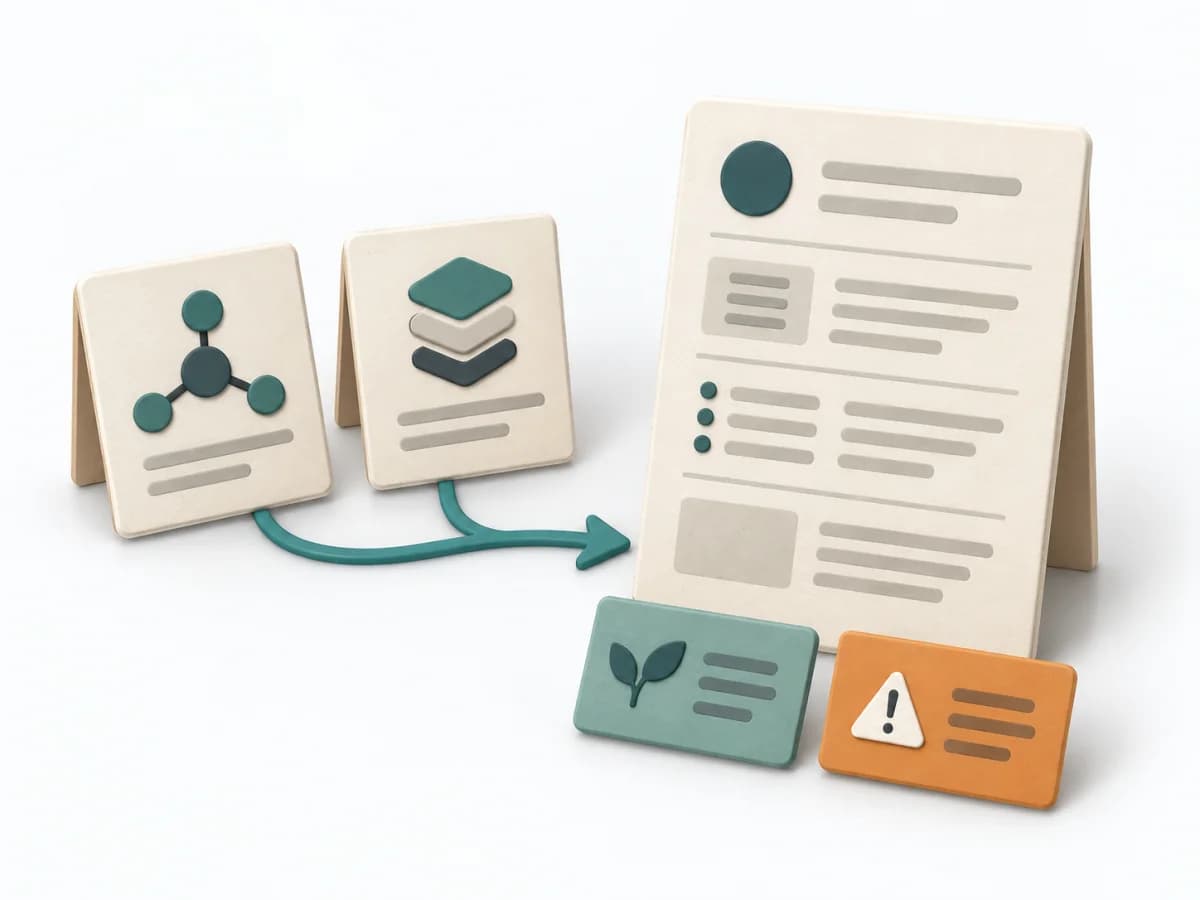 Architecture Architecture Decision Record |
|---|---|---|---|
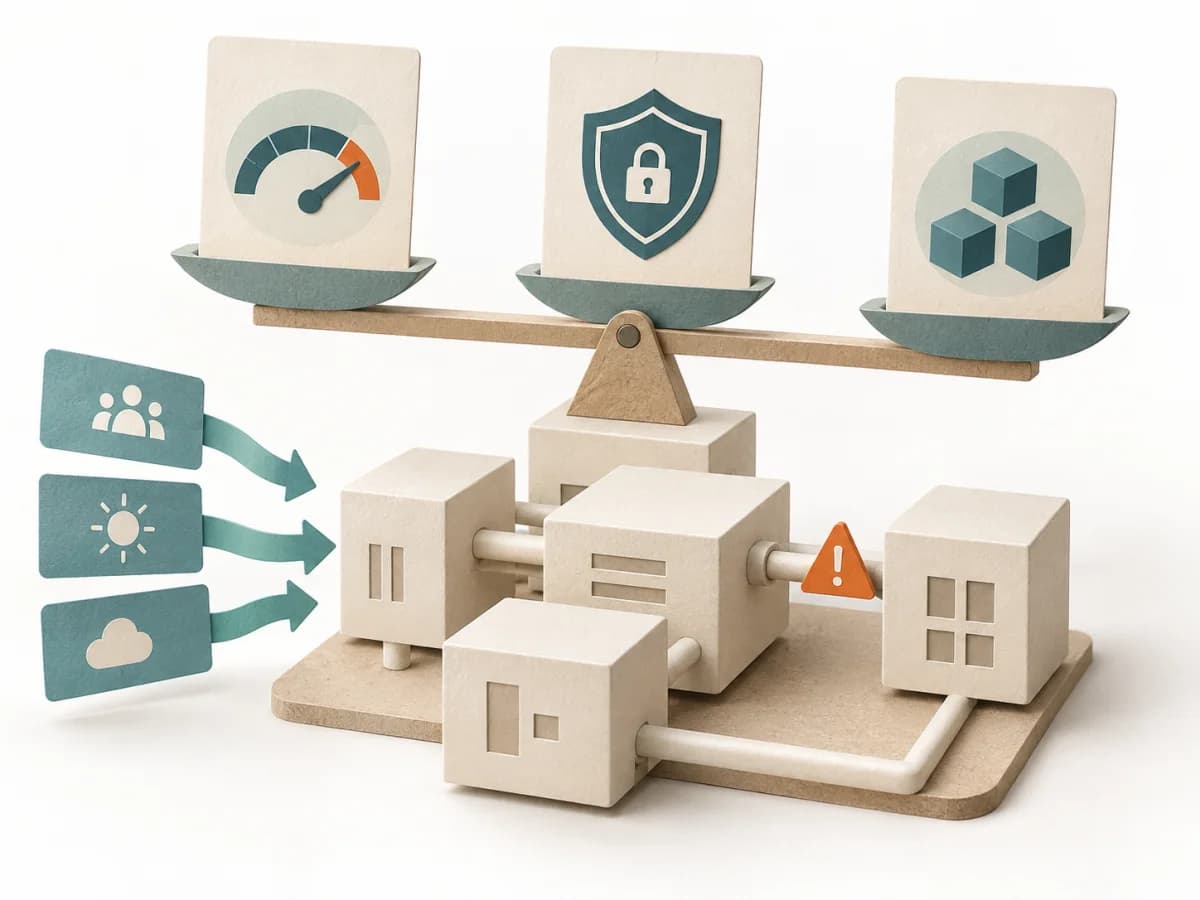
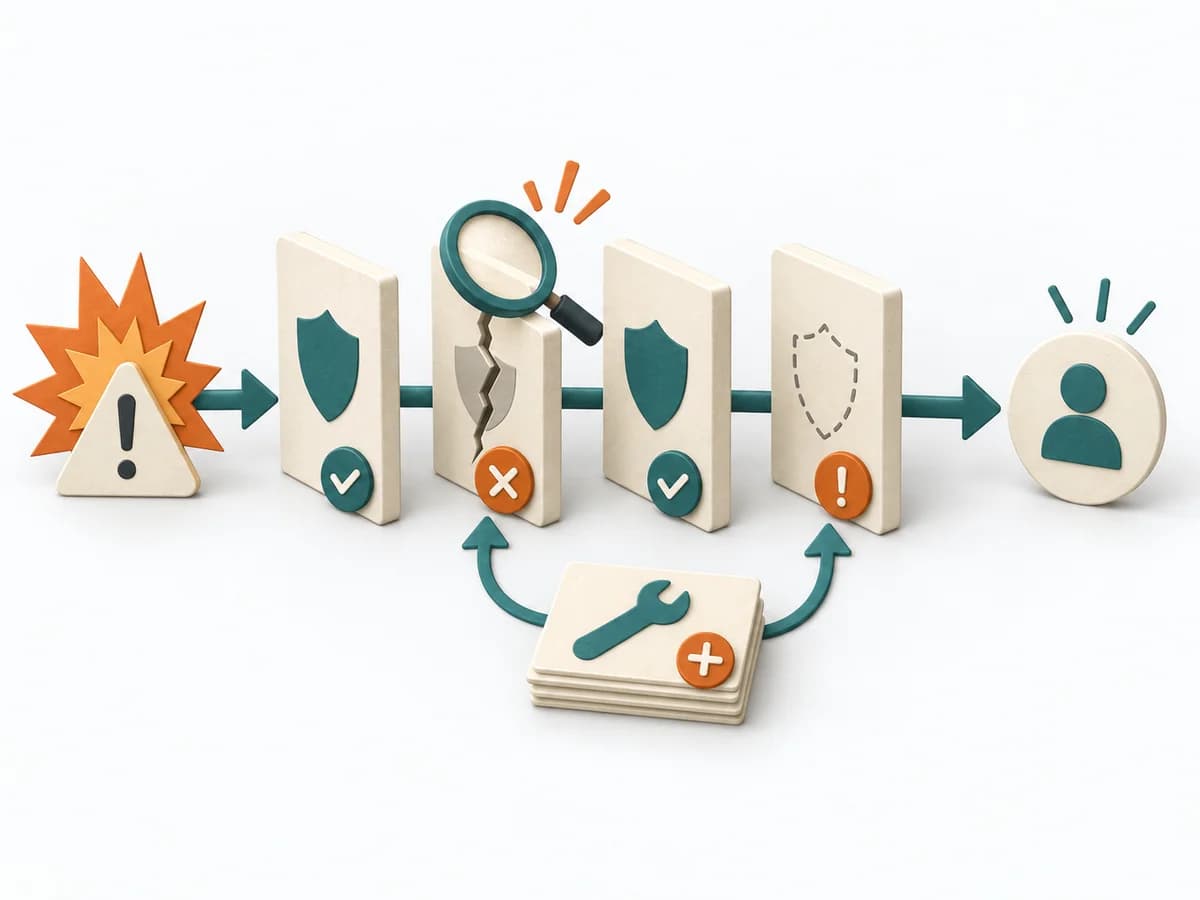
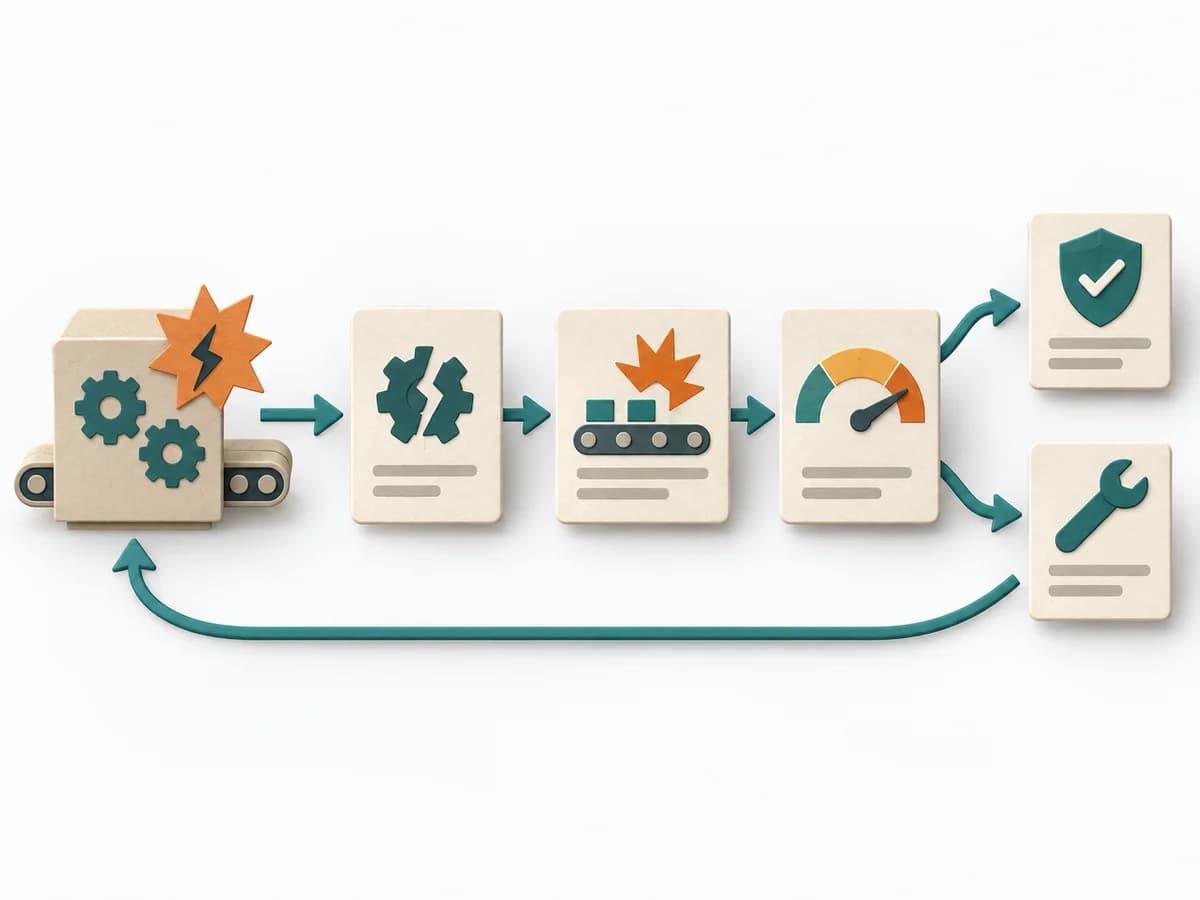
Purposedifferent | For complex problems with a fuzzy situation, the method cleanly separates search space and decision. It first creates breadth in understanding and then focus in elaboration. This brings open questions, problem definition, and solution path into a traceable movement. | For a critical top event with several possible triggers, the method logically models failure paths. It makes visible which combinations of conditions can lead to damage. | An ADR permanently records an architecture decision with context, trade-offs, and consequence. It creates continuity for later changes because the decision path stays traceable. |
Complexitydifferent | Medium | High | Low |
Timedifferent | Wochen bis Monate | 2-6 h | 15-45 min |
Participantsdifferent | 3-12 | 3-8 | 1-3 |
Formatdifferent | Workshop + async | Workshop + async | Async |
Outputdifferent | Problem Statement, Solution Options, Prototypes, Deliverables per Phase | Fault Tree, Critical Paths, Cause Hypotheses, Control Actions | ADR File, Decision Log, Rationale |
Tagsno overlap | ProcessDivergenceInnovation | RiskRoot causeSafety | ArchitectureRationaleDocumentationGovernance |
Often compared together
Methods with strong topical overlap with the current selection, not yet in the comparison.