View methods side by side.
Choose up to four methods. Add them using the search and share the comparison by copying its link.
| Criterion | 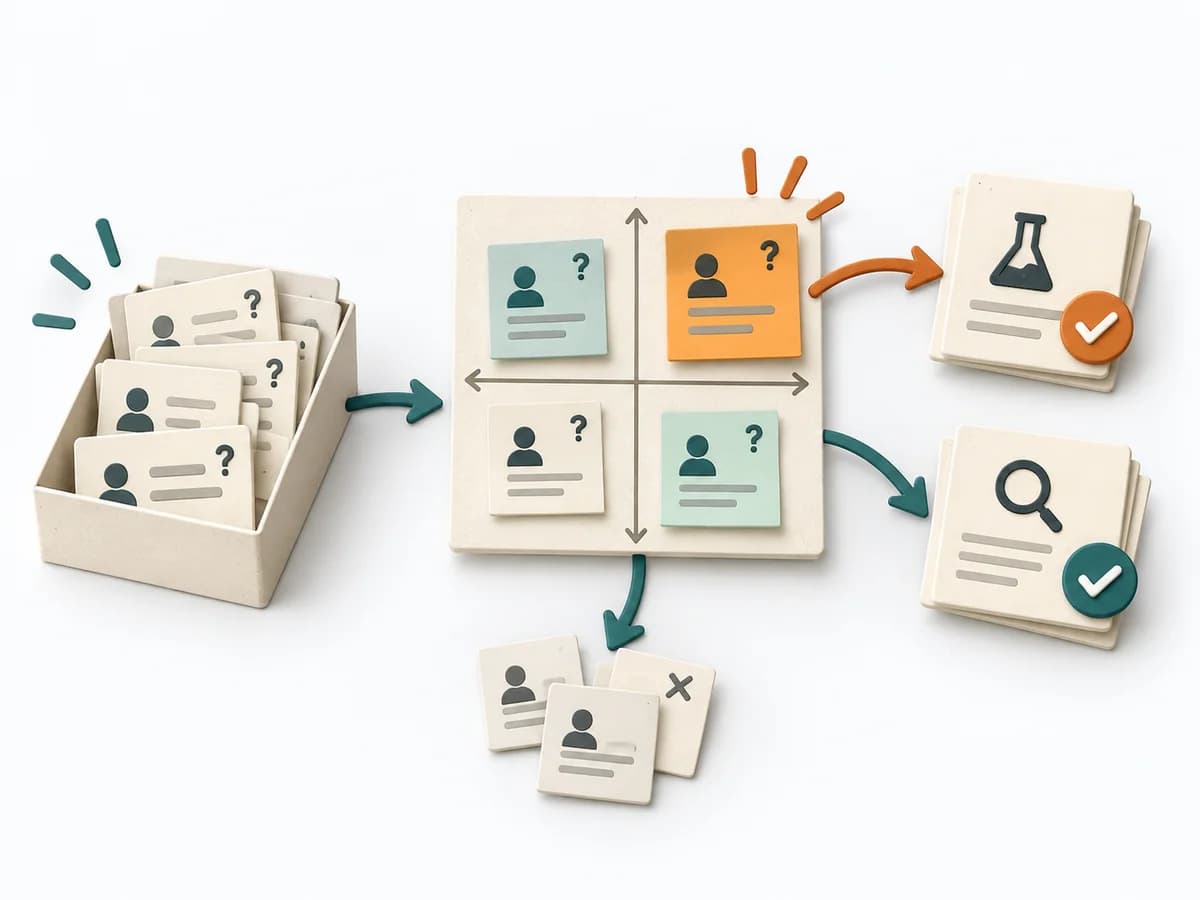 Decision Making Assumption Surfacing |  Decision Making Pre-Mortem |  Operations ALPEN Method |
|---|---|---|---|
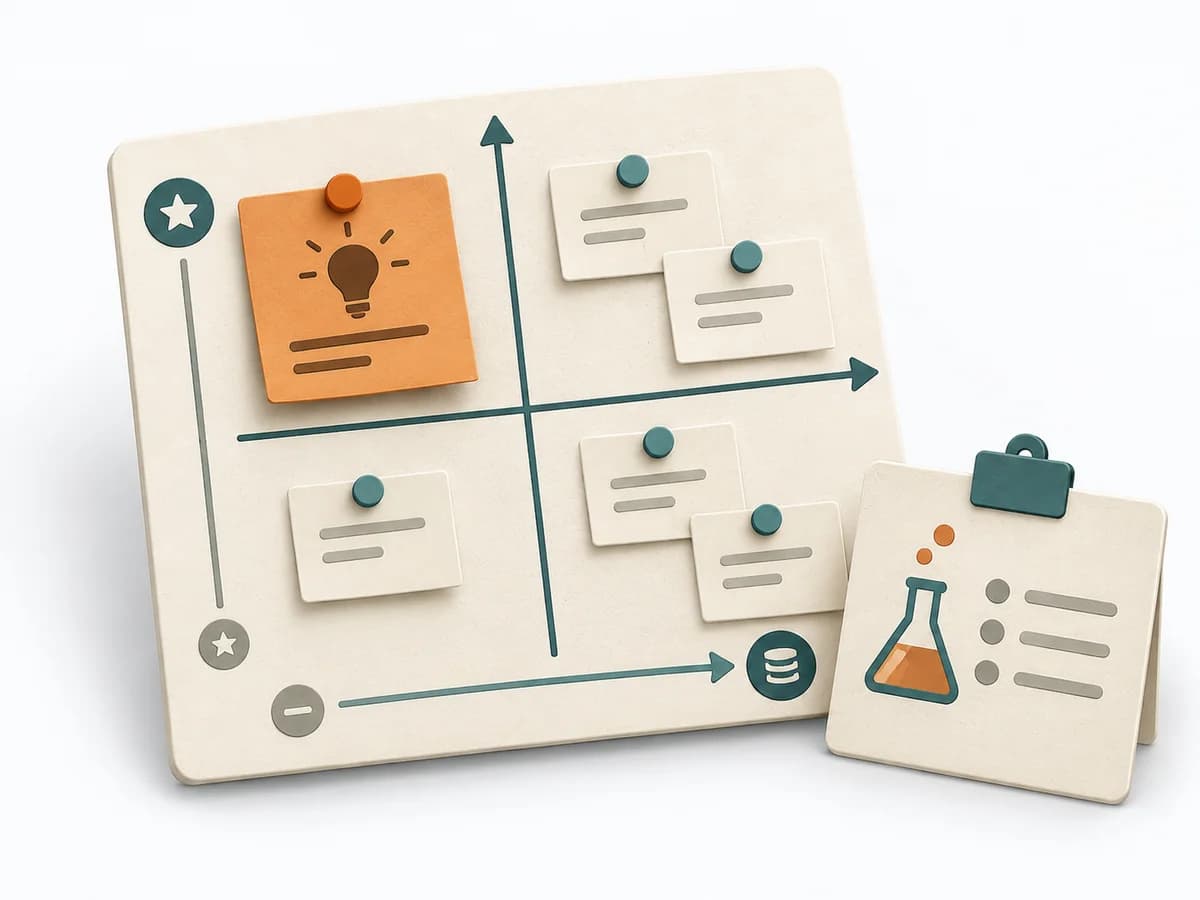
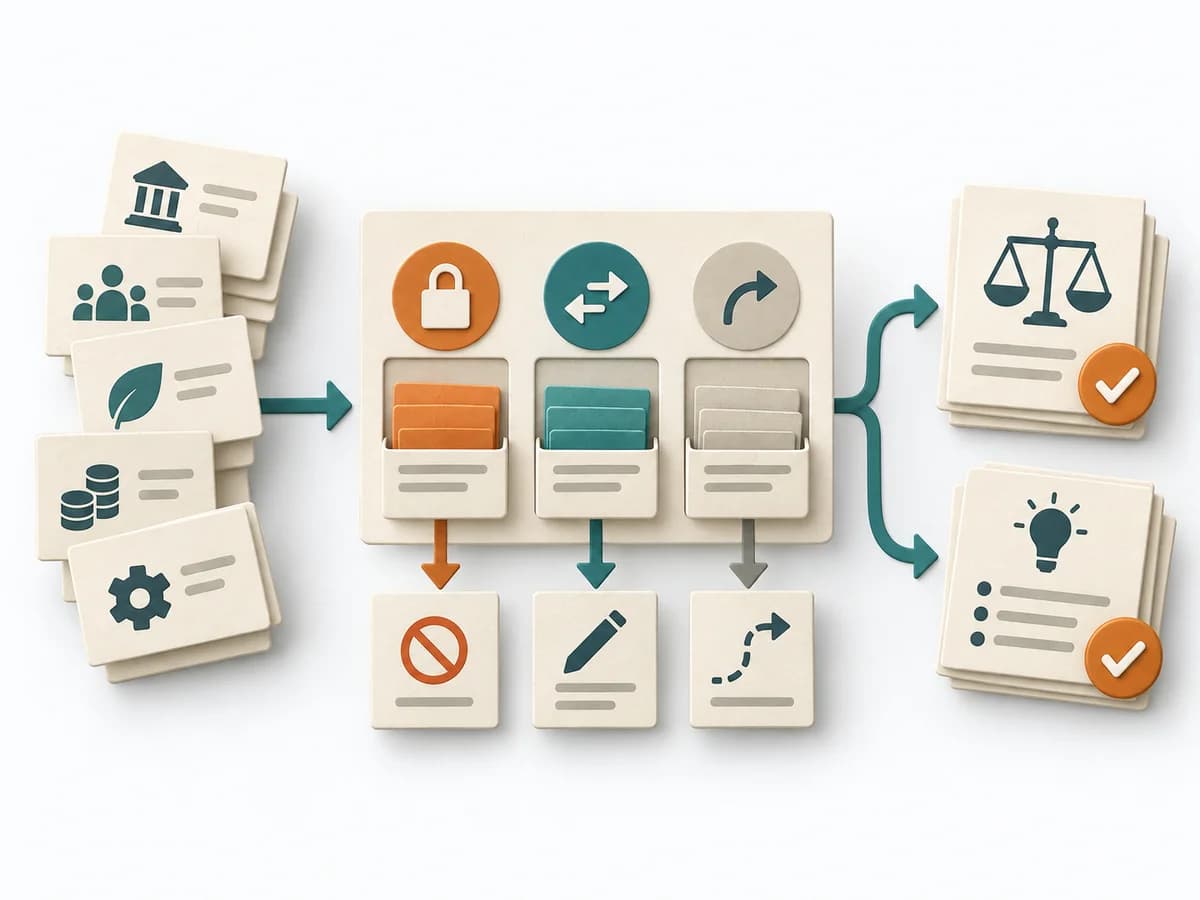
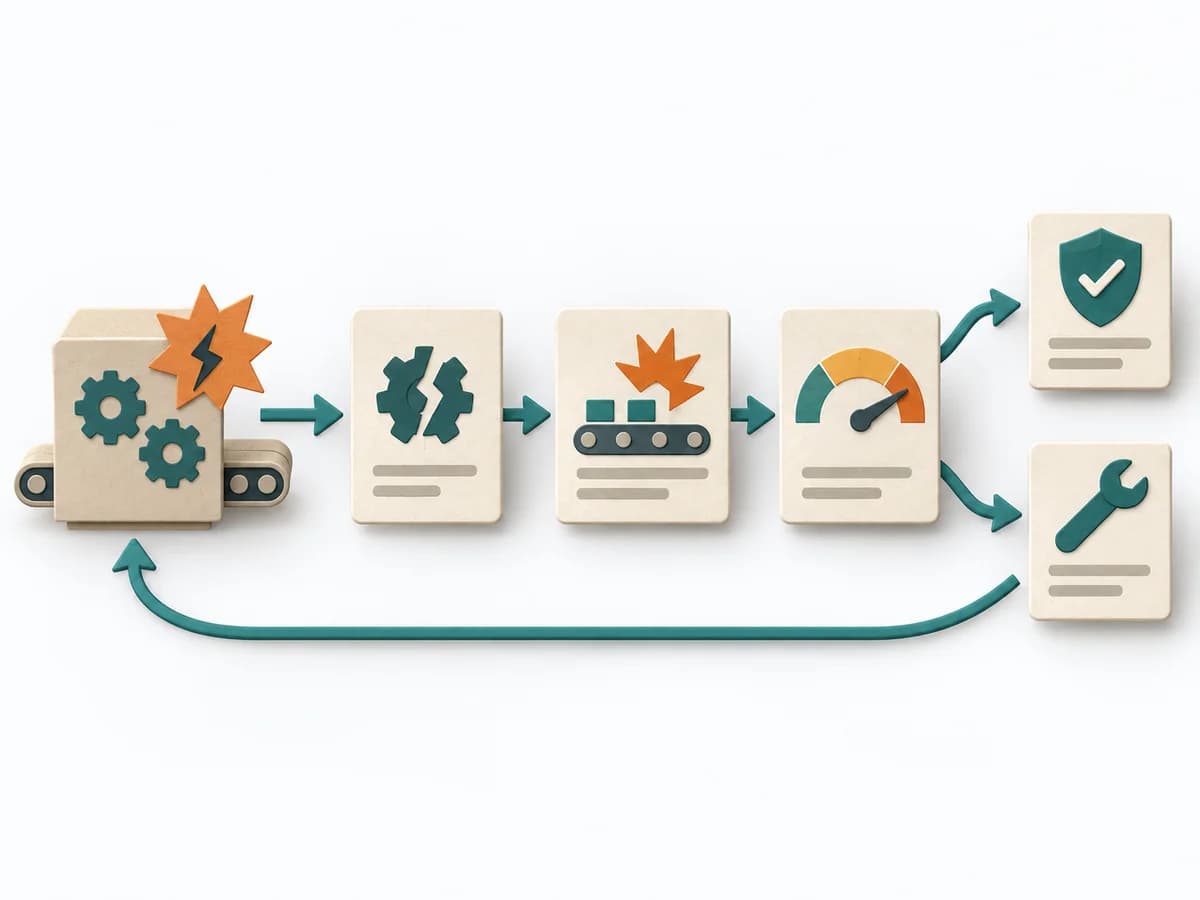
Purposedifferent | Plans often contain assumptions that were never openly stated and remain dangerous precisely because of that. Assumption Surfacing makes these silent premises visible and prioritizes which of them carry the initiative or could sink it. | In early initiatives with many uncertainties, planning quickly turns too optimistic. A pre-mortem makes the expected failure visible in advance and sharpens the view of causes, gaps, and countermeasures. | With an overloaded day full of too many tasks, a realistic picture of the day emerges. The method connects estimating, deciding, and buffer thinking so planning fits available energy and time. |
Complexitysame | Low | Low | Low |
Timedifferent | 45-90 min | 20–45 min | 10-20 min daily |
Participantsdifferent | 2-8 | Small cross-functional group | 1 |
Formatdifferent | Workshop + async | Workshop | Async |
Outputdifferent | Assumption List, Critical Assumptions, Learning Plan | Risk list, Mitigation plan, Assumption log | Daily Plan, Time Estimates, Review Notes |
Tagsno overlap | AssumptionsRiskDecisionDiscovery | RiskDecisionFailurePlanning | PlanningTime managementProductivityOperations |
Often compared together
Methods with strong topical overlap with the current selection, not yet in the comparison.