View methods side by side.
Choose up to four methods. Add them using the search and share the comparison by copying its link.
| Criterion | 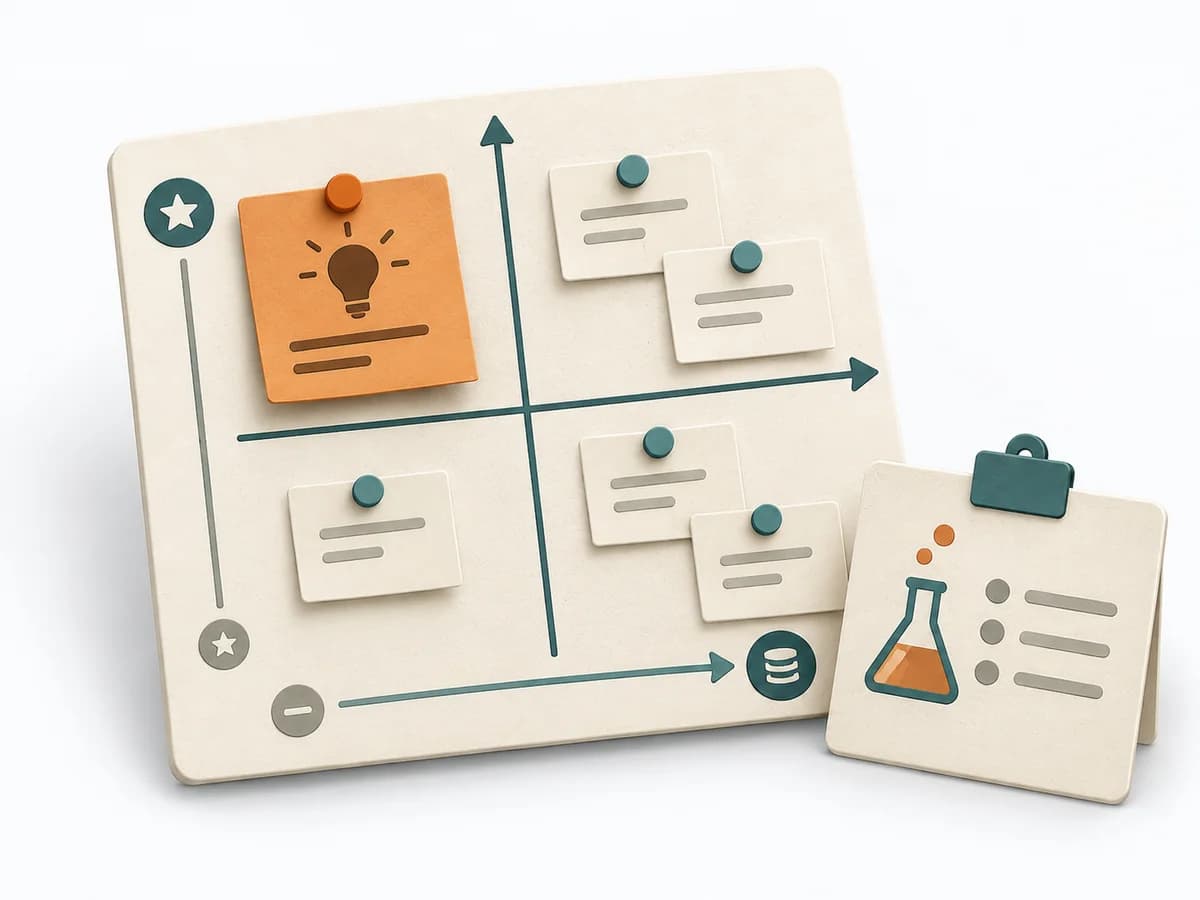 Product Discovery Assumption Mapping | 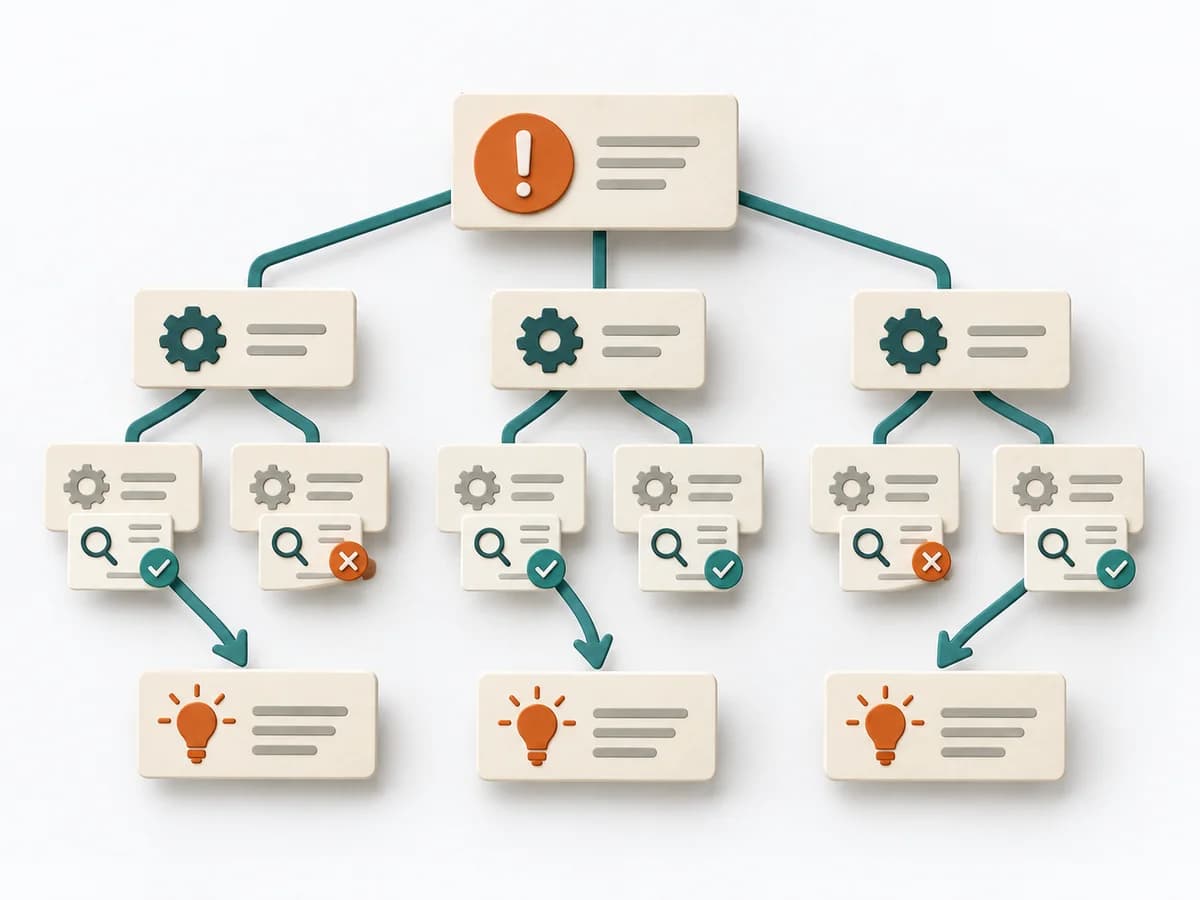 Operations Root Cause Tree Analysis | 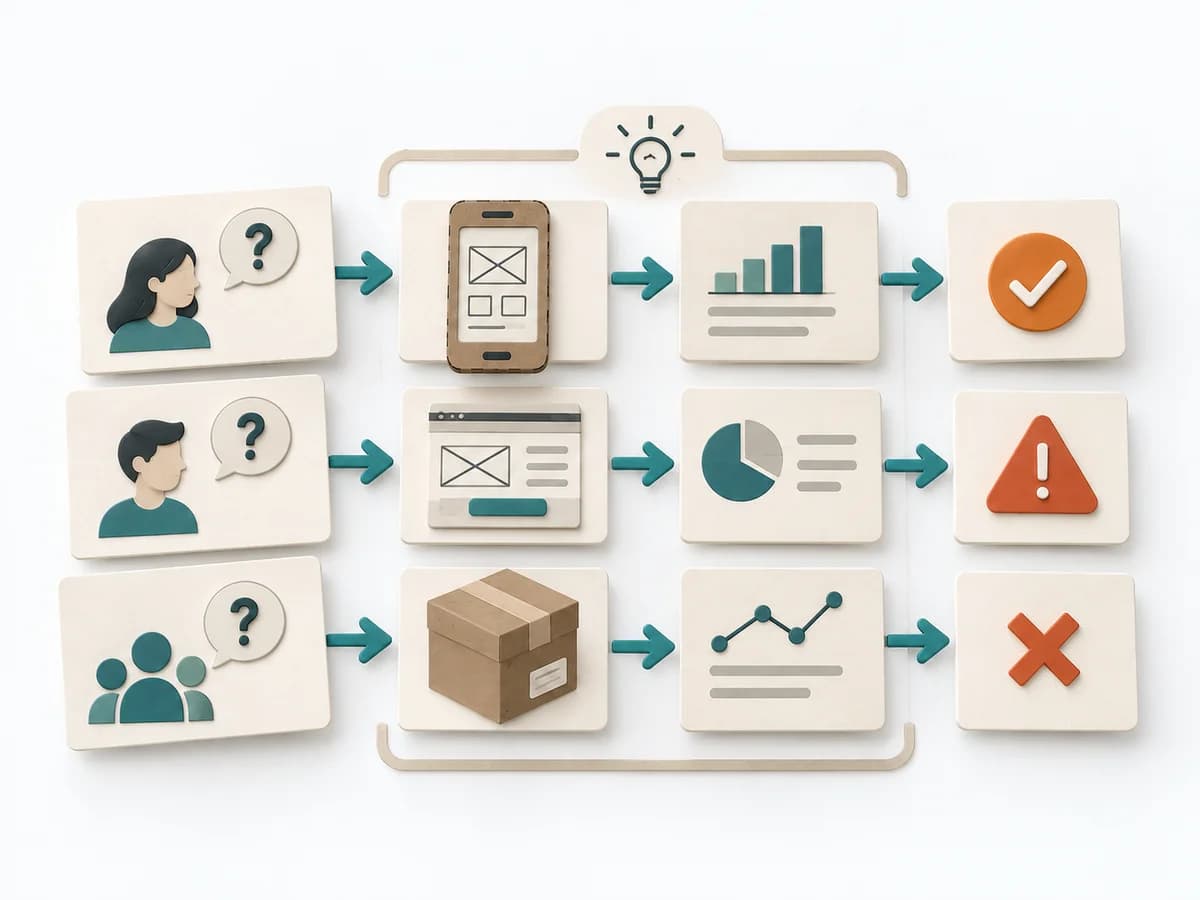 Product Discovery MVP Test Matrix |
|---|---|---|---|
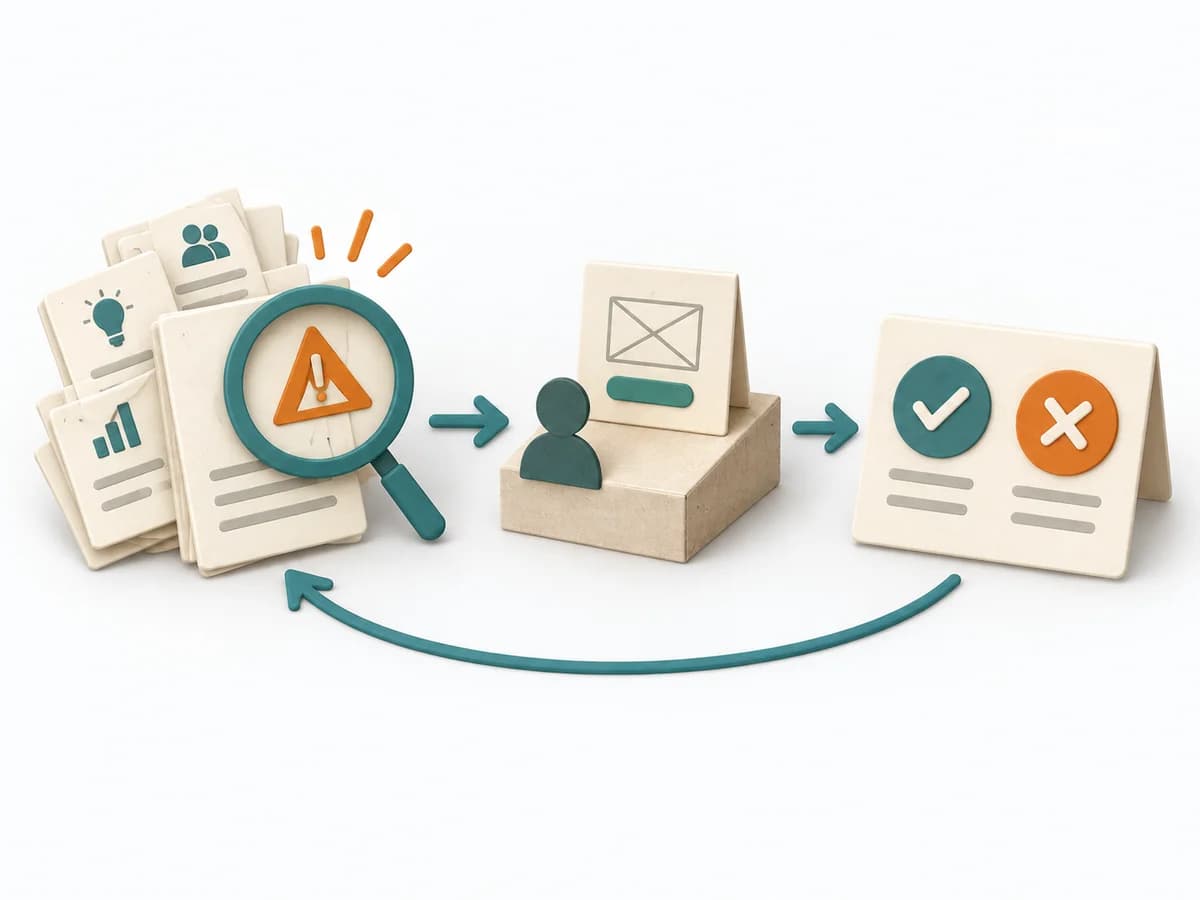
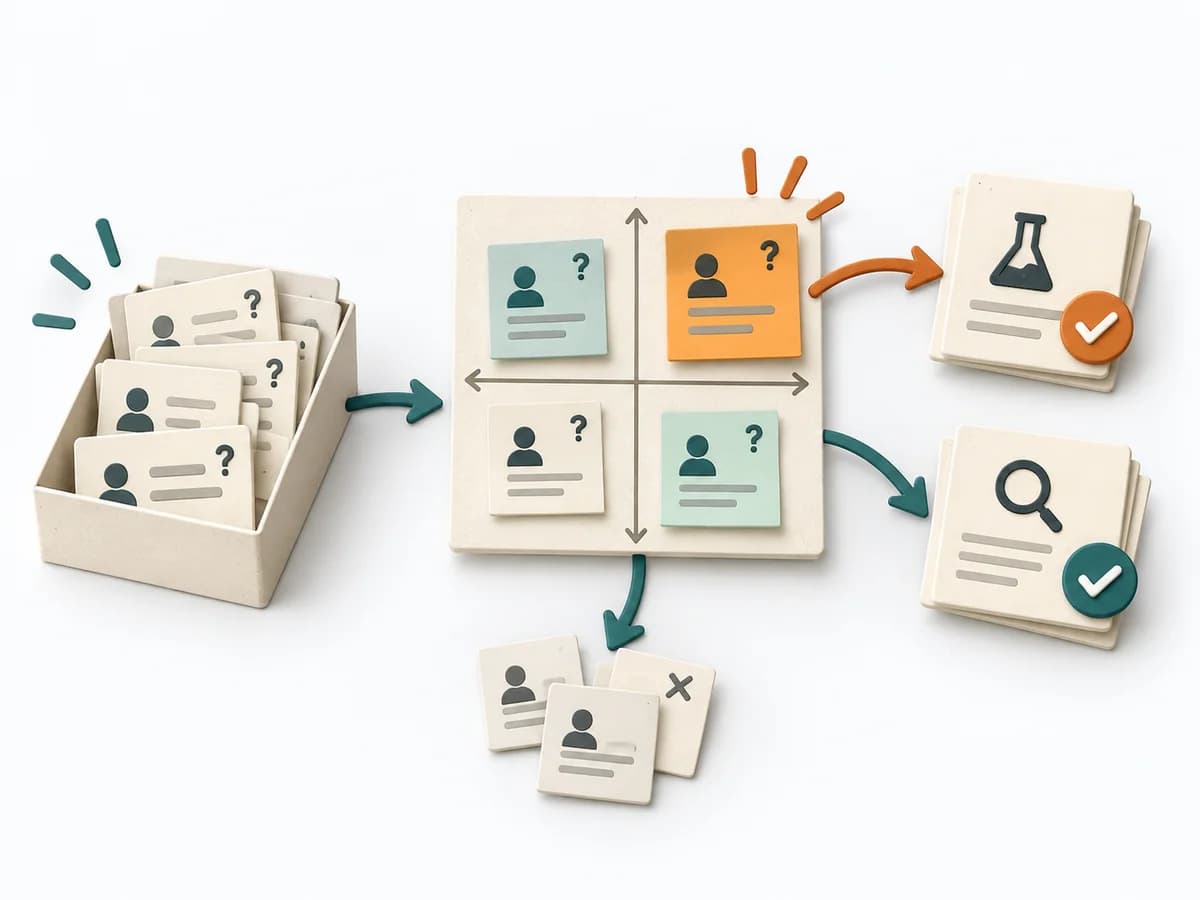
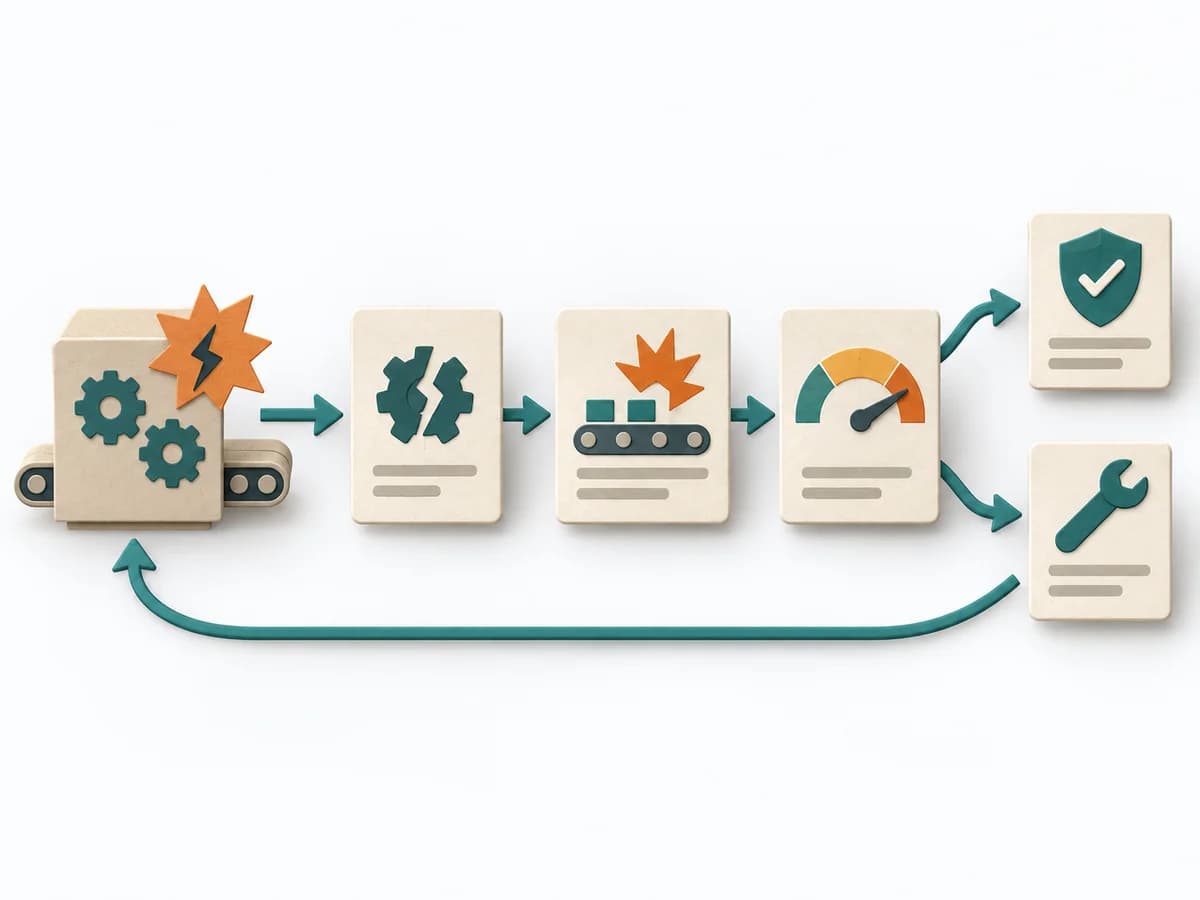
Purposedifferent | When assumptions still sit unordered in the room, it weighs uncertainty against leverage. It makes visible which hypotheses should be checked first. | For a problem with several suspected causes, the method builds a causal structure instead of a mere list. It makes visible how causes connect and where the strongest points of leverage lie. | When several minimal variants compete to answer the same question, it makes comparing and choosing between them cleaner. It separates problem, assumption, solution, and evidence. The result is captured as a Test Matrix and a Test Plan. |
Complexitysame | Medium | Medium | Medium |
Timedifferent | 45-60 min | 1-3 h | 45-75 min |
Participantssame | 2-8 | 2-8 | 2-8 |
Formatdifferent | Workshop + async | Workshop | Workshop |
Outputdifferent | Assumption map, Test backlog, Risk ranking | Cause Tree, Evidence Notes, Countermeasures | Test Matrix, Test Plan |
Tagsno overlap | AssumptionsRiskExperimentsValidation | Root causeTreeIncidentQuality | ExperimentsValidationDiscoveryOptions |
Often compared together
Methods with strong topical overlap with the current selection, not yet in the comparison.