View methods side by side.
Choose up to four methods. Add them using the search and share the comparison by copying its link.
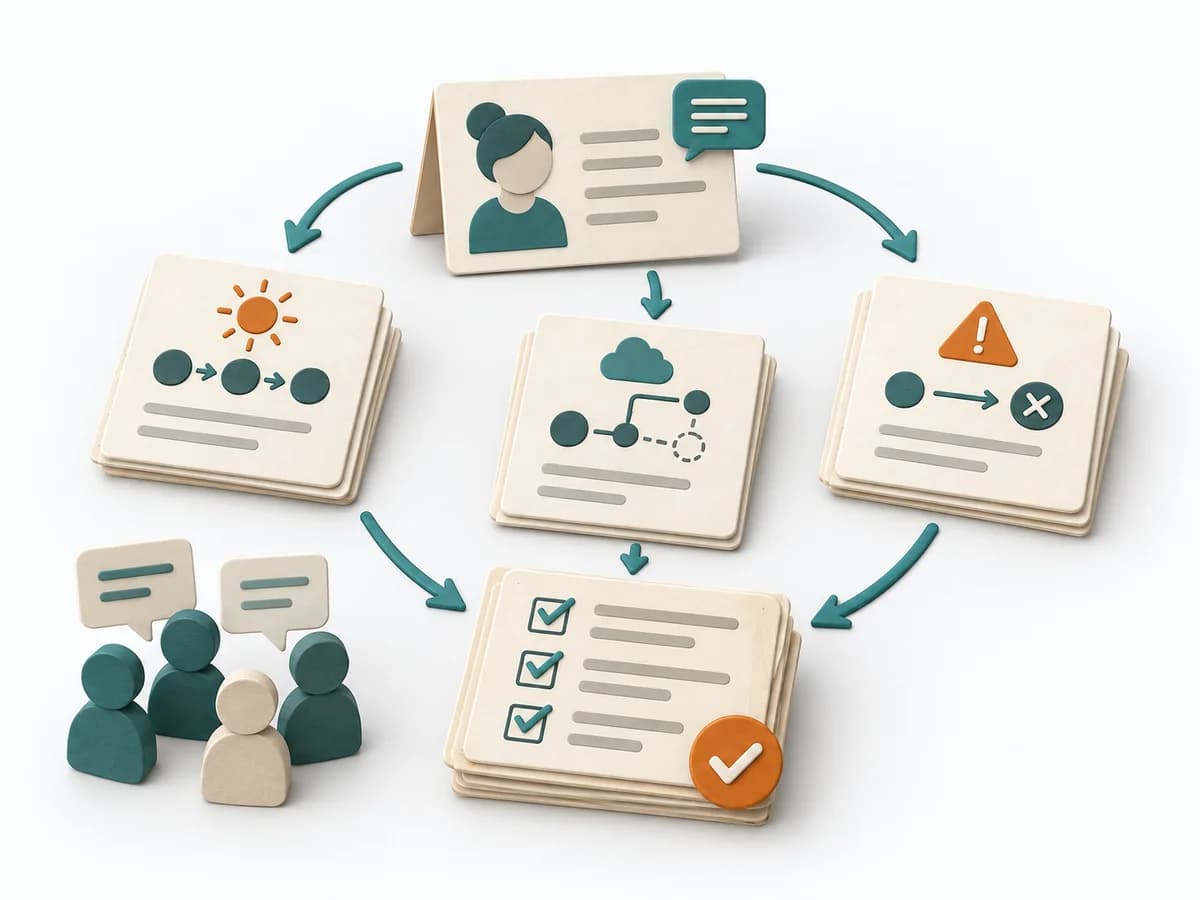
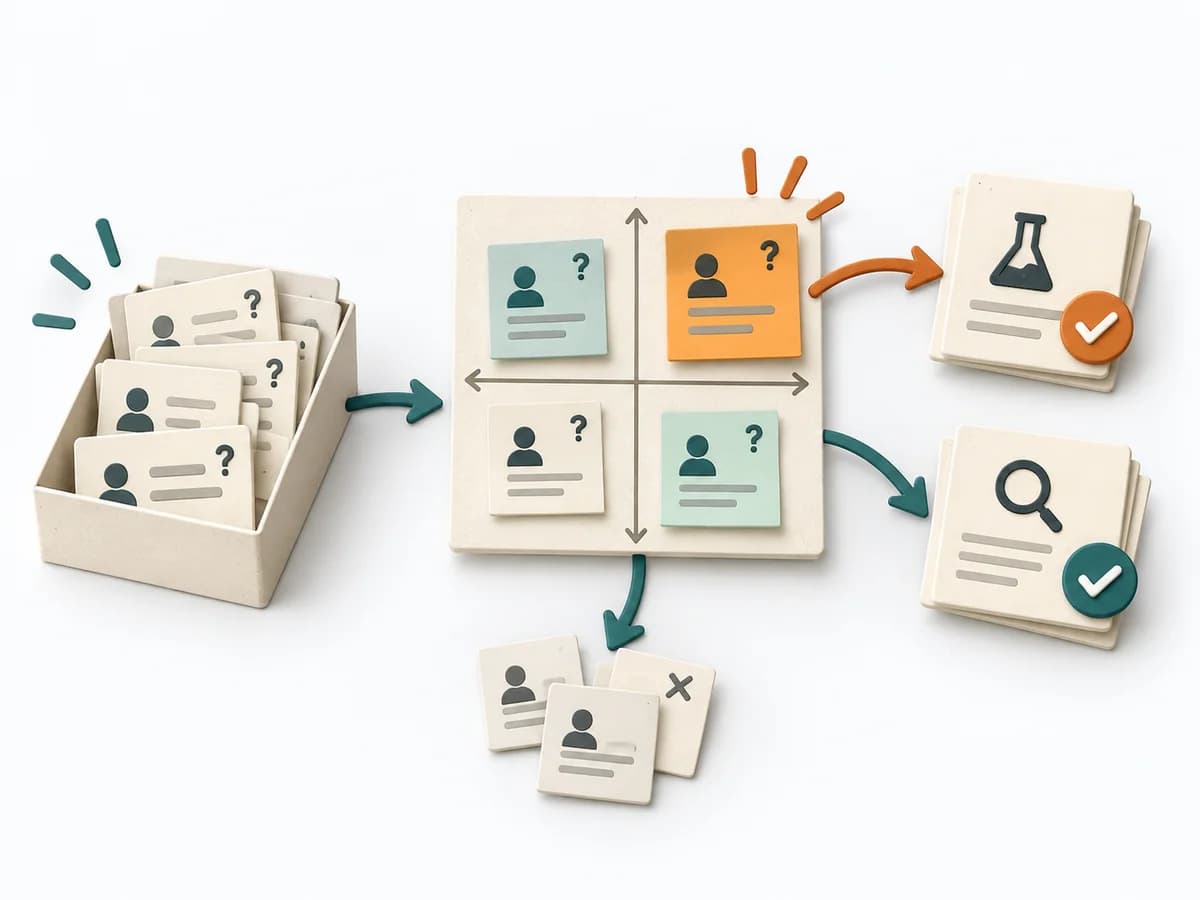
| Criterion |  Decision Making Argument Mapping | 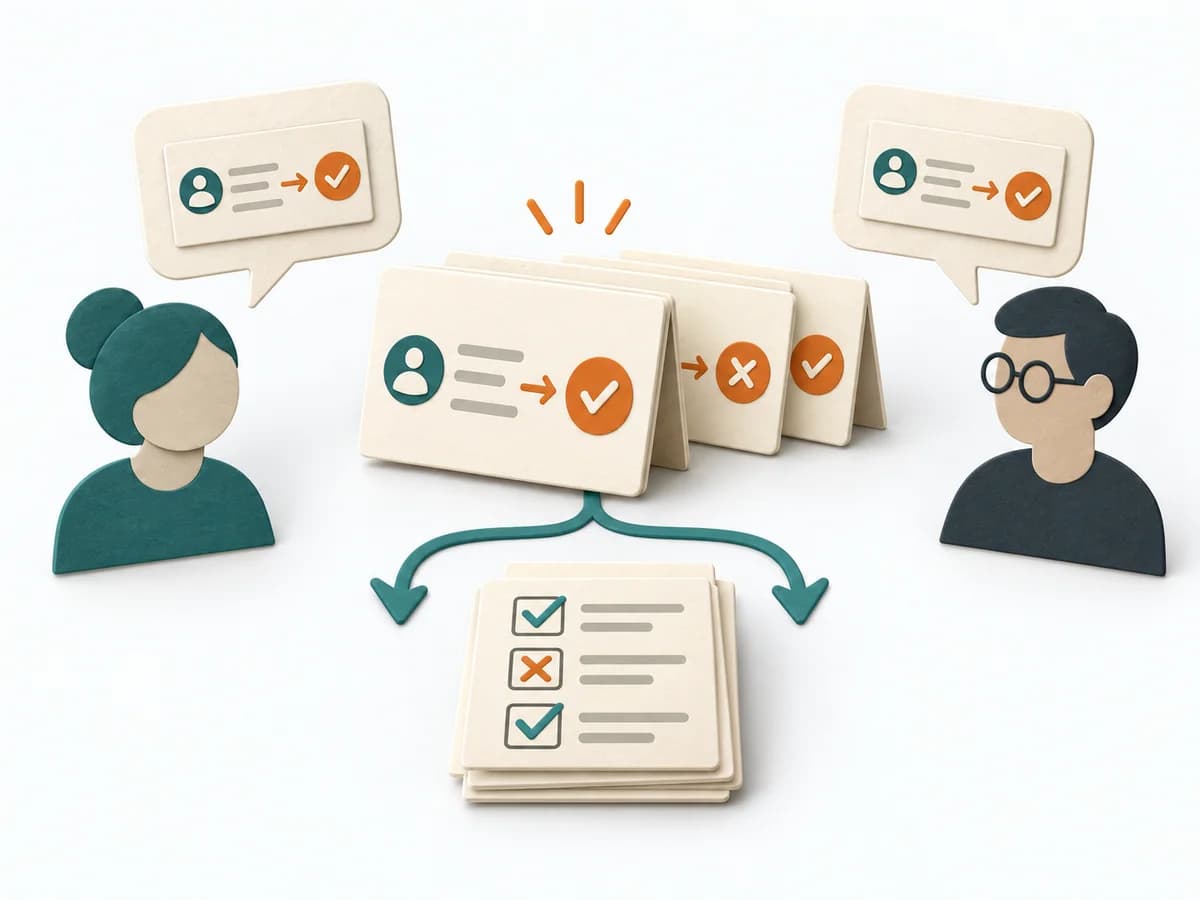 Agile Specification by Example | 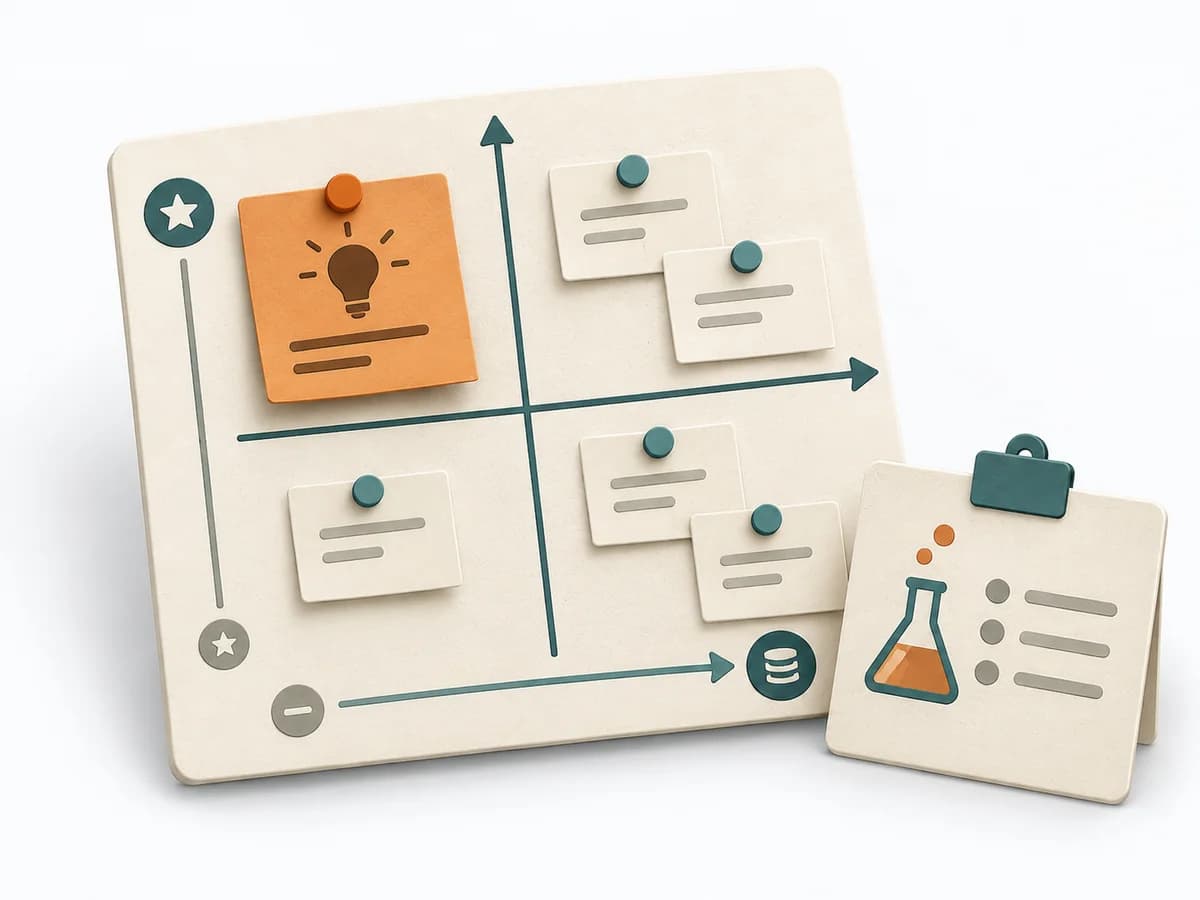 Product Discovery Assumption Mapping |
|---|---|---|---|
Purposedifferent | When statements, evidence, and counterarguments get mixed up, a debate quickly loses its structure. Argument Mapping breaks a thesis down into its reasoning and makes visible what it really rests on. | When business rules need to become precise, it ties language, example, and test together. It sorts work by value, risk, and delivery ability. The result is captured as an Example Table and Acceptance Tests. | When assumptions still sit unordered in the room, it weighs uncertainty against leverage. It makes visible which hypotheses should be checked first. |
Complexitysame | Medium | Medium | Medium |
Timedifferent | 1-3 h | 60-90 min pro Feature | 45-60 min |
Participantsdifferent | 1-8 | 3-6 | 2-8 |
Formatdifferent | Workshop + async | Workshop | Workshop + async |
Outputdifferent | Argument Map, Evidence Gaps, Decision Rationale | Example Table, Acceptance Tests | Assumption map, Test backlog, Risk ranking |
Tagsno overlap | SensemakingDecisionRationale | AgileRequirementsExamplesBehavior-Driven Development | AssumptionsRiskExperimentsValidation |
Often compared together
Methods with strong topical overlap with the current selection, not yet in the comparison.