View methods side by side.
Choose up to four methods. Add them using the search and share the comparison by copying its link.
| Criterion | 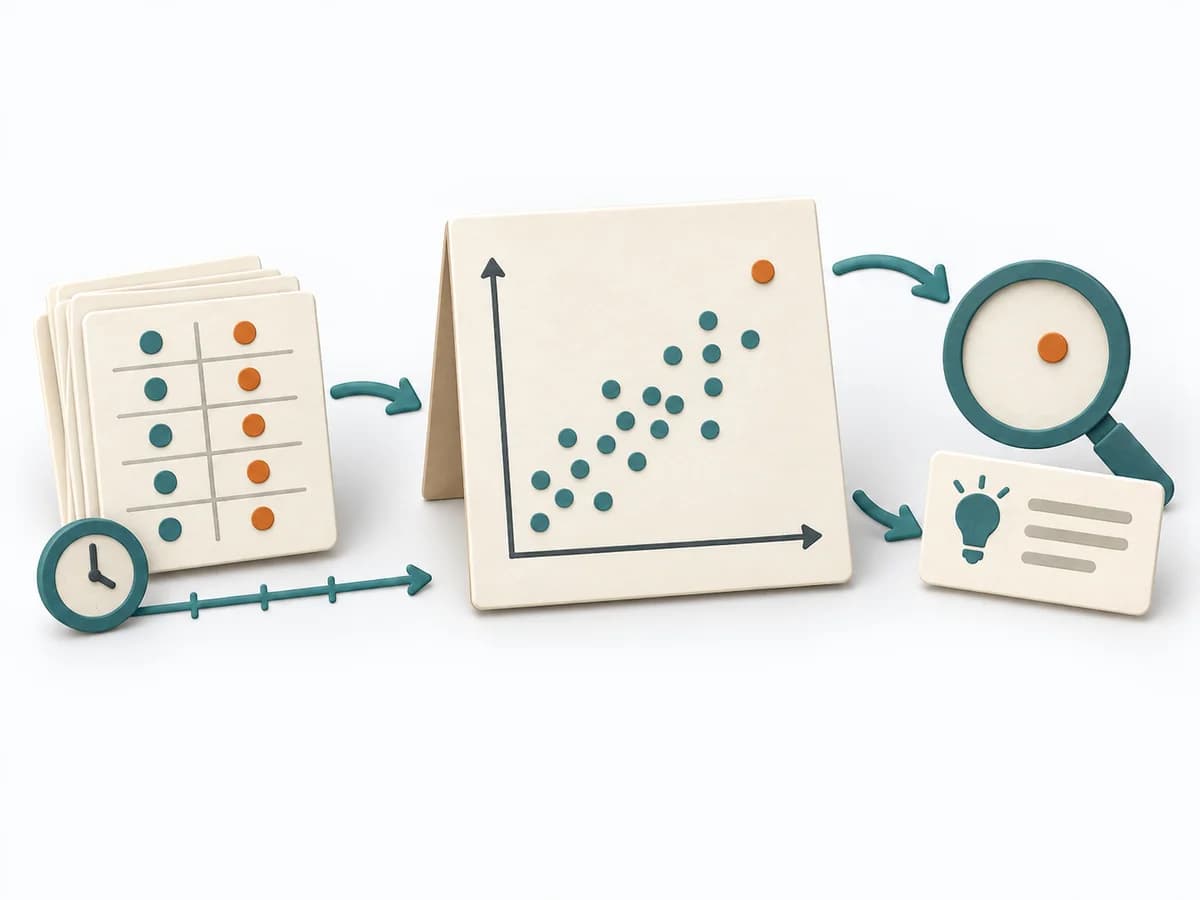 Operations Scatter Diagram |  Delivery RAID Log |  Operations 5 Whys |
|---|---|---|---|
Purposedifferent | When the question is whether two measures are related, the method makes patterns in the data picture visible. It separates felt correlations from relationships that actually show up in the data. | Helps clarify scope, sequence, and delivery flow in concrete terms. It makes work, boundaries, and order steerable. The result is captured as a RAID Log and a source for status reporting. | For a single, hard-to-explain deviation, the method exposes the causal chain behind the visible symptom. It keeps the cause open until a controllable condition emerges instead of a mere description. |
Complexitysame | Low | Low | Low |
Timedifferent | 30-90 min | 30 min Setup, dann laufend | 15-30 min |
Participantsdifferent | 1-4 | 1-3 maintaining, briefing for everyone | 2-6 |
Formatdifferent | Workshop + async | Async | Workshop |
Outputdifferent | Scatter Plot, Korrelationsnotiz, Hypothesenliste | RAID Log, Status Report Source | Root cause notes, Countermeasures |
Tagsno overlap | Root causeQualityVisualization | RiskTrackingStakeholdersGovernance | Root causeIncidentLeanProblem solving |
Often compared together
Methods with strong topical overlap with the current selection, not yet in the comparison.