View methods side by side.
Choose up to four methods. Add them using the search and share the comparison by copying its link.
| Criterion |  Decision Making Radar | 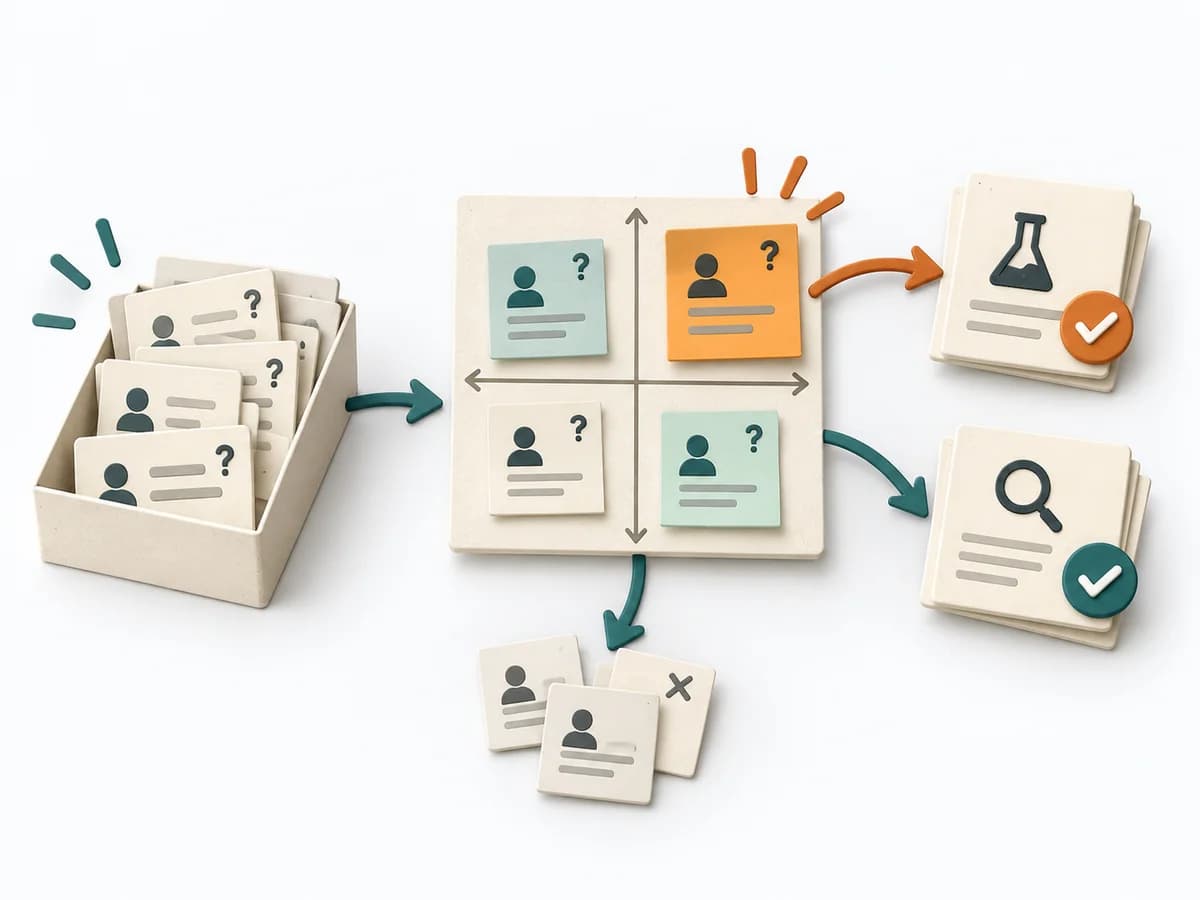 Decision Making Assumption Surfacing | 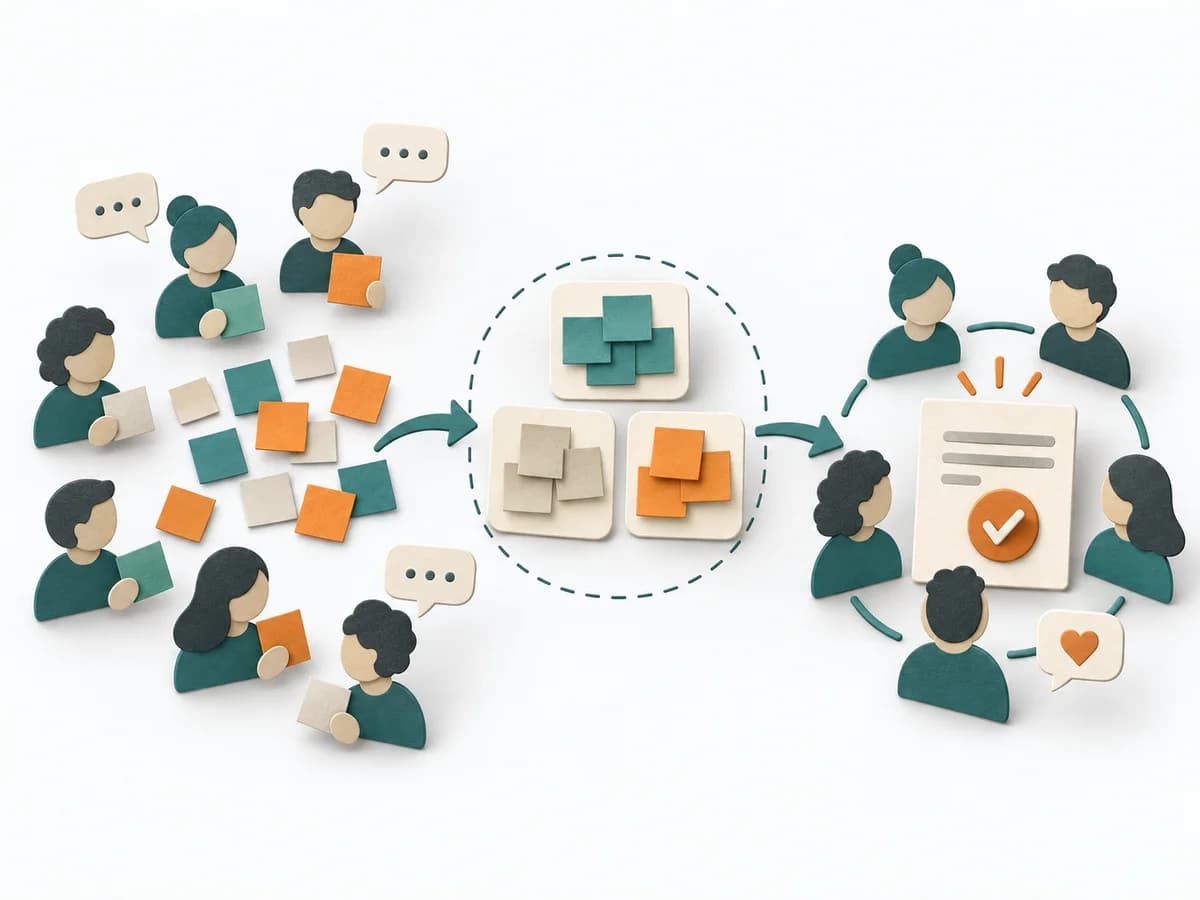 Facilitation Consensus Workshop |
|---|---|---|---|
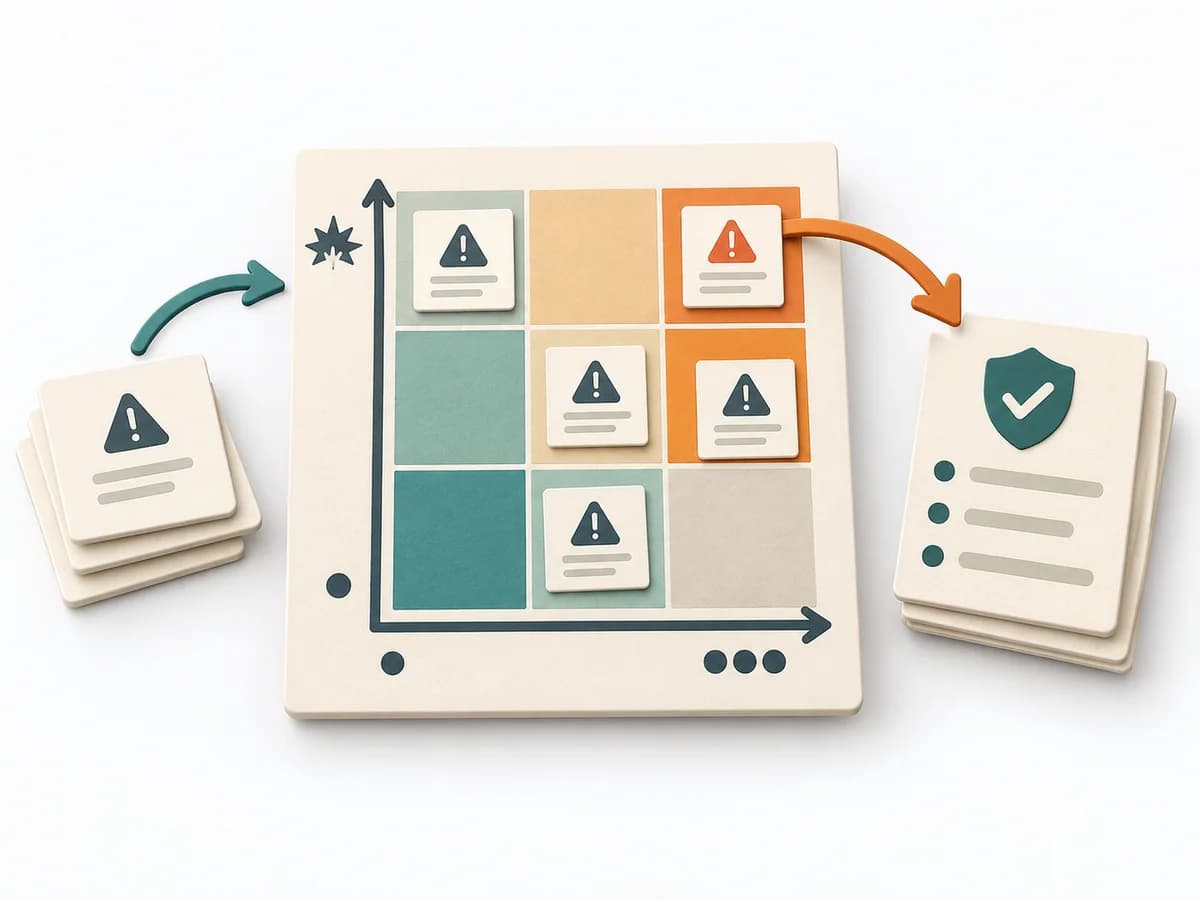
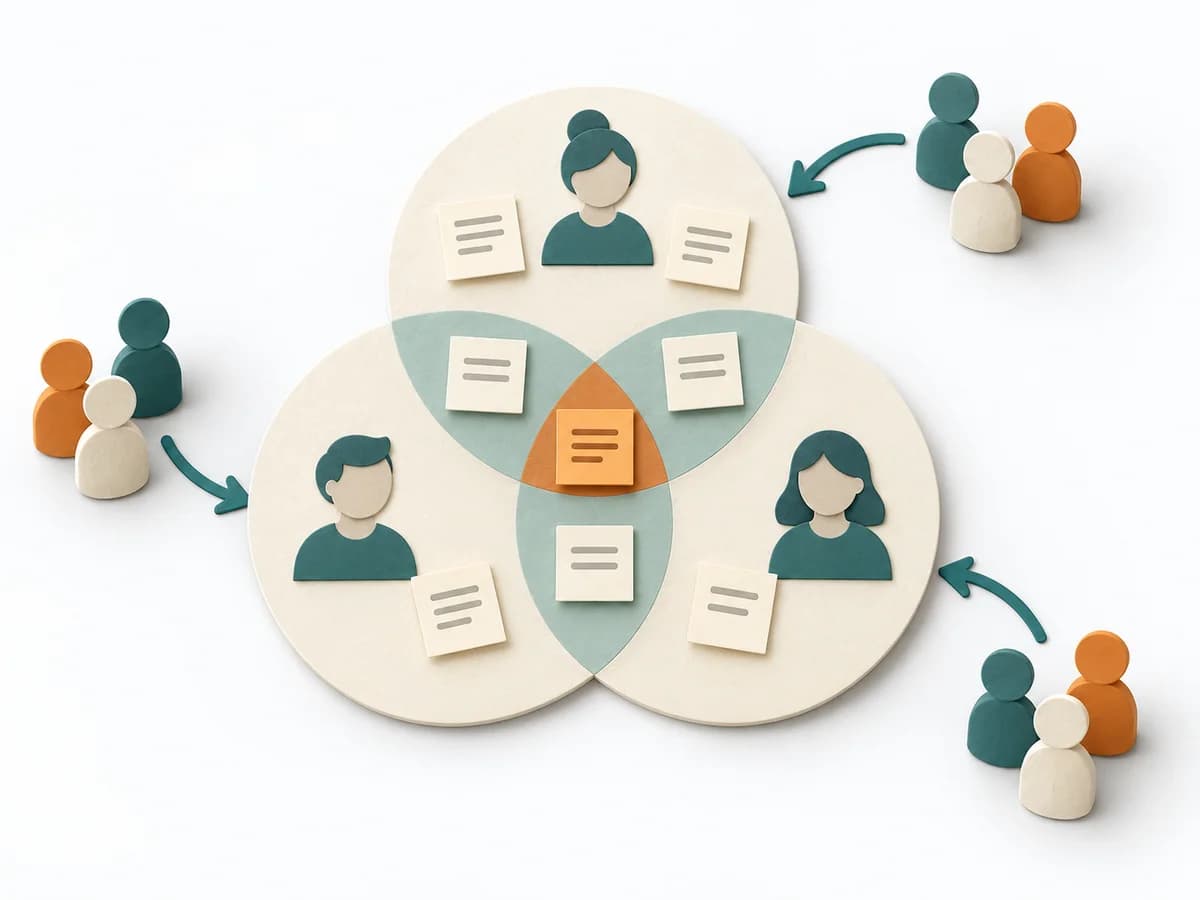
Purposedifferent | When capabilities, maturity levels, or market positions need to be compared across several dimensions, overview is easily lost. Radar brings different characteristics into a shared picture and shows patterns faster than tables do. | Plans often contain assumptions that were never openly stated and remain dangerous precisely because of that. Assumption Surfacing makes these silent premises visible and prioritizes which of them carry the initiative or could sink it. | When a group needs a solid decision without outvoting individual factions, a Consensus Workshop creates a negotiable common ground. It makes agreement, reservations, and open tensions discussable at the same time. |
Complexitydifferent | Medium | Low | Medium |
Timedifferent | 1-2 h | 45-90 min | 1-3 h |
Participantsdifferent | 2-10 | 2-8 | 5-30 |
Formatdifferent | Workshop + async | Workshop + async | Workshop |
Outputdifferent | Radar Map, Capability Scores, Action Areas | Assumption List, Critical Assumptions, Learning Plan | Consensus Clusters, Theme Titles, Priority Areas |
Tagsno overlap | AssessmentPortfolioCapability | AssumptionsRiskDecisionDiscovery | FacilitationConsensusWorkshopAlignment |
Often compared together
Methods with strong topical overlap with the current selection, not yet in the comparison.