View methods side by side.
Choose up to four methods. Add them using the search and share the comparison by copying its link.
| Criterion | 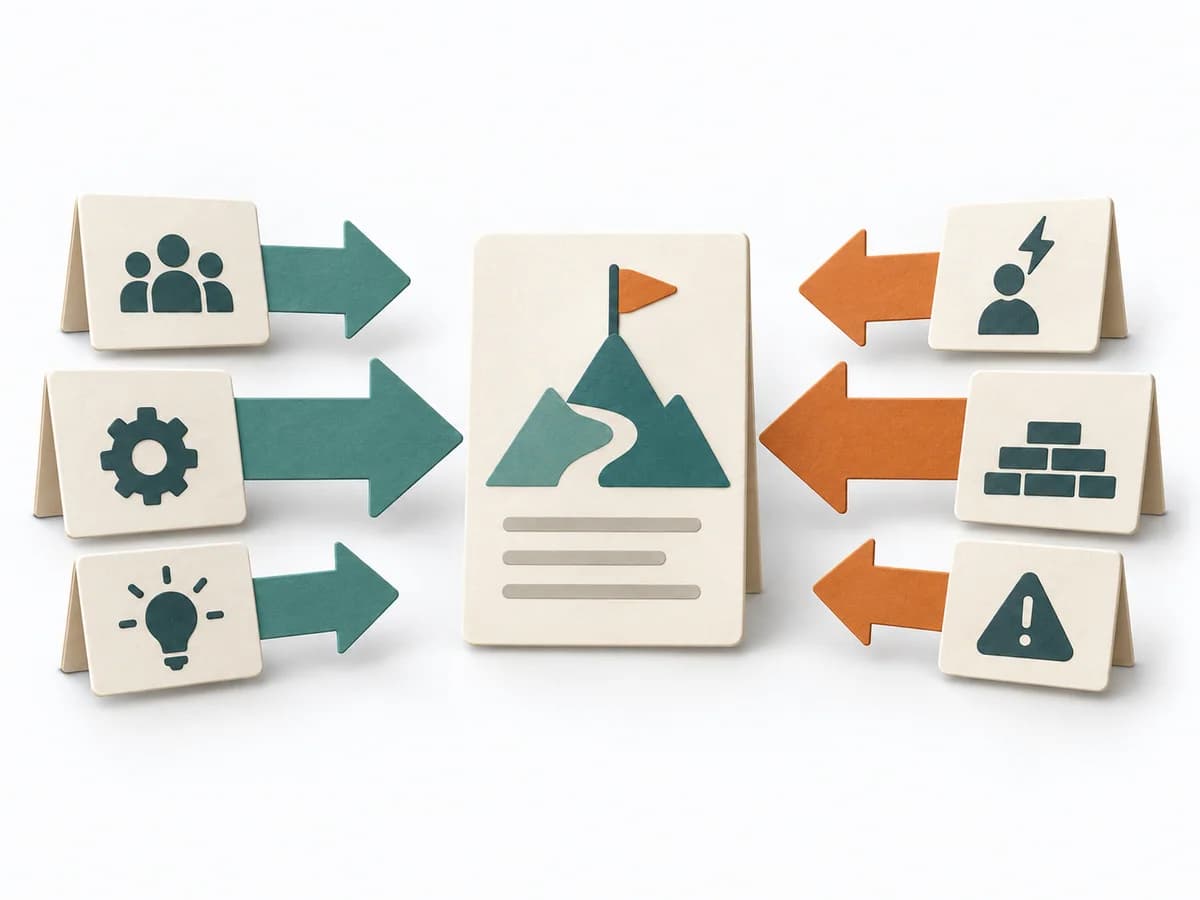 Decision Making Force Field Analysis | 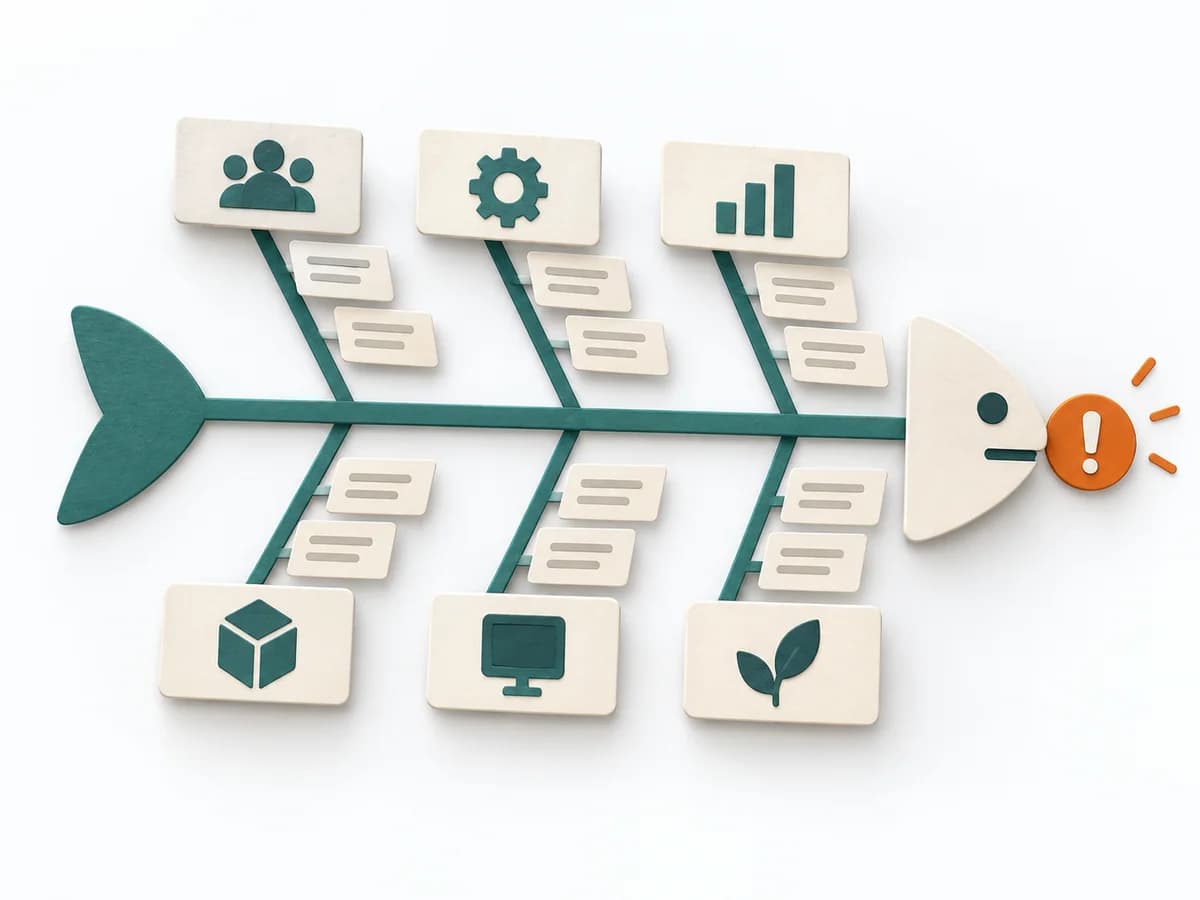 Operations Fishbone Diagram |  Architecture SAAM (Software Architecture Analysis Method) |
|---|---|---|---|
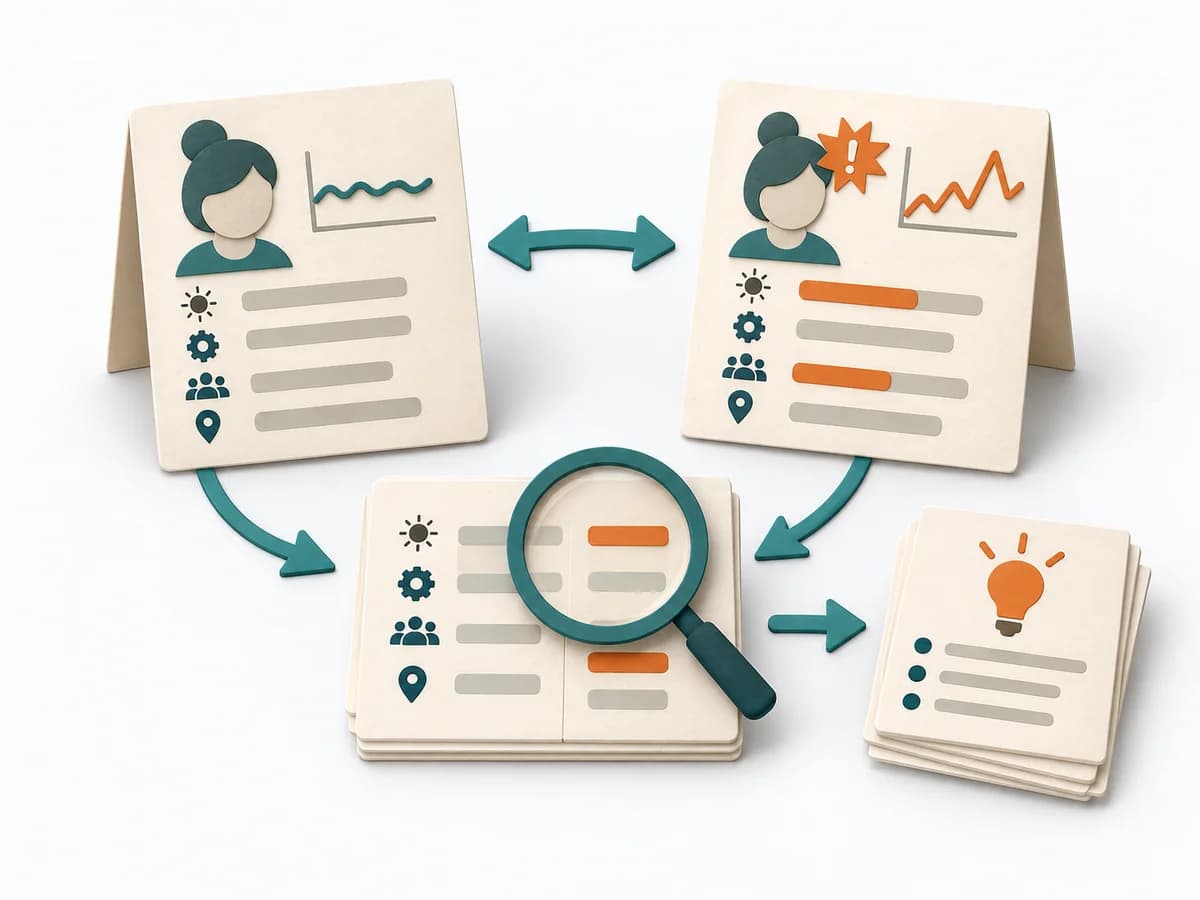
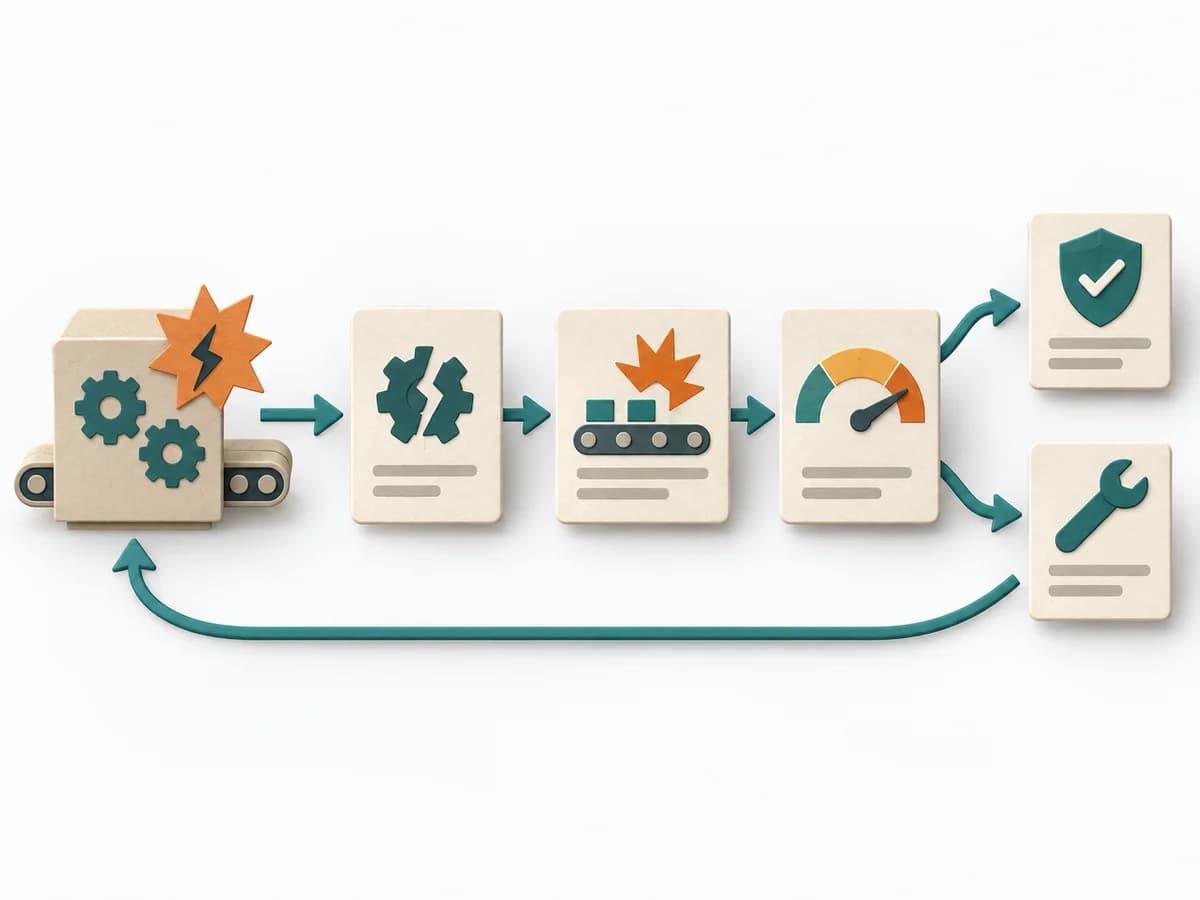
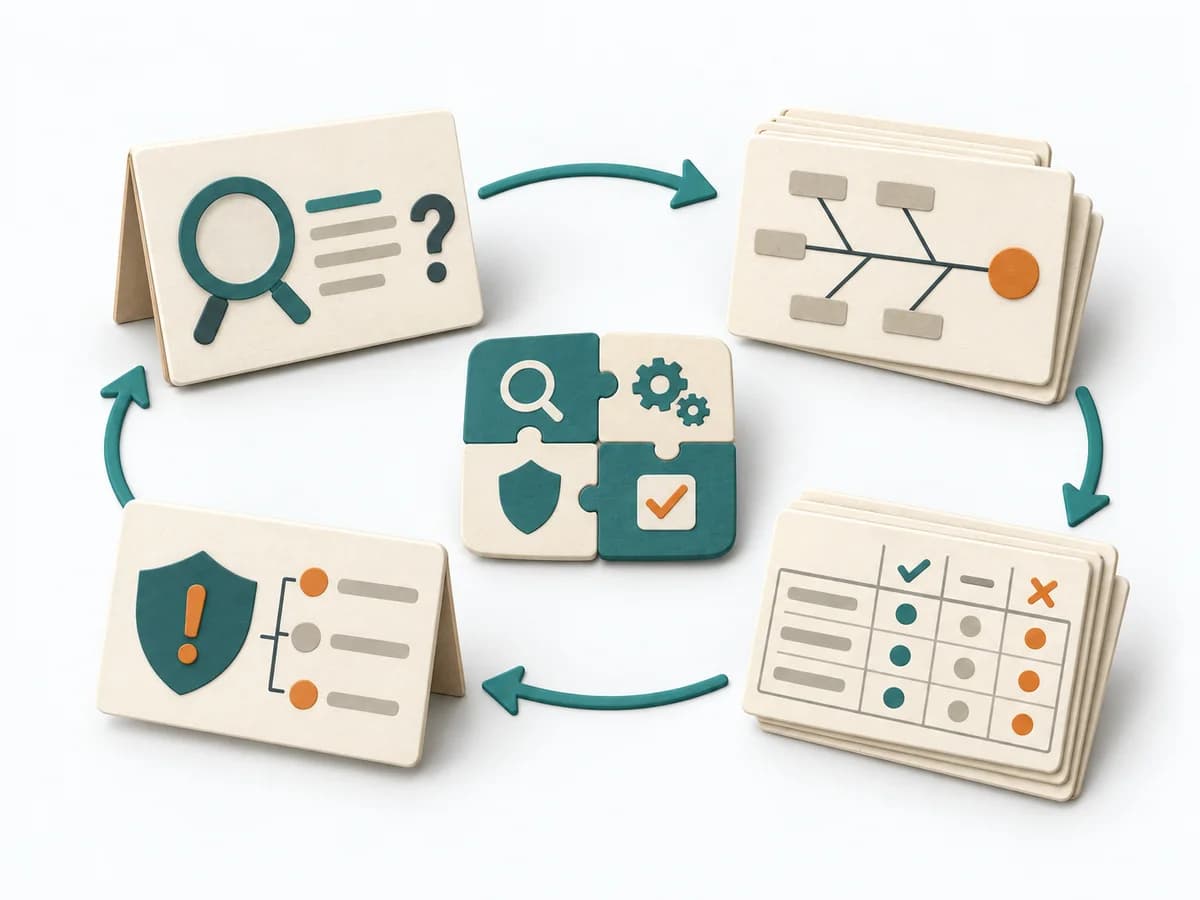
Purposedifferent | In change initiatives, supporting and restraining forces sit at the table at the same time. Force Field Analysis makes these tensions explicit and shows where change can be pushed forward by strengthening or relieving. | When a problem has several possible contributing factors, the method sorts causes by cause areas. It prevents an initial hunch from blocking the view of other plausible drivers. | SAAM helps teams judge an architecture’s suitability for selected tasks and changes. It is particularly useful for examining modifiability and comparing architecture alternatives with clear reasoning. |
Complexitydifferent | Low | Low | High |
Timedifferent | 45-90 min | 30-60 min | Preparation, scenario analysis, and findings review; effort depends on scope |
Participantsdifferent | 3-12 | 2-8 | Architecture experts and stakeholders for scenarios and weighting |
Formatdifferent | Workshop | Workshop | Workshop + async |
Outputdifferent | Force Field Map, Change Levers, Risk Notes | Fishbone Diagram, Cause Categories, Investigation Backlog | Domain functions mapped to components and connections, Quality attributes and evaluation criteria, Typical tasks and their effects on the architecture, Reasoned evaluation or comparison of alternatives |
Tagsno overlap | ChangeDecisionStrategy | Root causeQualityOperations | ArchitectureChangeAnalysisComparisonQuality |
Often compared together
Methods with strong topical overlap with the current selection, not yet in the comparison.