View methods side by side.
Choose up to four methods. Add them using the search and share the comparison by copying its link.
| Criterion | 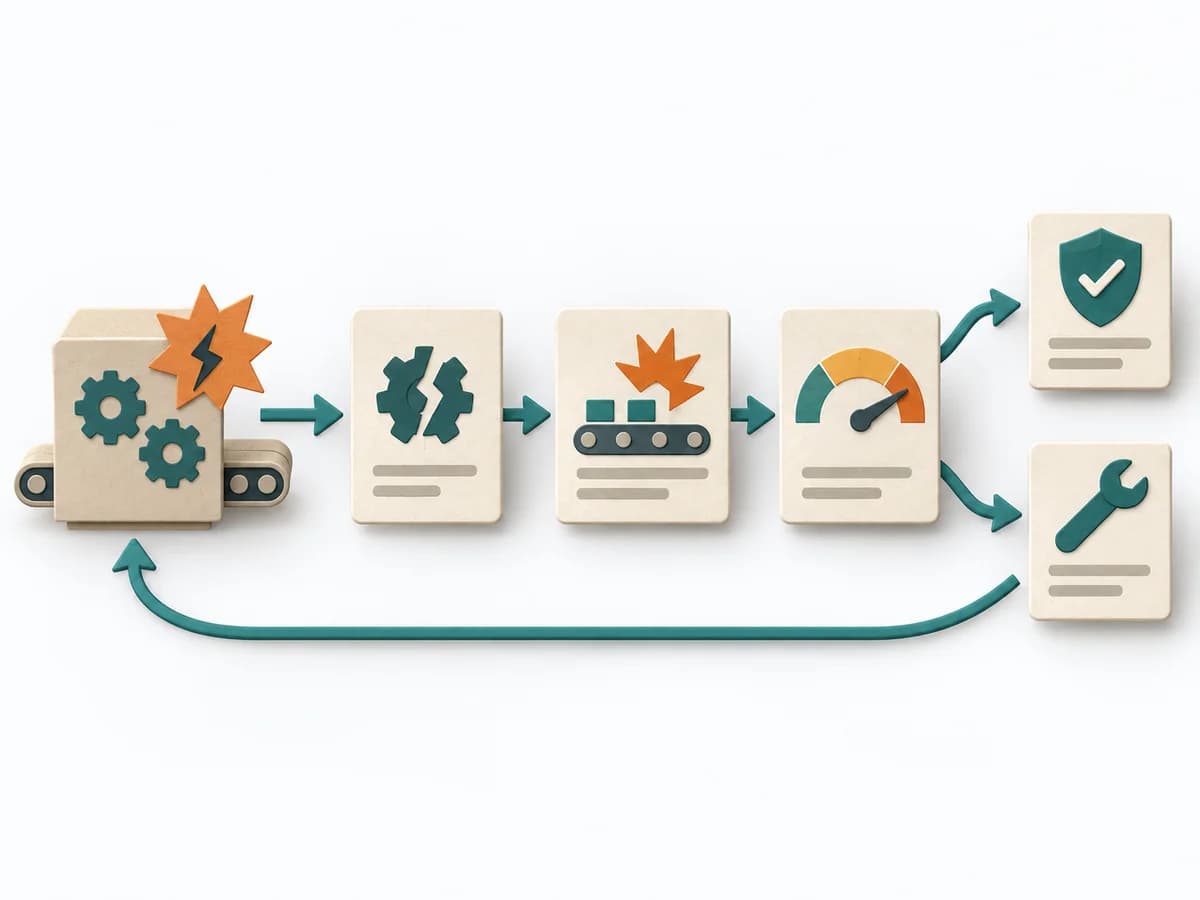 Operations Failure Mode and Effects Analysis |  Facilitation Decision Jam |  Operations 5 Whys |
|---|---|---|---|
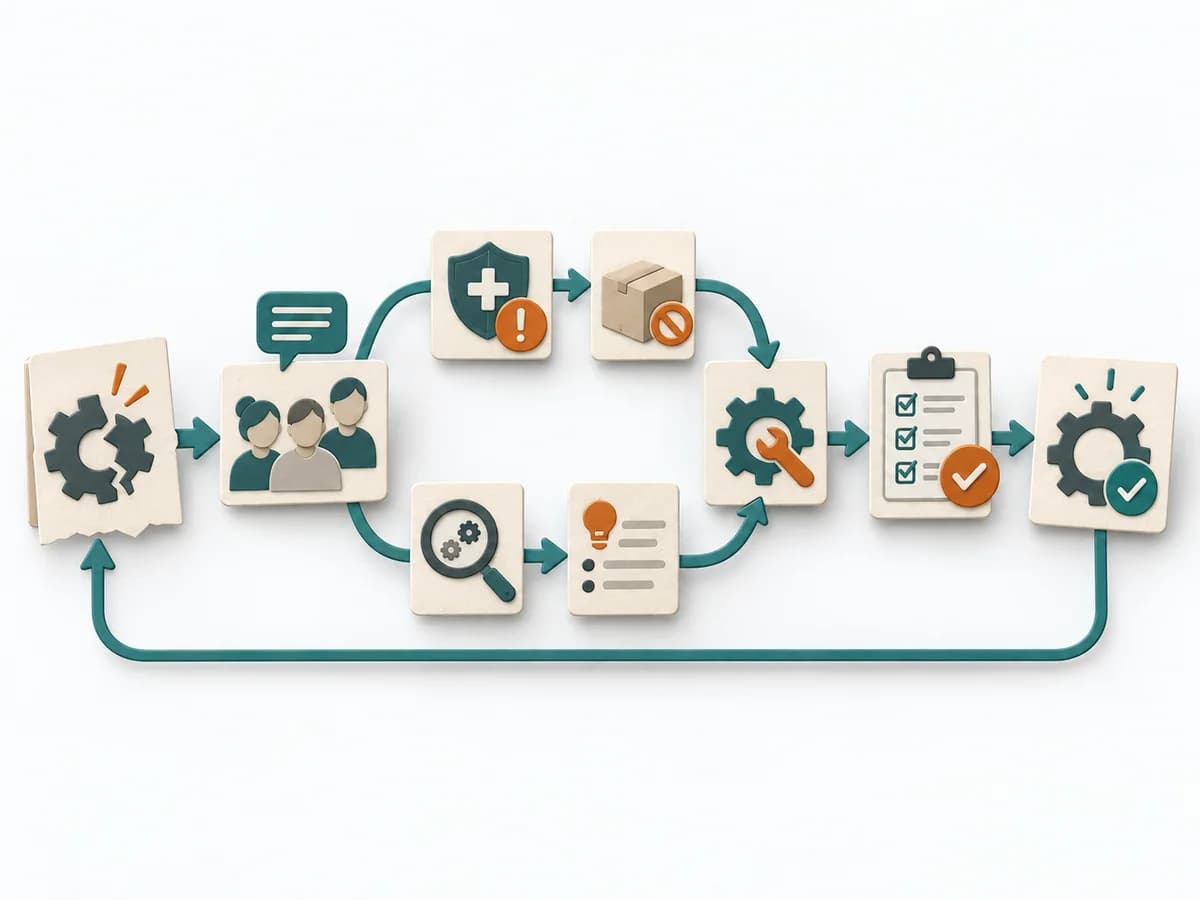
Purposedifferent | For a process, product, or service with noticeable failure risks, the method assesses possible failure modes in advance. It directs attention to combinations of occurrence, effect, and detectability. | When a decision is stuck, Decision Jam loosens the knot through structured separation of problem, idea, and selection. The format creates movement without jumping prematurely at the first seemingly elegant answer. | For a single, hard-to-explain deviation, the method exposes the causal chain behind the visible symptom. It keeps the cause open until a controllable condition emerges instead of a mere description. |
Complexitydifferent | High | Low | Low |
Timedifferent | 2-6 h | 60-90 min | 15-30 min |
Participantsdifferent | 3-10 | 4-10 | 2-6 |
Formatsame | Workshop | Workshop | Workshop |
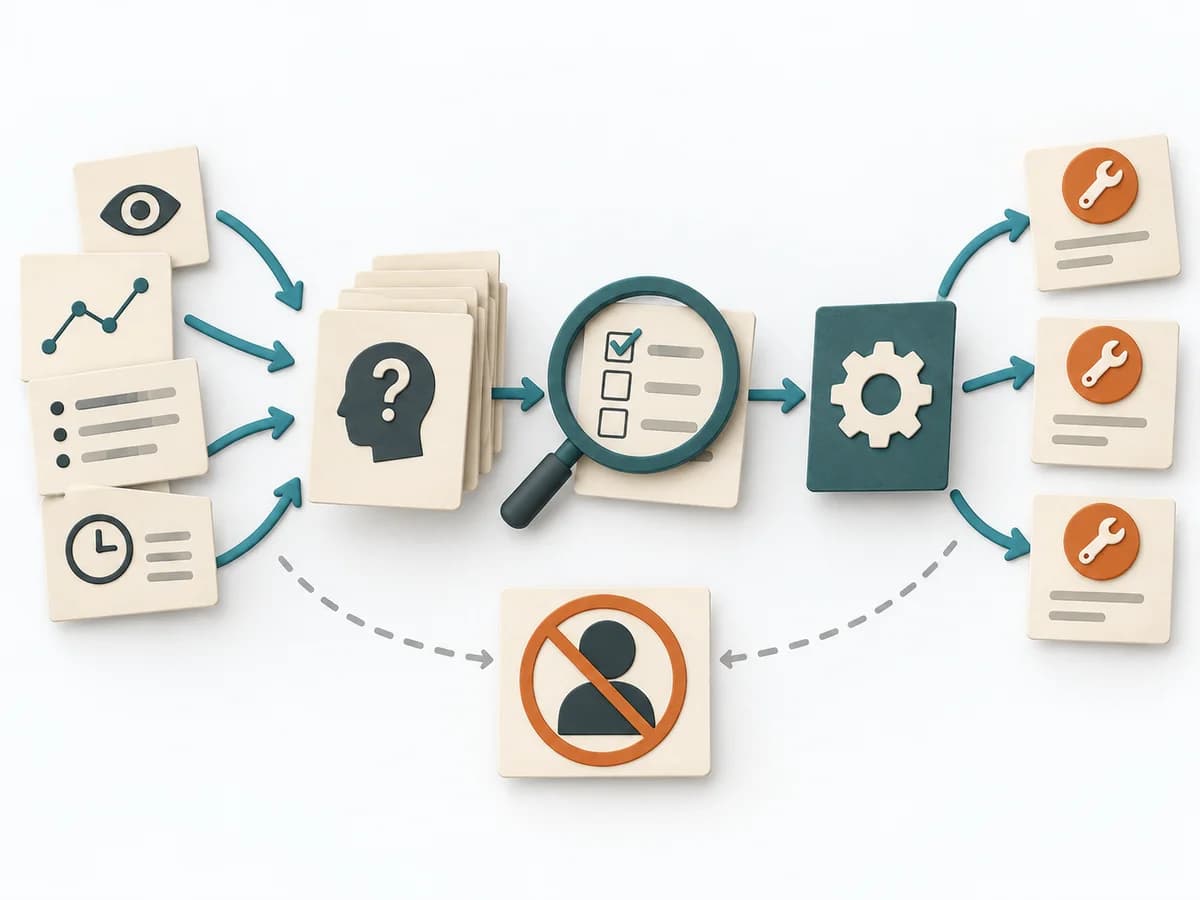
Outputdifferent | FMEA Table, Risk Priority, Mitigation Actions | Problem Cluster, Prioritized Challenge, Experiment | Root cause notes, Countermeasures |
Tagsno overlap | RiskQualityOperationsRoot cause | FacilitationDecisionProblem solvingWorkshop | Root causeIncidentLeanProblem solving |
Often compared together
Methods with strong topical overlap with the current selection, not yet in the comparison.