View methods side by side.
Choose up to four methods. Add them using the search and share the comparison by copying its link.
| Criterion |  Decision Making Argument Mapping |  Architecture Architecture Communication Canvas | 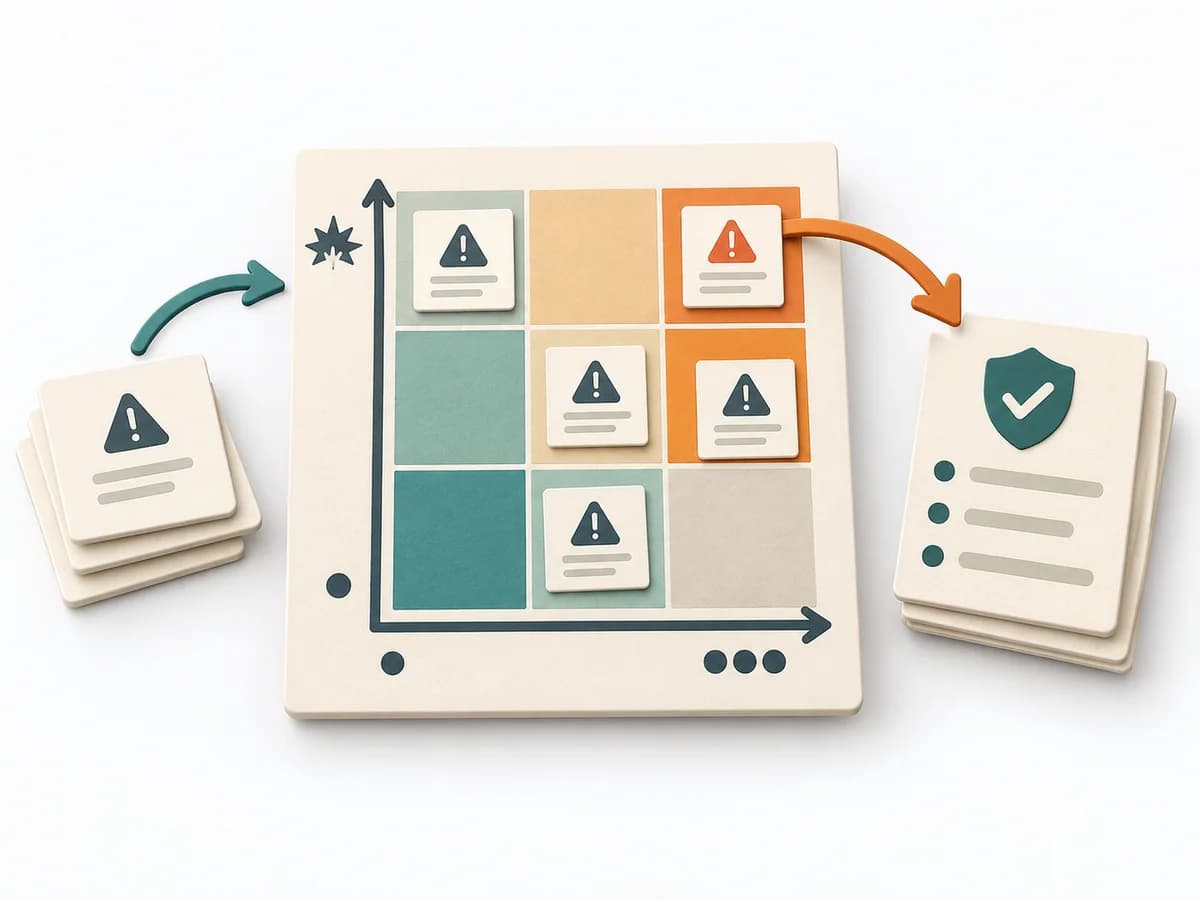 Decision Making Risk Matrix |
|---|---|---|---|
Purposedifferent | When statements, evidence, and counterarguments get mixed up, a debate quickly loses its structure. Argument Mapping breaks a thesis down into its reasoning and makes visible what it really rests on. | The Architecture Communication Canvas plans architecture communication so the right people receive the right message. The method turns technical complexity into deliberate communication design. | When a project faces many possible disruptions, it quickly becomes unclear which risks deserve attention first. It separates options, evaluation criteria, and open risks. The result is captured as a Risk Matrix and a Top Risk List. |
Complexitydifferent | Medium | Medium | Low |
Timedifferent | 1-3 h | 60-120 min | 30-60 min |
Participantsdifferent | 1-8 | 2-8 | 3-10 |
Formatsame | Workshop + async | Workshop + async | Workshop + async |
Outputdifferent | Argument Map, Evidence Gaps, Decision Rationale | Communication Canvas, Stakeholder Messages, Architecture Communication Plan | Risk Matrix, Top Risk List |
Tagsno overlap | SensemakingDecisionRationale | ArchitectureCommunicationStakeholdersCanvas | RiskDecisionPrioritizationAssessment |
Often compared together
Methods with strong topical overlap with the current selection, not yet in the comparison.