View methods side by side.
Choose up to four methods. Add them using the search and share the comparison by copying its link.
| Criterion | 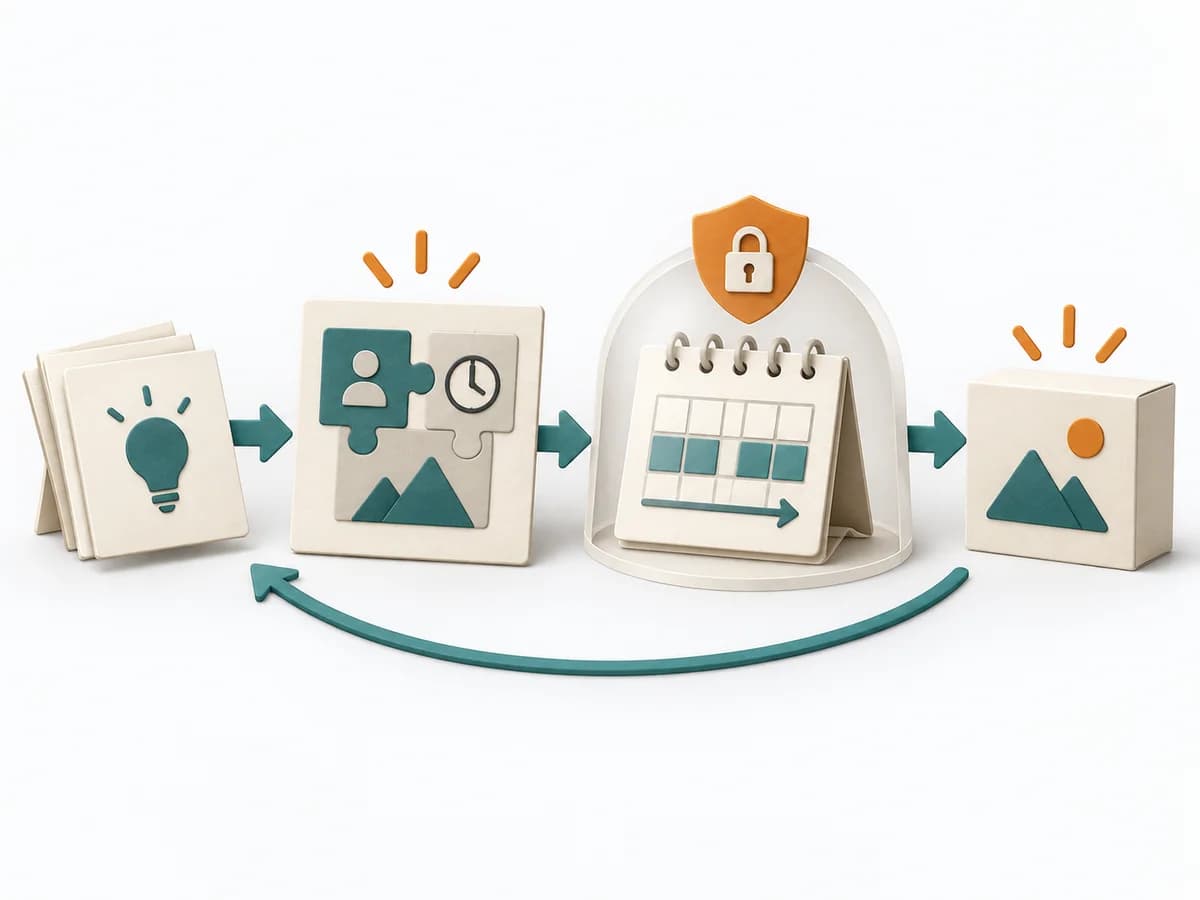 Delivery Shape Up | 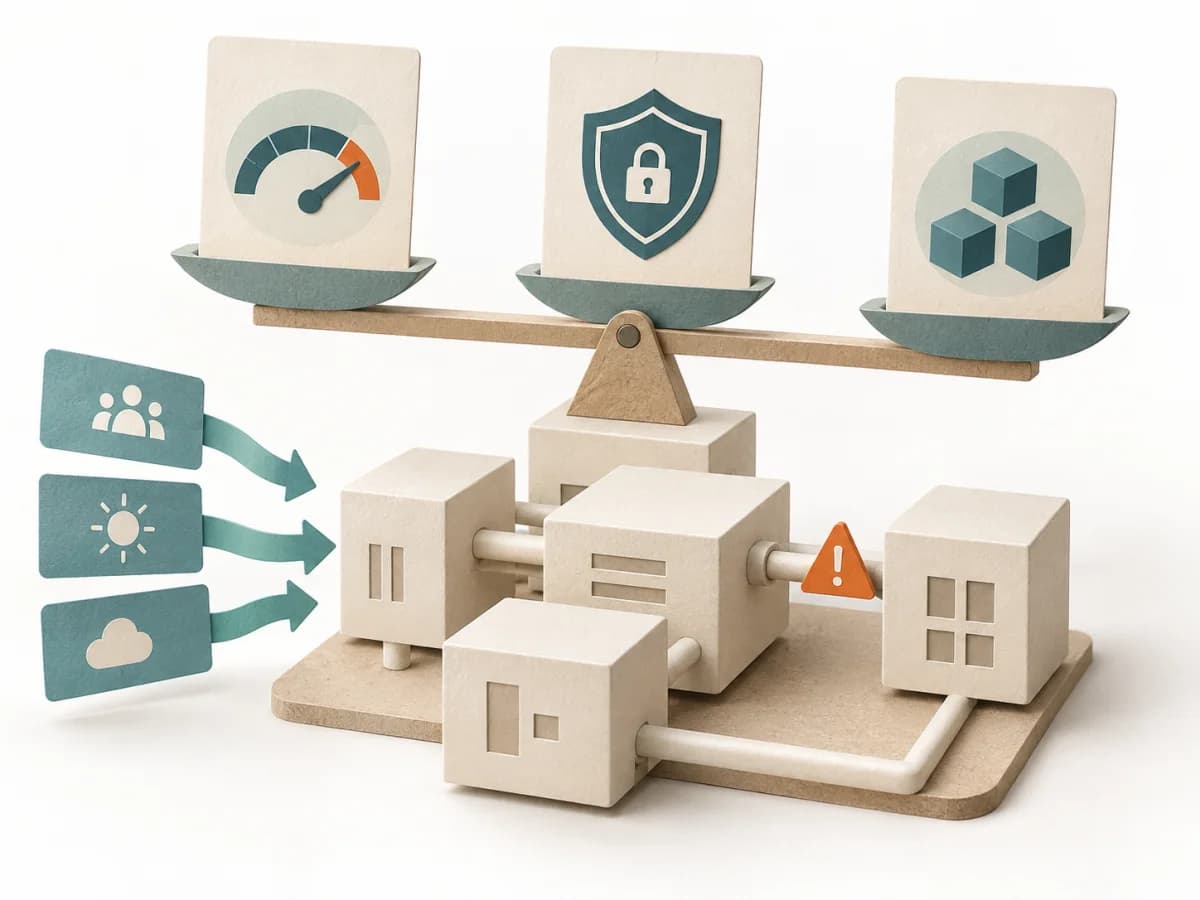 Architecture ATAM (Architecture Tradeoff Analysis Method) |  Operations Root Cause Analysis |
|---|---|---|---|
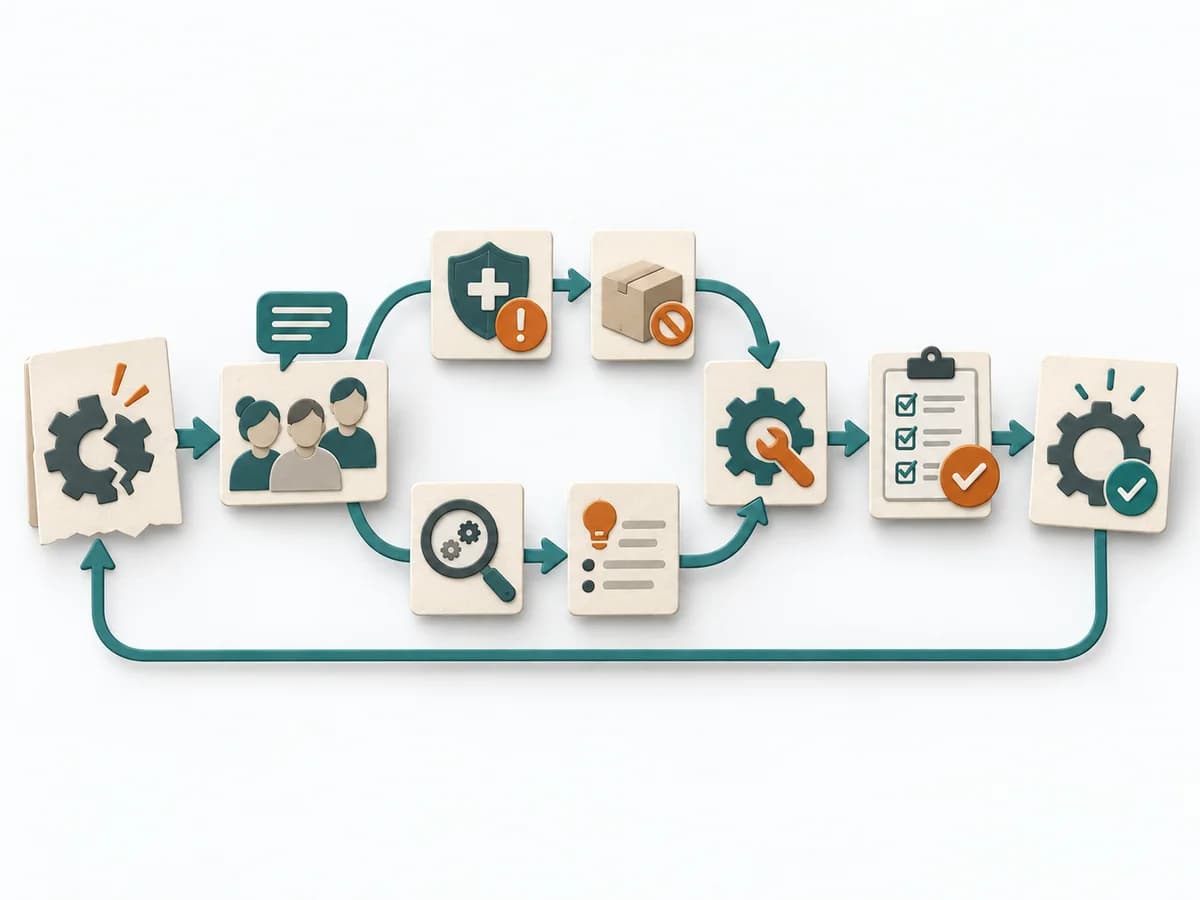
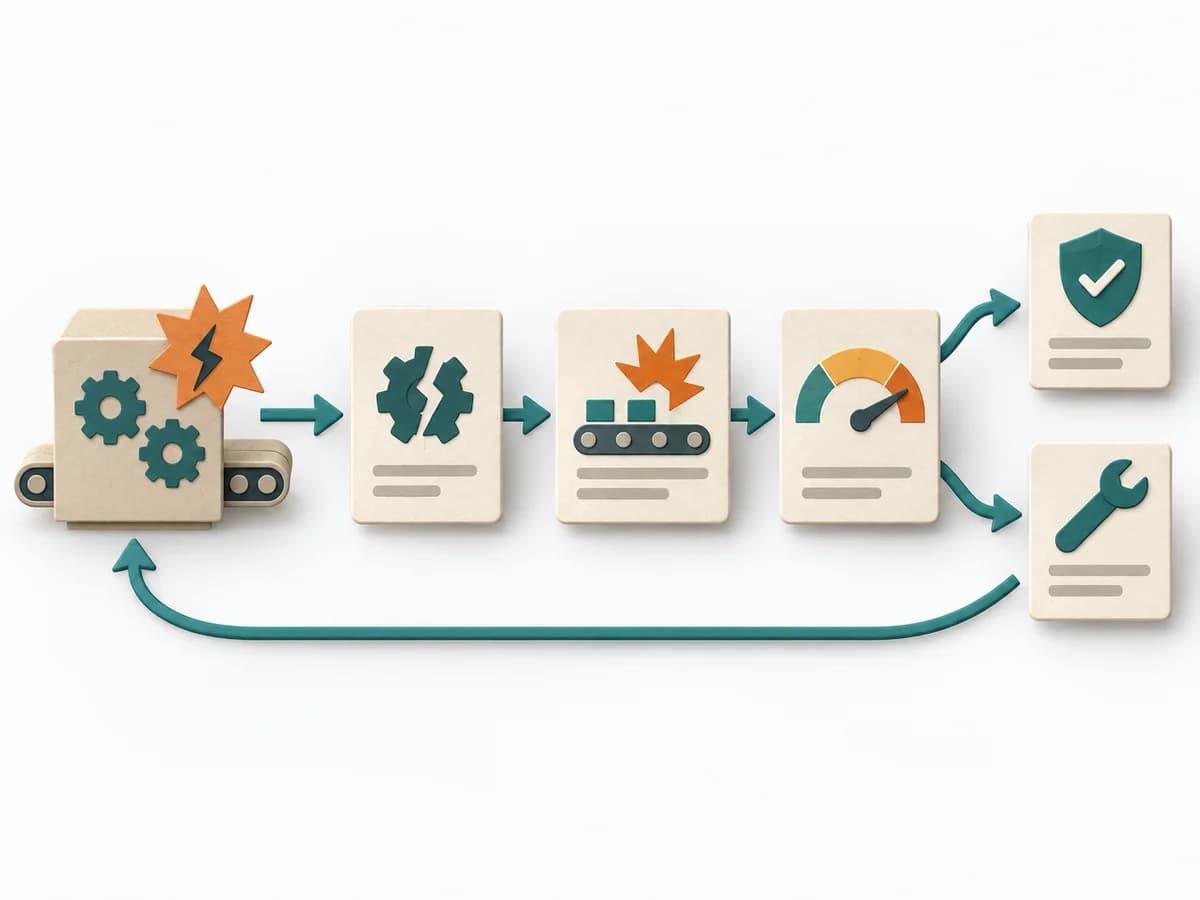
Purposedifferent | Shape Up helps clarify scope, sequence, and delivery flow. It makes work boundaries and decisions explicit and captures results as pitches, bet-table decisions, and hill charts. | ATAM helps teams weigh architecture decisions when quality goals compete. The team considers business goals, stakeholder expectations, and technical decisions together. The evaluation shows which risks need further investigation. | When a problem keeps recurring and the cause stays unclear, the method exposes the underlying mechanism. It separates symptom, guess, and robust explanation from one another. |
Complexitydifferent | Medium | High | Medium |
Timedifferent | 6 Wochen Cycle + 2 Wochen Cool-Down | Several meetings plus preparation and analysis; total effort depends on scope | 1-4 h |
Participantsdifferent | 2-4 pro Pitch | Evaluation team, architects, and relevant stakeholders | 3-8 |
Formatsame | Workshop + async | Workshop + async | Workshop + async |
Outputdifferent | Pitches, Bet-table decisions, Hill charts, Cooldown outcomes | Prioritized quality scenarios in a utility tree, Architecture risks with reasoning and assumptions, Sensitivity and trade-off points, Findings report with open investigations | Problem Statement, Cause Hypotheses, Confirmed Causes, Action Plan |
Tagsno overlap | PlanningDeliveryAutonomy | ArchitectureQualityRiskTradeoffsStakeholders | Root causeProblem solvingQualityIncident |
Often compared together
Methods with strong topical overlap with the current selection, not yet in the comparison.