View methods side by side.
Choose up to four methods. Add them using the search and share the comparison by copying its link.
| Criterion | 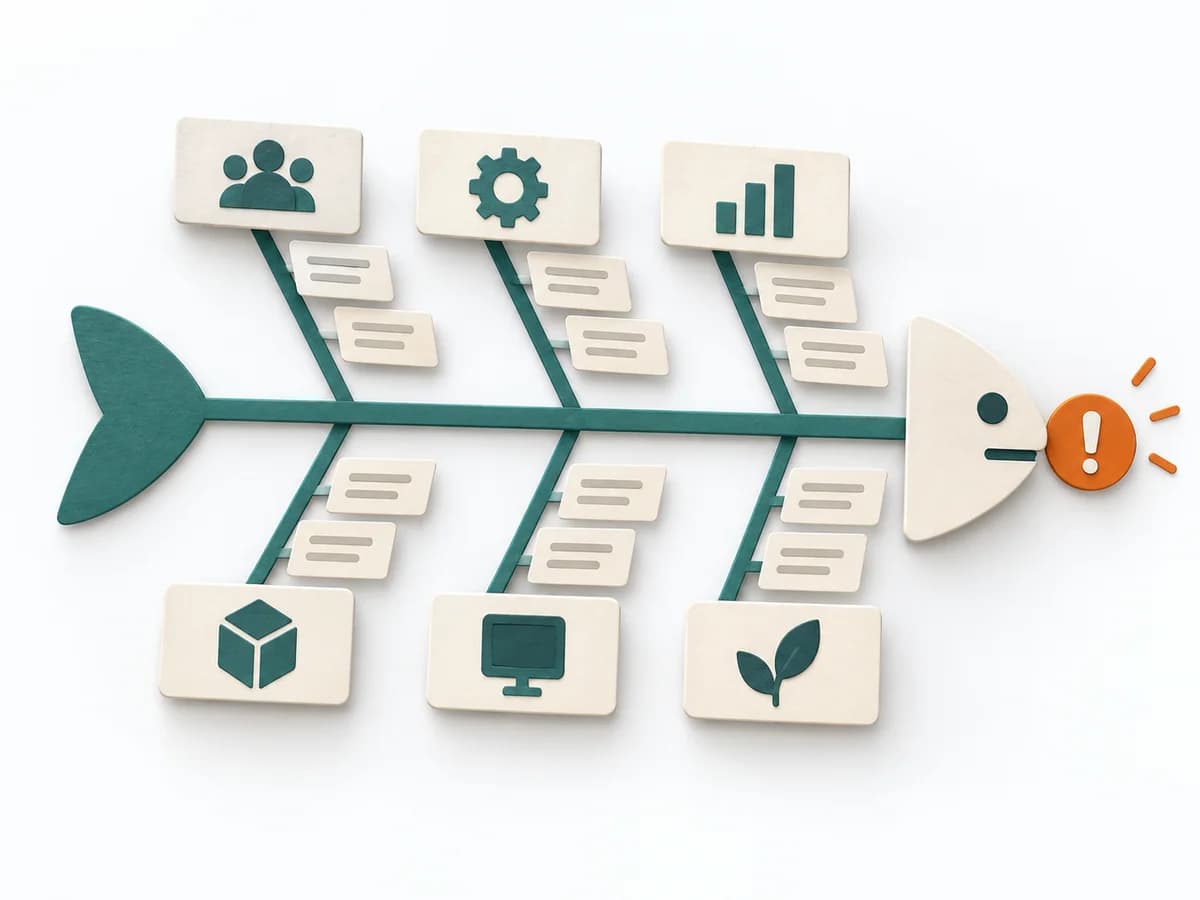 Operations Fishbone Diagram | 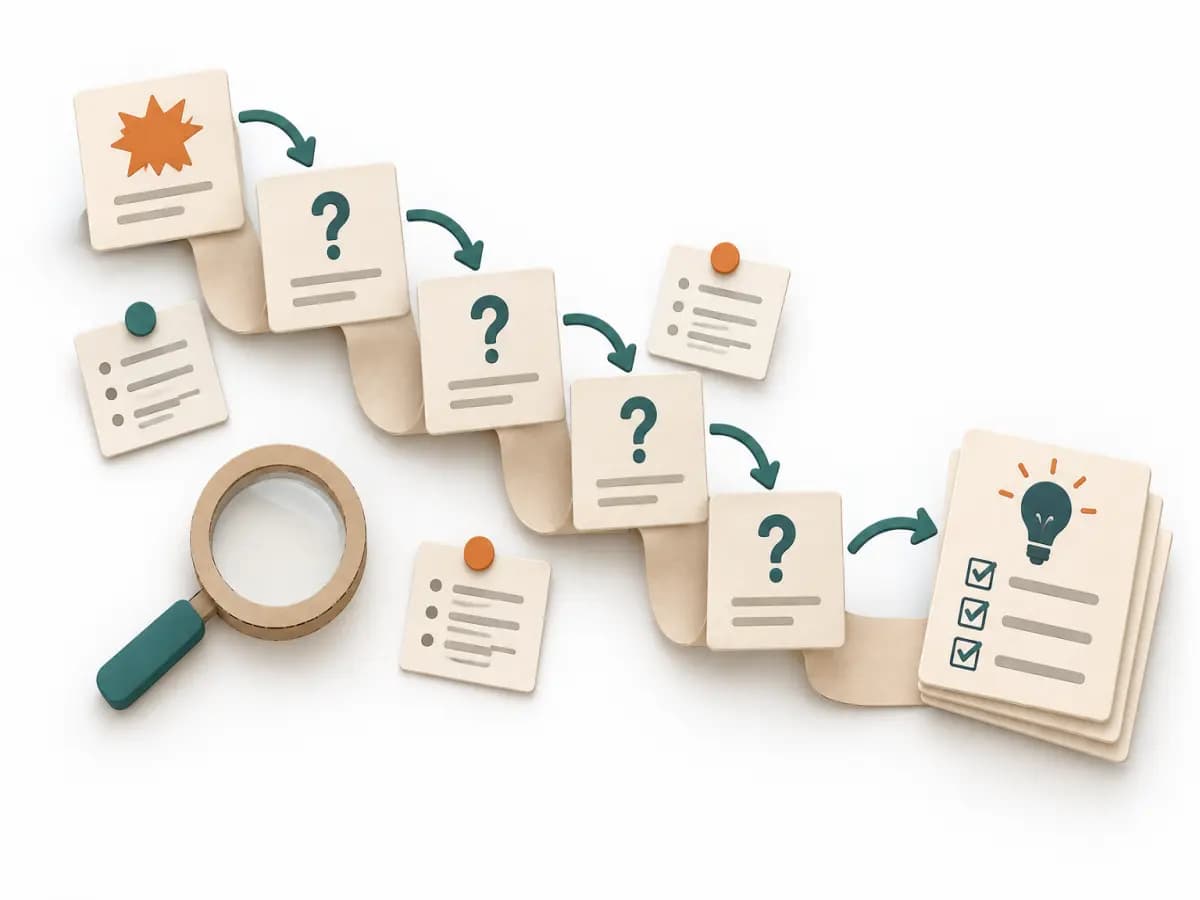 Operations 5 Whys | 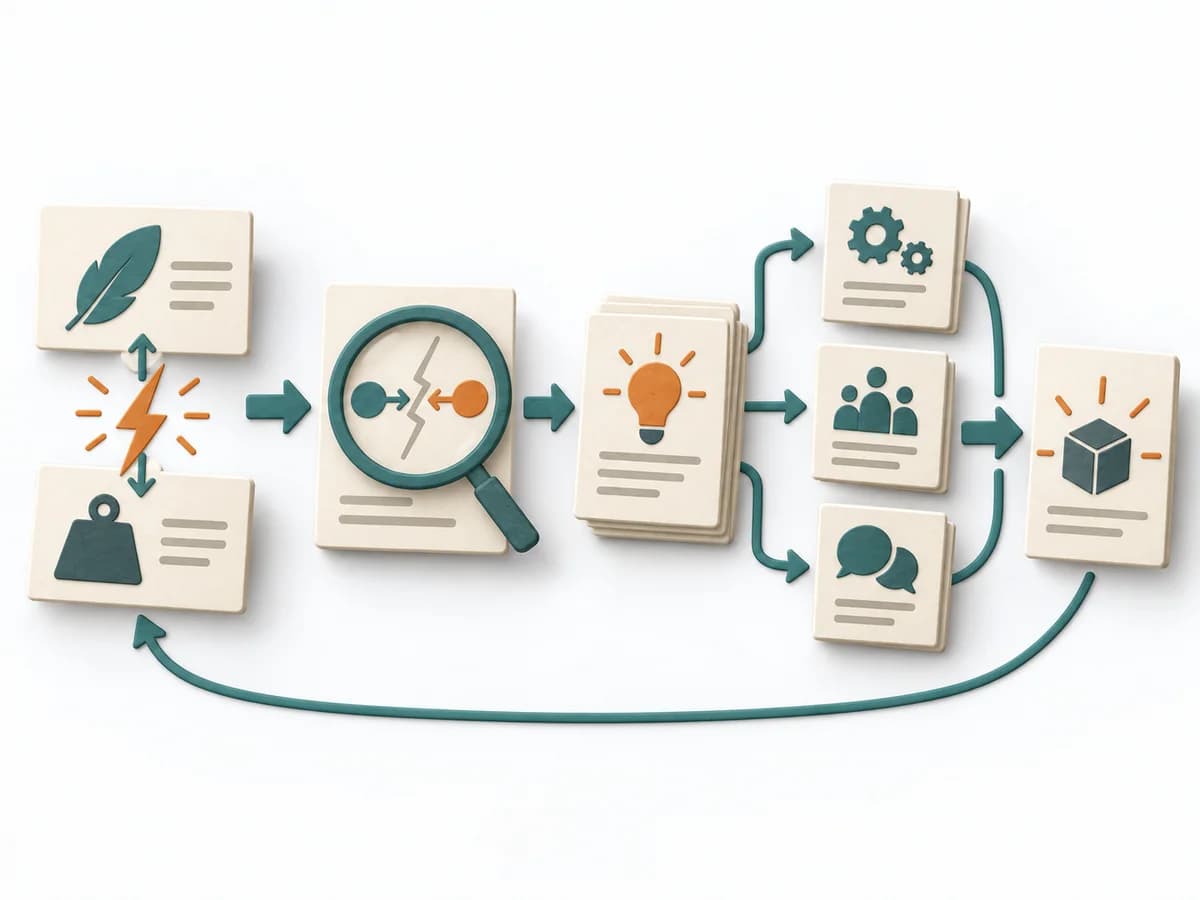 Innovation Contradiction Analysis |
|---|---|---|---|
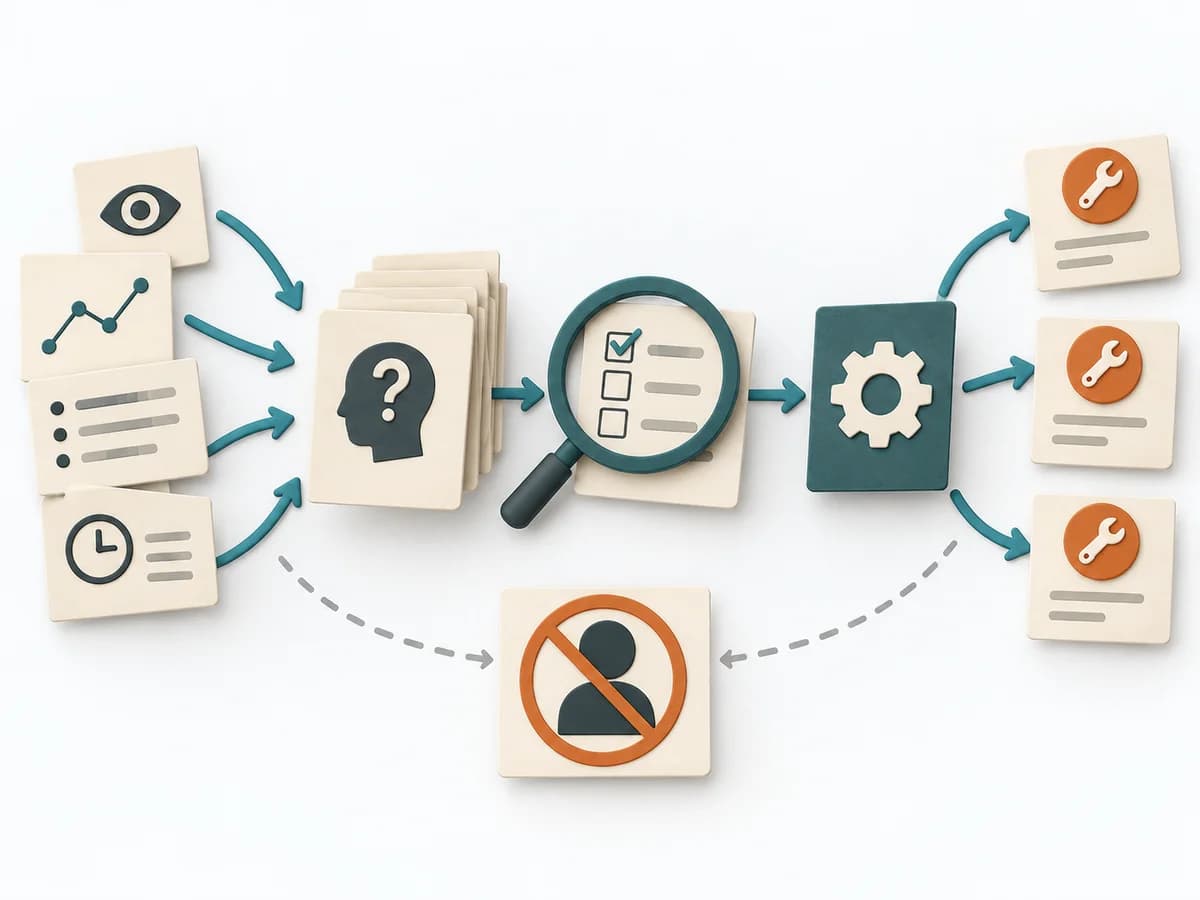
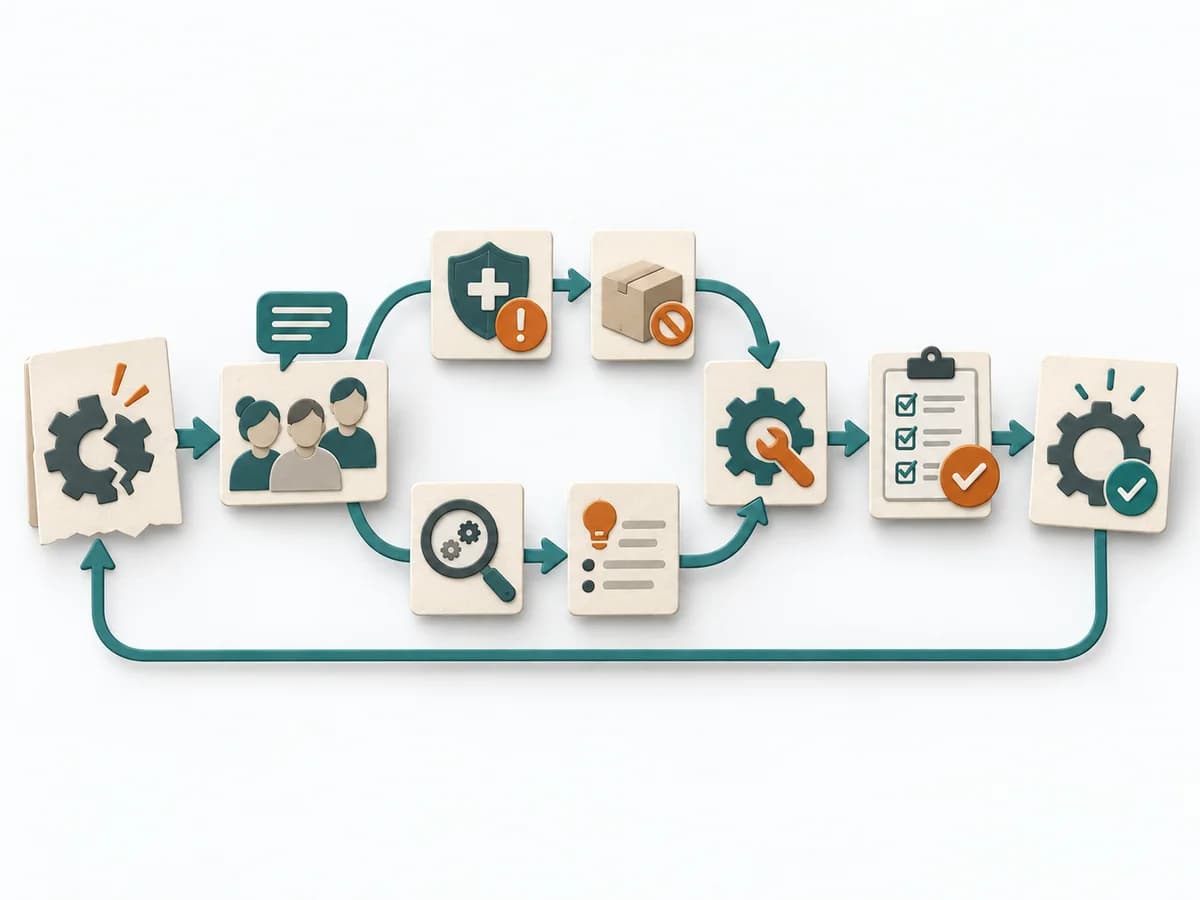
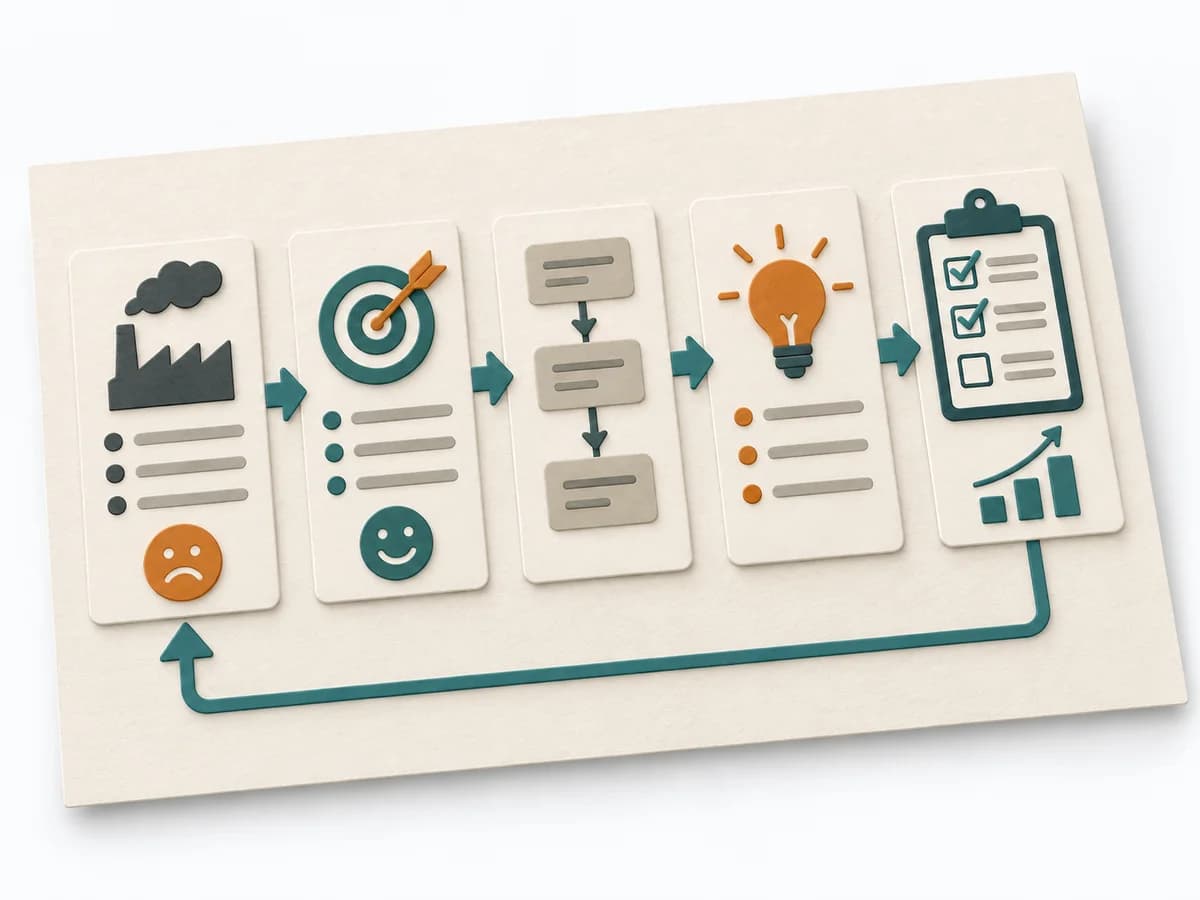
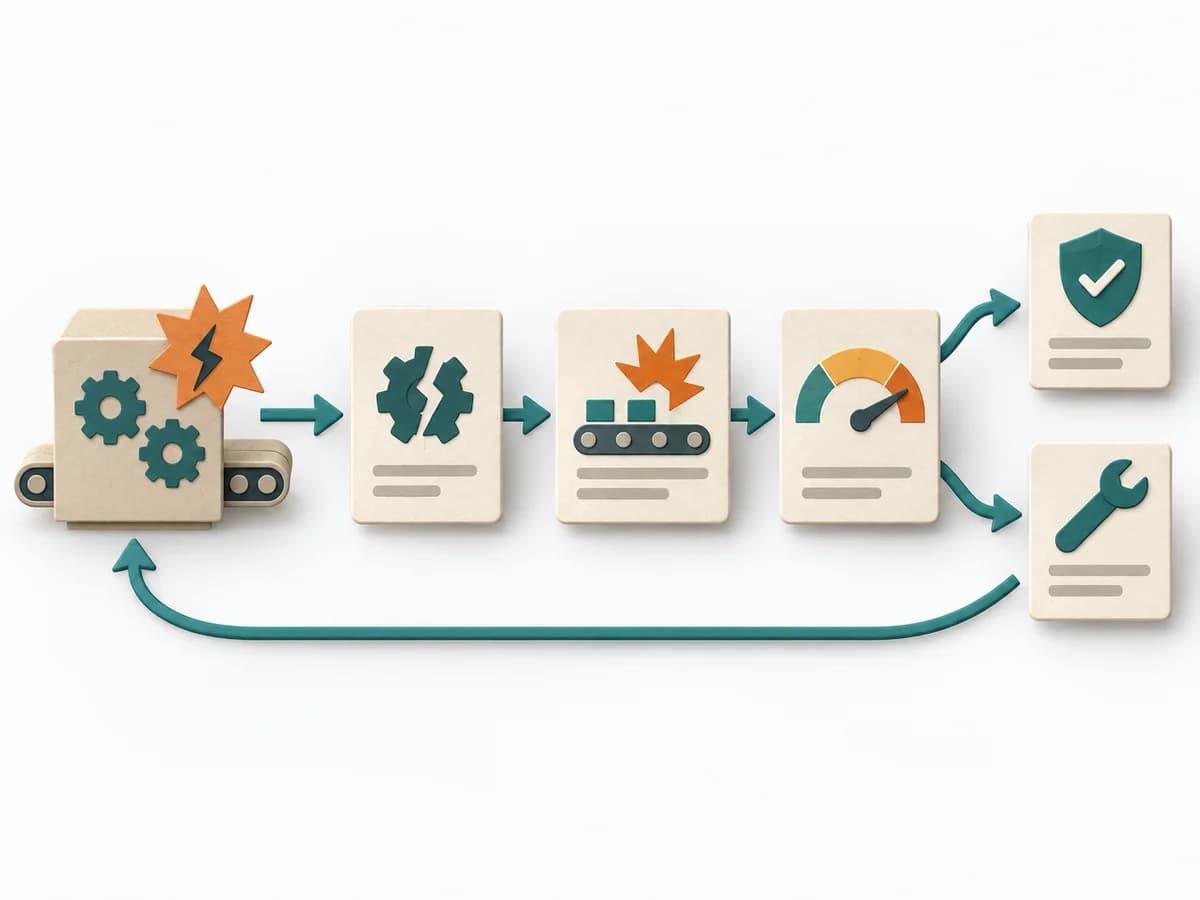
Purposedifferent | When a problem has several possible contributing factors, the method sorts causes by cause areas. It prevents an initial hunch from blocking the view of other plausible drivers. | For a single, hard-to-explain deviation, the method exposes the causal chain behind the visible symptom. It keeps the cause open until a controllable condition emerges instead of a mere description. | When a system should improve while another measure suffers as a result, the method makes the underlying conflict precisely formulable. It separates the desired effect from its side effect. This makes solutions possible that address the contradiction deliberately instead of half-heartedly. |
Complexitydifferent | Low | Low | Medium |
Timedifferent | 30-60 min | 15-30 min | 60-120 min |
Participantsdifferent | 2-8 | 2-6 | 2-8 |
Formatsame | Workshop | Workshop | Workshop |
Outputdifferent | Fishbone Diagram, Cause Categories, Investigation Backlog | Root cause notes, Countermeasures | Contradiction Statement, Abstraction Notes, Solution Principles, Concept Ideas |
Tagsno overlap | Root causeQualityOperations | Root causeIncidentLeanProblem solving | ContradictionsInnovationProblem solving |
Often compared together
Methods with strong topical overlap with the current selection, not yet in the comparison.