View methods side by side.
Choose up to four methods. Add them using the search and share the comparison by copying its link.
| Criterion | 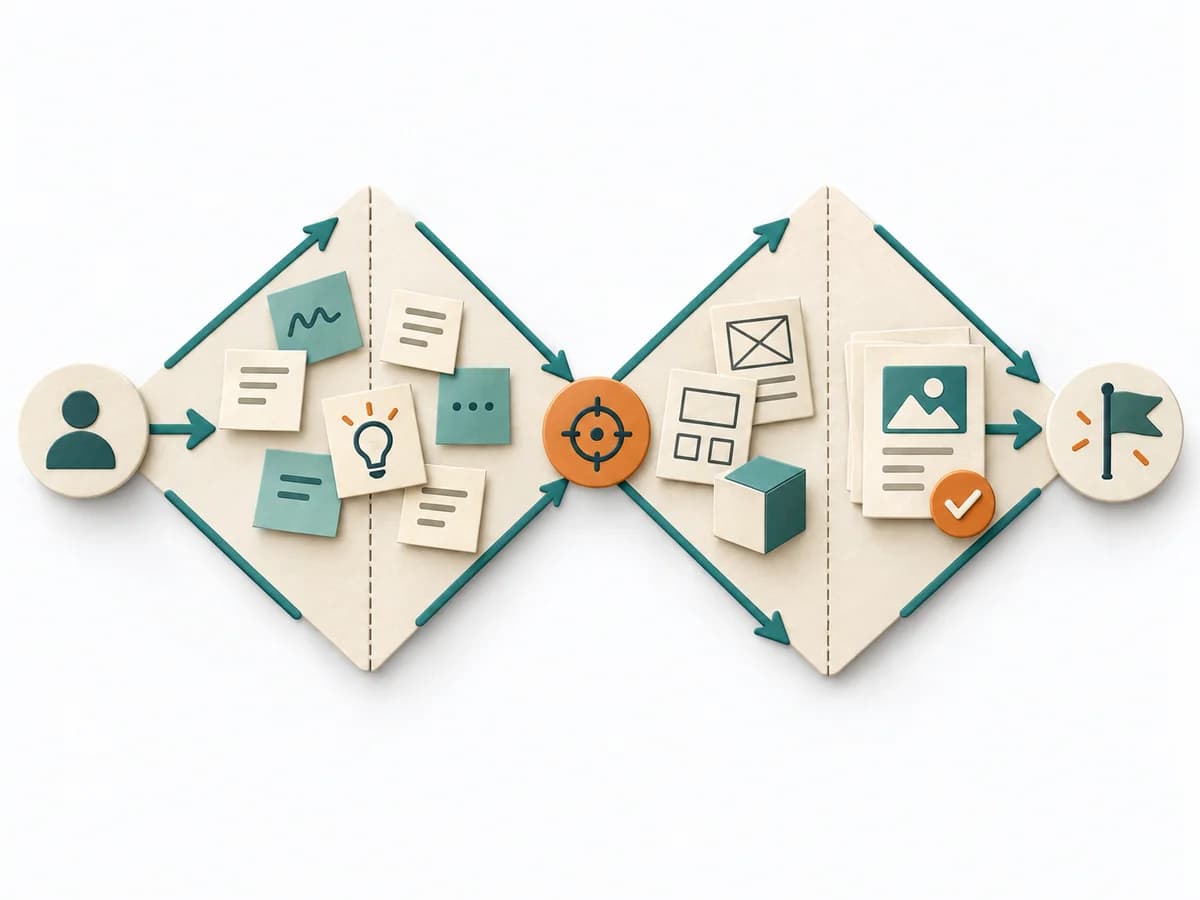 Innovation Double Diamond | 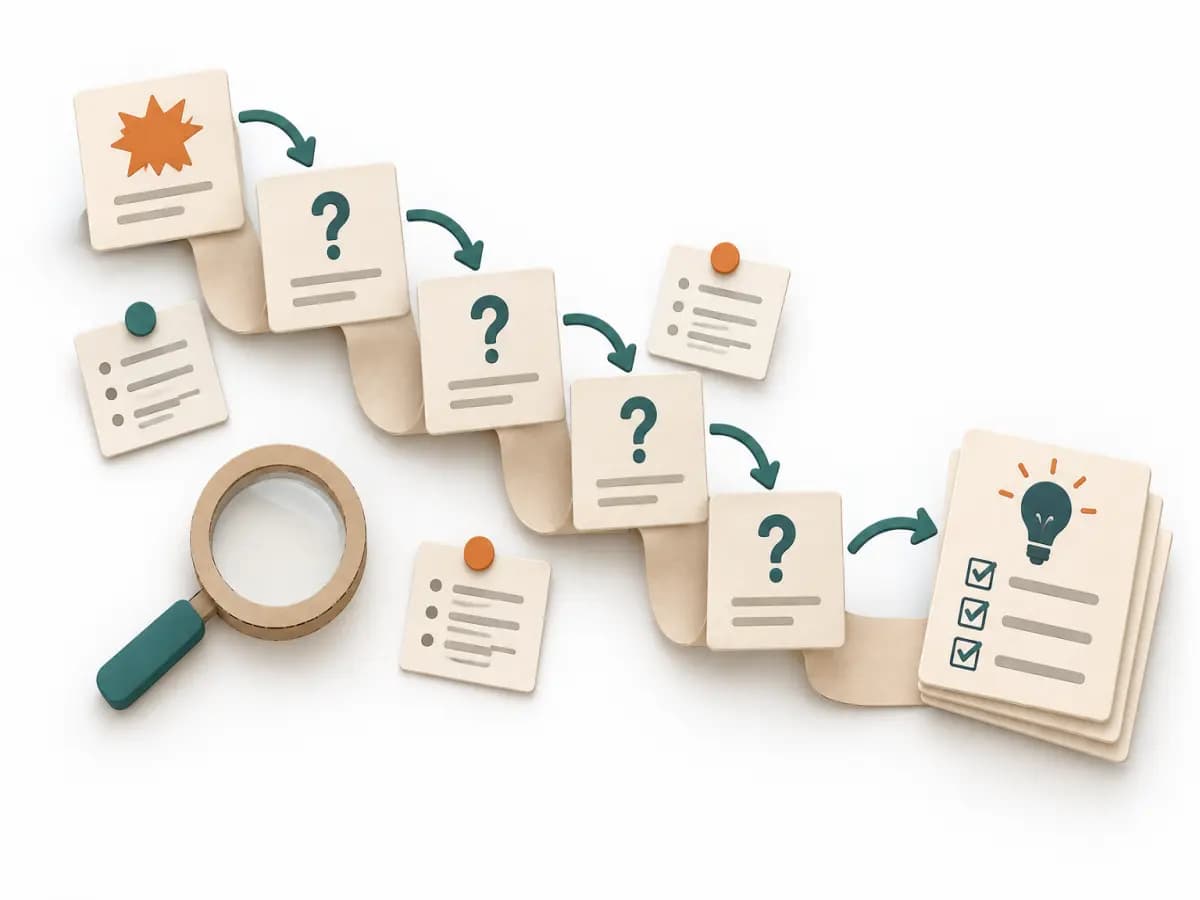 Operations 5 Whys | 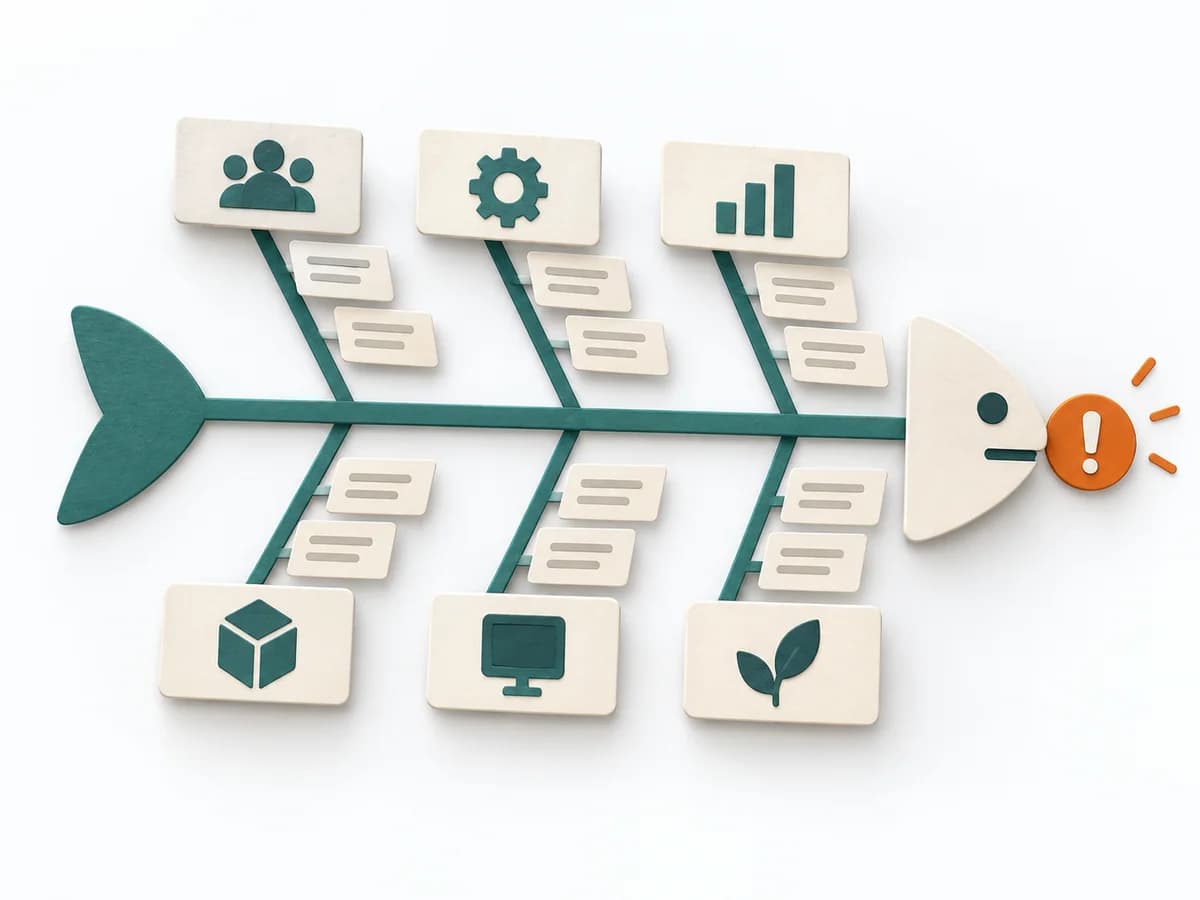 Operations Fishbone Diagram |
|---|---|---|---|
Purposedifferent | For complex problems with a fuzzy situation, the method cleanly separates search space and decision. It first creates breadth in understanding and then focus in elaboration. This brings open questions, problem definition, and solution path into a traceable movement. | For a single, hard-to-explain deviation, the method exposes the causal chain behind the visible symptom. It keeps the cause open until a controllable condition emerges instead of a mere description. | When a problem has several possible contributing factors, the method sorts causes by cause areas. It prevents an initial hunch from blocking the view of other plausible drivers. |
Complexitydifferent | Medium | Low | Low |
Timedifferent | Wochen bis Monate | 15-30 min | 30-60 min |
Participantsdifferent | 3-12 | 2-6 | 2-8 |
Formatdifferent | Workshop + async | Workshop | Workshop |
Outputdifferent | Problem Statement, Solution Options, Prototypes, Deliverables per Phase | Root cause notes, Countermeasures | Fishbone Diagram, Cause Categories, Investigation Backlog |
Tagsno overlap | ProcessDivergenceInnovation | Root causeIncidentLeanProblem solving | Root causeQualityOperations |
Often compared together
Methods with strong topical overlap with the current selection, not yet in the comparison.