View methods side by side.
Choose up to four methods. Add them using the search and share the comparison by copying its link.
| Criterion | 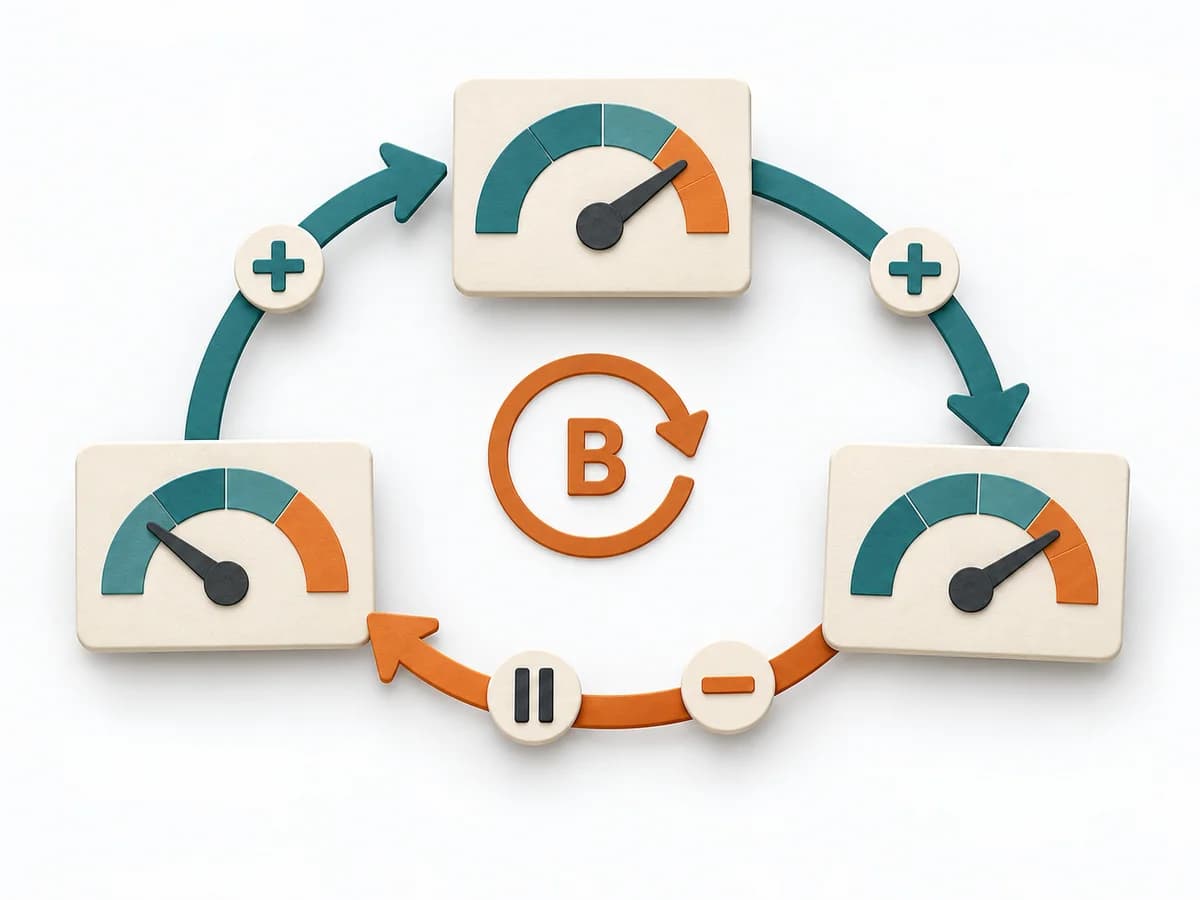 Systems Thinking Causal Loop Diagram |  Systems Thinking Leverage Points |  Systems Thinking Wardley Mapping |
|---|---|---|---|
Purposedifferent | A Causal Loop Diagram makes feedback, reinforcement, and balance in a system legible. It uncovers side effects and self-reinforcement that stay hidden in linear explanations. | Leverage Points show exactly where interventions in a system produce a disproportionate effect. It draws relationships, patterns, and feedback loops. The result is captured as a leverage map and action strategy. | Wardley Mapping makes visible where an offering stands today and where it can evolve. The method connects user need, value chain, and evolution stages into a strategic basis for platform, build, or buy decisions. |
Complexitydifferent | Medium | High | Medium |
Timedifferent | 1-3 h | Half day | 1-3 h |
Participantsdifferent | 2-8 | 3-12 | 2-10 |
Formatdifferent | Workshop | Workshop | Workshop + async |
Outputdifferent | Causal Loop Diagram, Feedback Notes, Leverage Points | Leverage Map, Action Strategy | Wardley Map, Strategic Options, Evolution Notes |
Tags1 shared | FeedbackSystems thinkingCausalityDynamics | Systems thinkingChangeStrategy | StrategySystems thinkingDynamics |
Often compared together
Methods with strong topical overlap with the current selection, not yet in the comparison.