View methods side by side.
Choose up to four methods. Add them using the search and share the comparison by copying its link.
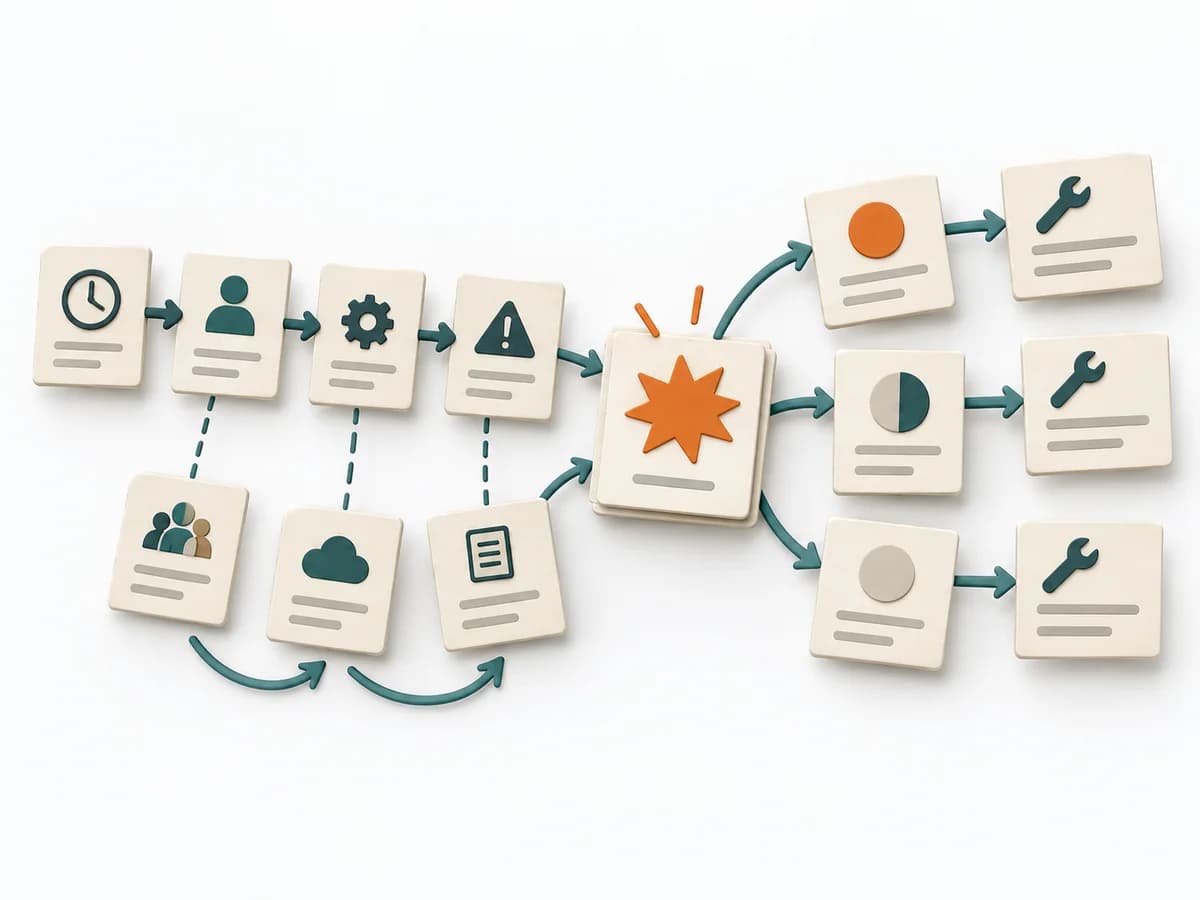
| Criterion |  DevOps Blameless Postmortem | 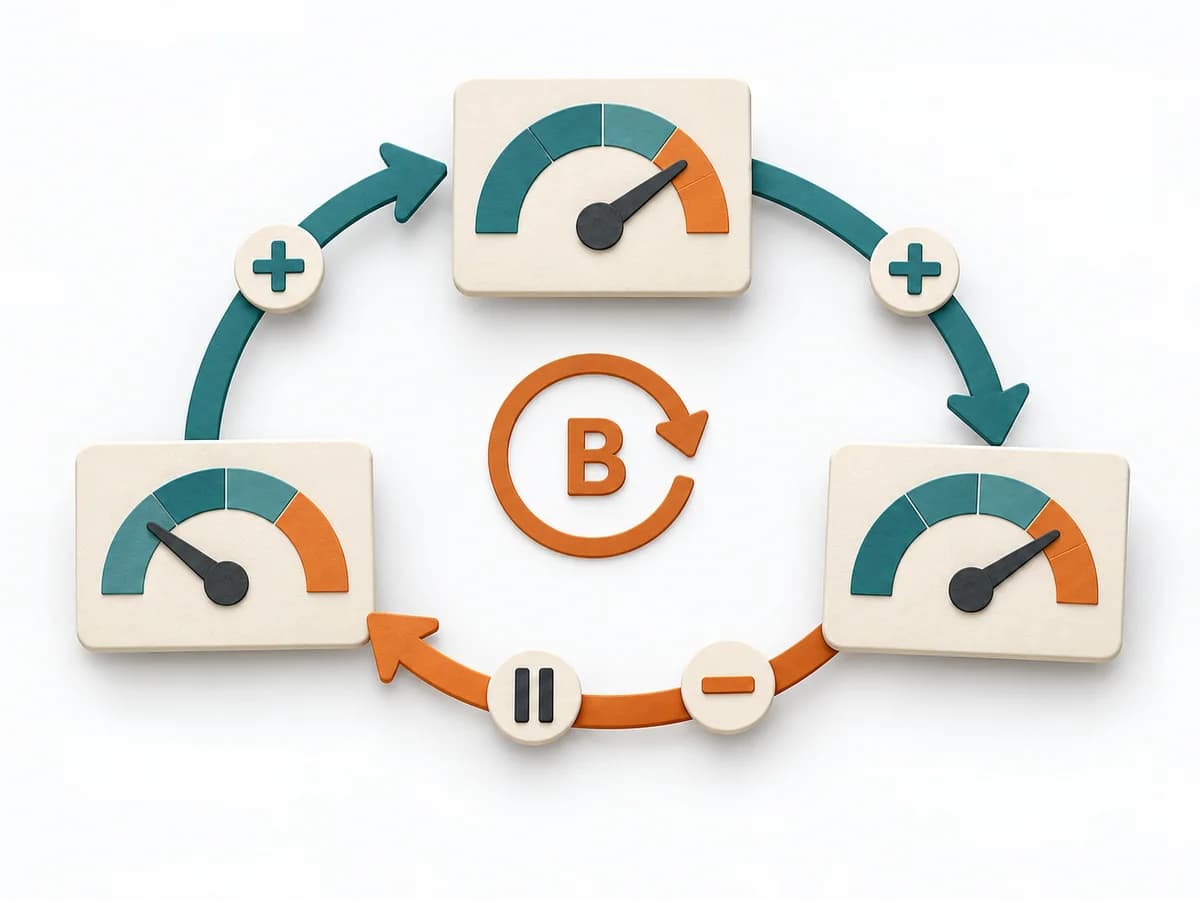 Systems Thinking Causal Loop Diagram | 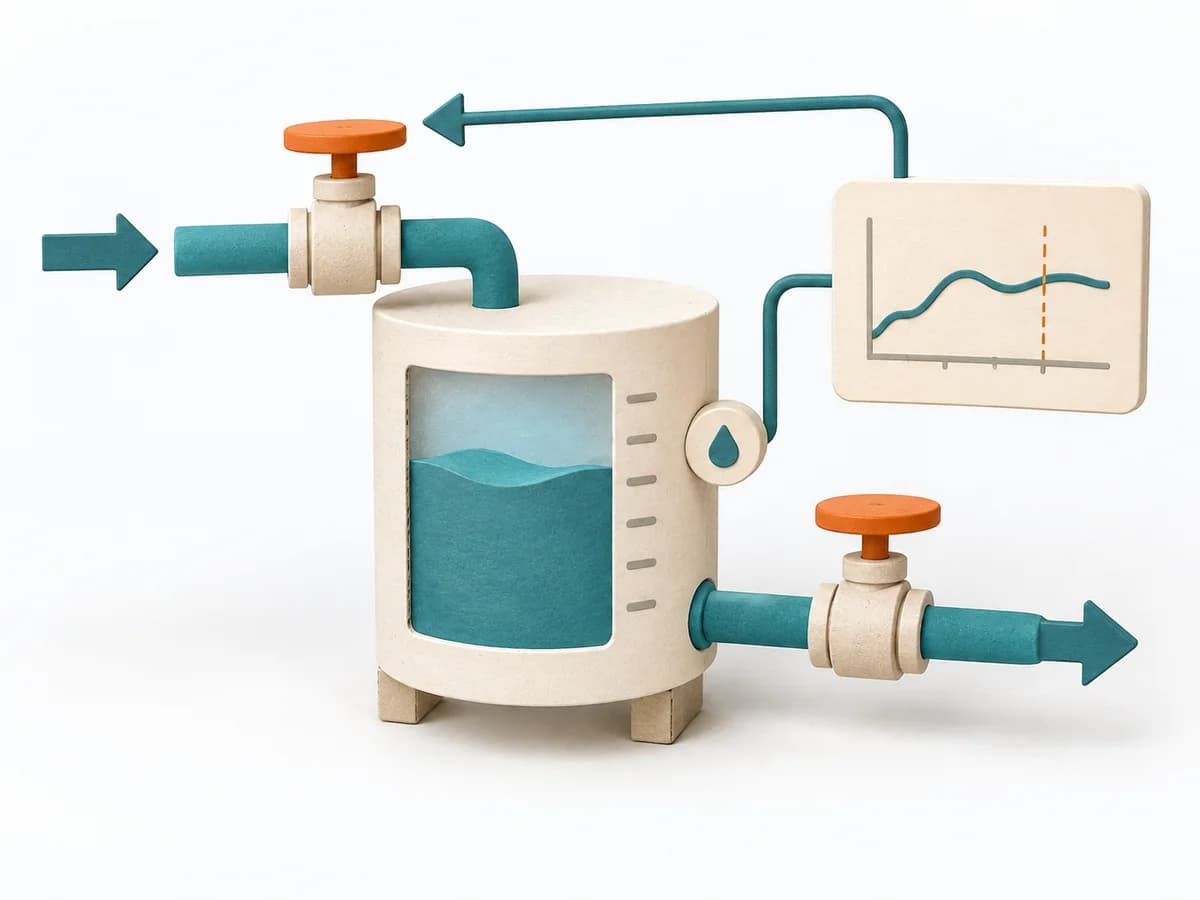 Systems Thinking Stock and Flow Diagram |
|---|---|---|---|
Purposedifferent | After an incident with damage or a near miss, the method creates a sober field for learning without assigning blame. It directs attention to the course of events, conditions, and effective countermeasures. | A Causal Loop Diagram makes feedback, reinforcement, and balance in a system legible. It uncovers side effects and self-reinforcement that stay hidden in linear explanations. | A Stock and Flow Diagram shows how stocks, inflows, and outflows shape a system over time. It is especially suited when growth, delays, or capacity limits determine the dynamics. |
Complexitydifferent | Medium | Medium | High |
Timedifferent | 30-90 min | 1-3 h | 2-6 h |
Participantsdifferent | 3-12 | 2-8 | 1-6 |
Formatdifferent | Workshop + async | Workshop | Workshop + async |
Outputdifferent | Postmortem Doc, Action Items, Timeline | Causal Loop Diagram, Feedback Notes, Leverage Points | Stock and Flow Model, Dynamics Notes, Simulation Hypotheses |
Tagsno overlap | Site Reliability EngineeringIncidentLearningReliability | FeedbackSystems thinkingCausalityDynamics | DynamicsSimulationFeedbackSystems thinking |
Often compared together
Methods with strong topical overlap with the current selection, not yet in the comparison.