View methods side by side.
Choose up to four methods. Add them using the search and share the comparison by copying its link.
| Criterion |  Architecture ARID (Active Reviews for Intermediate Designs) | 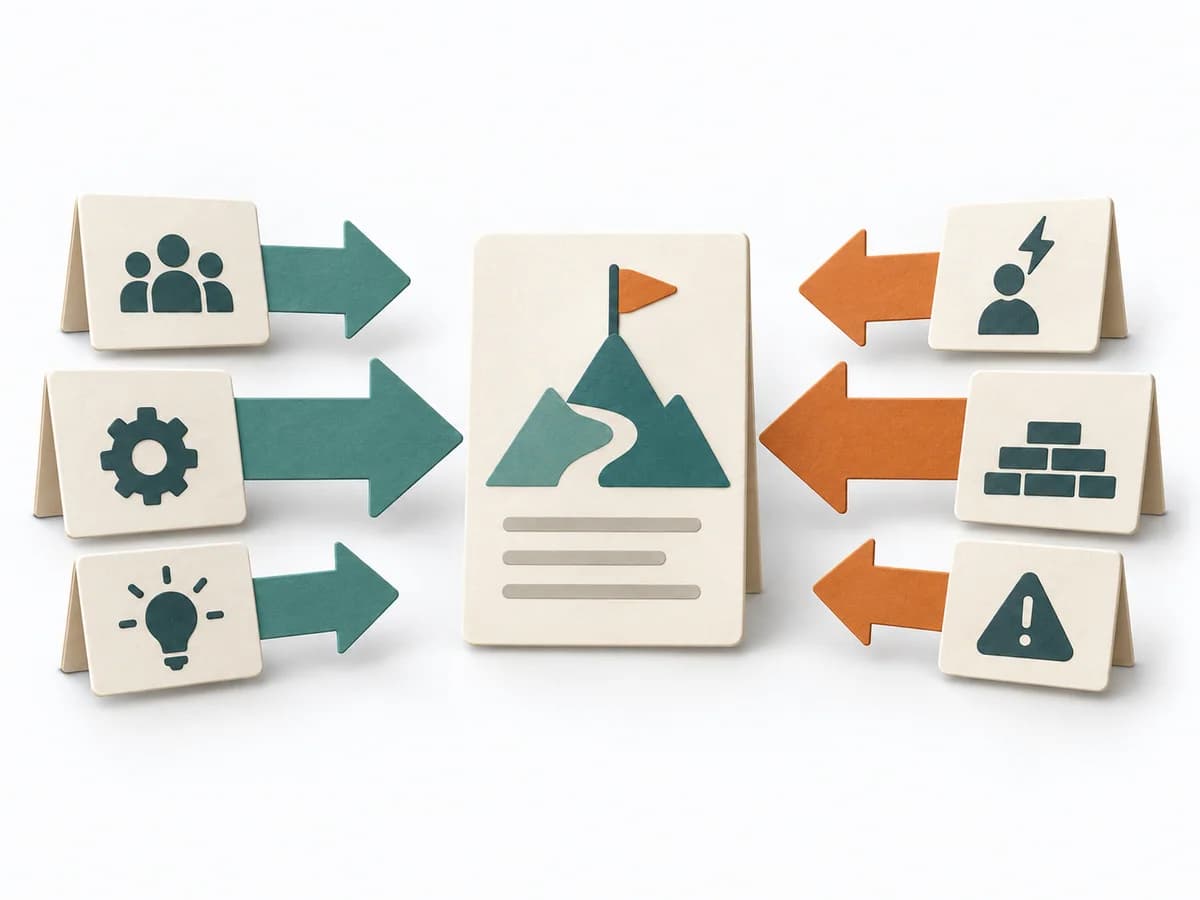 Decision Making Force Field Analysis |  Systems Thinking Wardley Mapping |
|---|---|---|---|
Purposedifferent | ARID examines how well developers can work with a technical design. It focuses on a part of the system that can still be revised, between the architecture overview and the detailed specification. | In change initiatives, supporting and restraining forces sit at the table at the same time. Force Field Analysis makes these tensions explicit and shows where change can be pushed forward by strengthening or relieving. | Wardley Mapping makes visible where an offering stands today and where it can evolve. The method connects user need, value chain, and evolution stages into a strategic basis for platform, build, or buy decisions. |
Complexitydifferent | Medium | Low | Medium |
Timedifferent | 2–4 h review as a planning range; preparation and evaluation additional | 45-90 min | 1-3 h |
Participantsdifferent | Designers, developers as users, and facilitation | 3-12 | 2-10 |
Formatdifferent | Workshop + async | Workshop | Workshop + async |
Outputdifferent | Prioritized development tasks, Jointly produced code or pseudocode, Observed difficulties and open design questions, Proposed design revisions | Force Field Map, Change Levers, Risk Notes | Wardley Map, Strategic Options, Evolution Notes |
Tagsno overlap | ArchitectureEngineeringFeedbackValidationTasks | ChangeDecisionStrategy | StrategySystems thinkingDynamics |
Often compared together
Methods with strong topical overlap with the current selection, not yet in the comparison.