View methods side by side.
Choose up to four methods. Add them using the search and share the comparison by copying its link.
| Criterion | 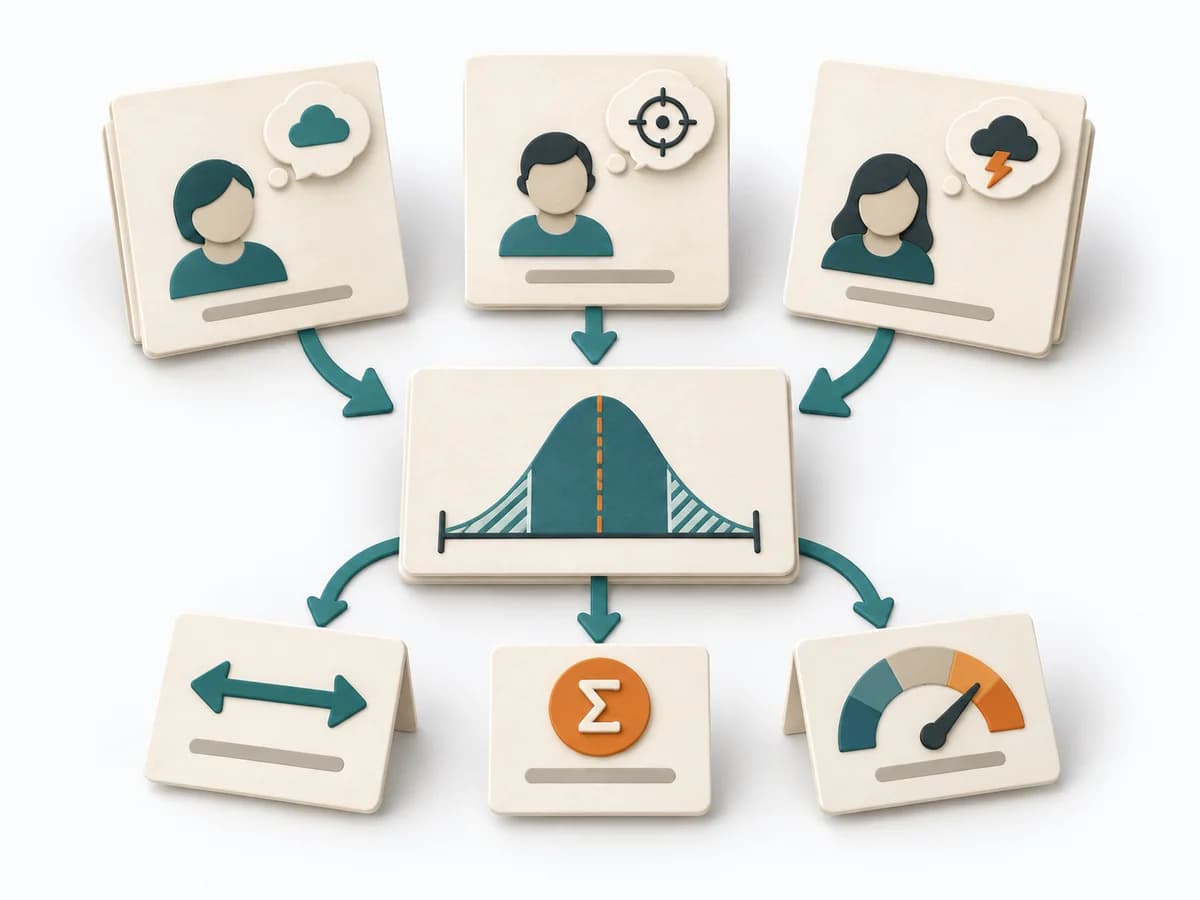 Decision Making Three-Point Estimation | 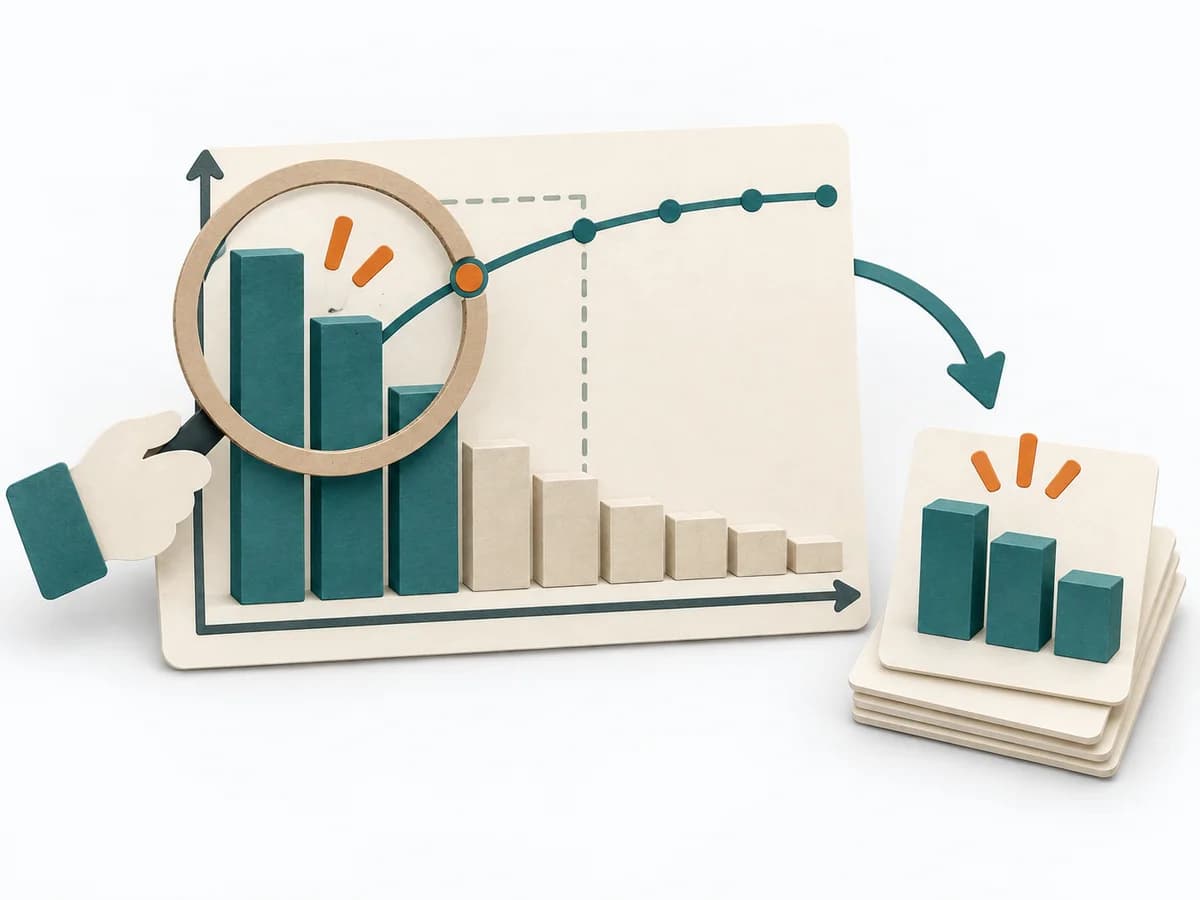 Decision Making Pareto Analysis | 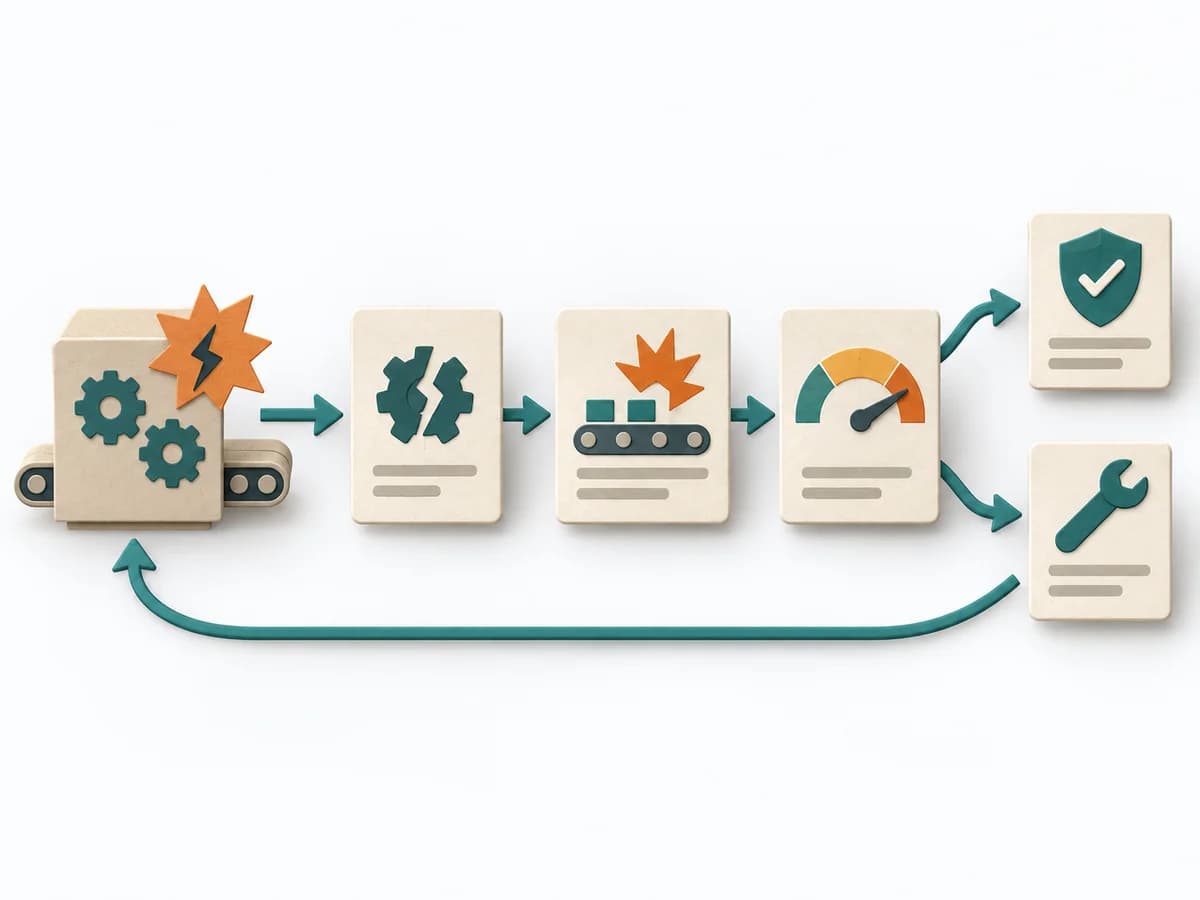 Operations Failure Mode and Effects Analysis |
|---|---|---|---|
Purposedifferent | A single estimate for effort, time, or risk often looks too smooth for the real uncertainty behind it. It separates options, evaluation criteria, and open risks. The result is captured as a Three-Point Estimate, Risk Range, and Assumption Notes. | In many problem situations, effect is distributed unequally across many causes. A Pareto Analysis separates the few drivers with high leverage from the long remainder and focuses attention on what measurably moves the needle. | For a process, product, or service with noticeable failure risks, the method assesses possible failure modes in advance. It directs attention to combinations of occurrence, effect, and detectability. |
Complexitydifferent | Medium | Low | High |
Timedifferent | 10-30 min je Item | 30-60 min | 2-6 h |
Participantsdifferent | 1-8 | 1-6 | 3-10 |
Formatdifferent | Workshop + async | Workshop + async | Workshop |
Outputdifferent | Three-Point Estimate, Risk Range, Assumption Notes | Pareto Chart, Top Causes, Focus List | FMEA Table, Risk Priority, Mitigation Actions |
Tagsno overlap | EstimationUncertaintyForecasting | PrioritizationQualityFocusRoot cause | RiskQualityOperationsRoot cause |
Often compared together
Methods with strong topical overlap with the current selection, not yet in the comparison.