View methods side by side.
Choose up to four methods. Add them using the search and share the comparison by copying its link.
| Criterion | 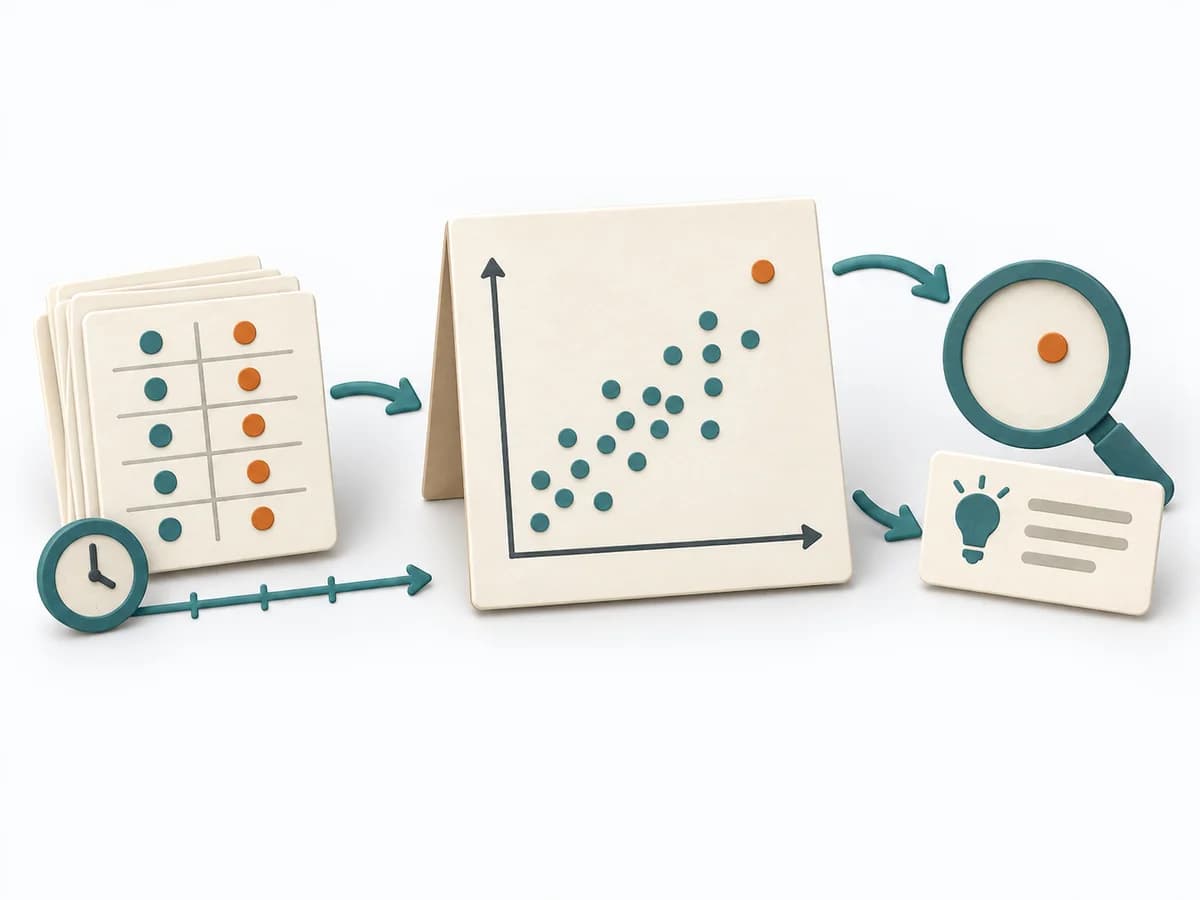 Operations Scatter Diagram | 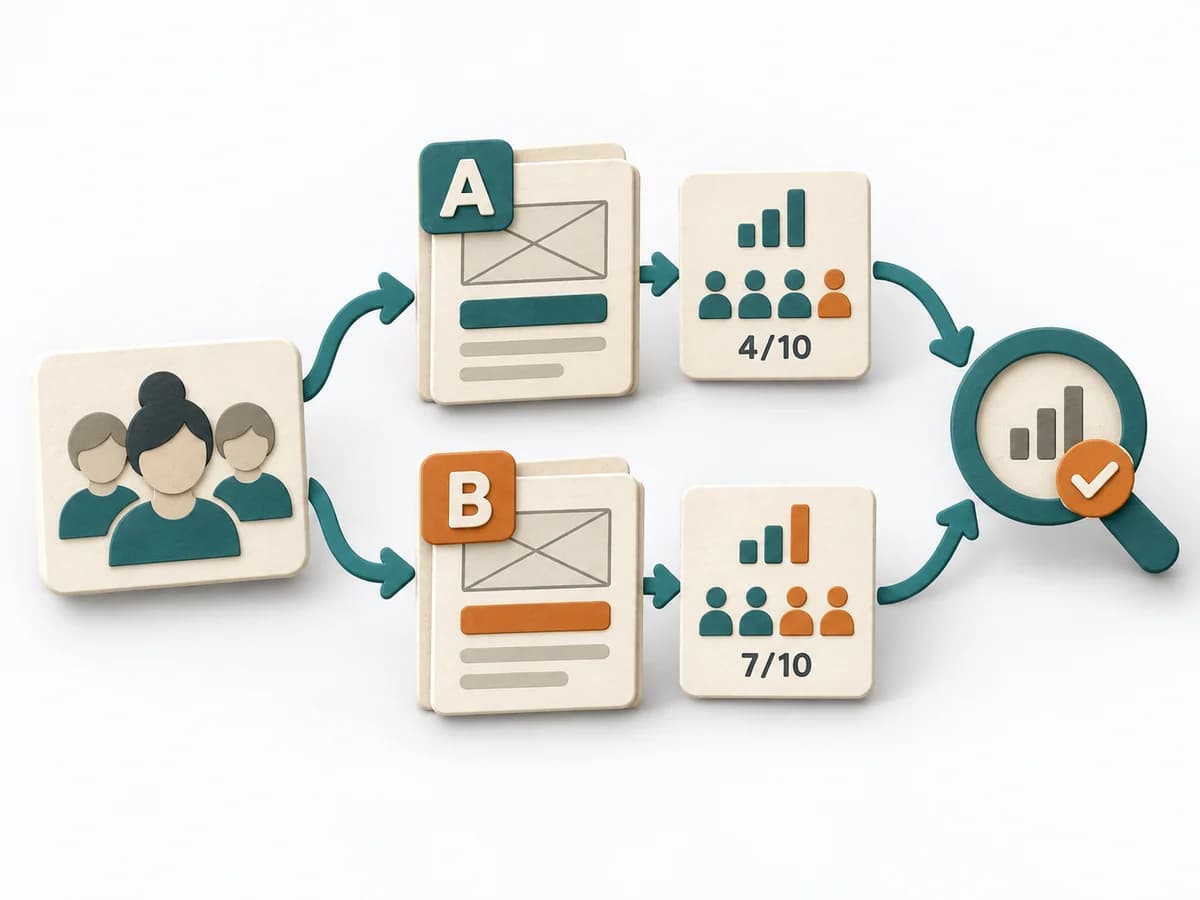 Growth A/B Testing | 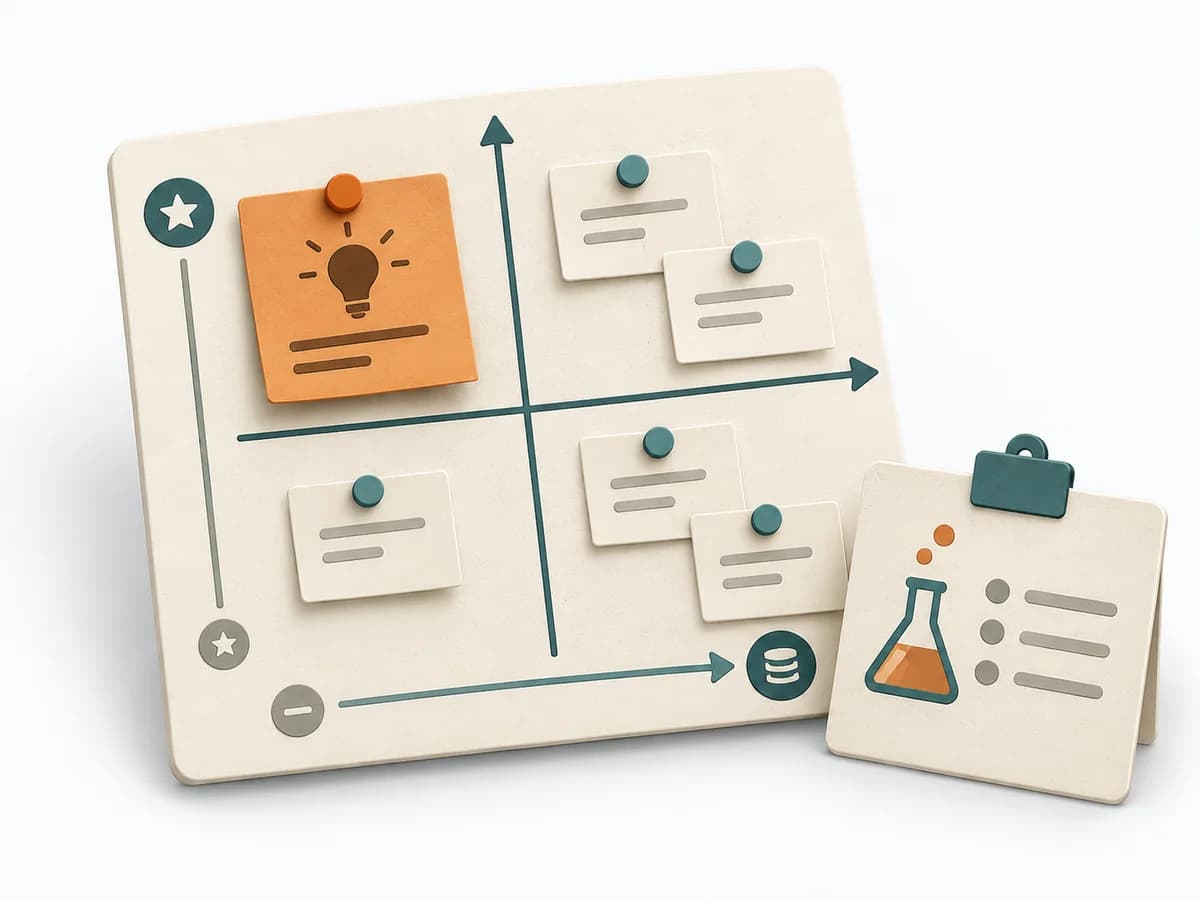 Product Discovery Assumption Mapping | 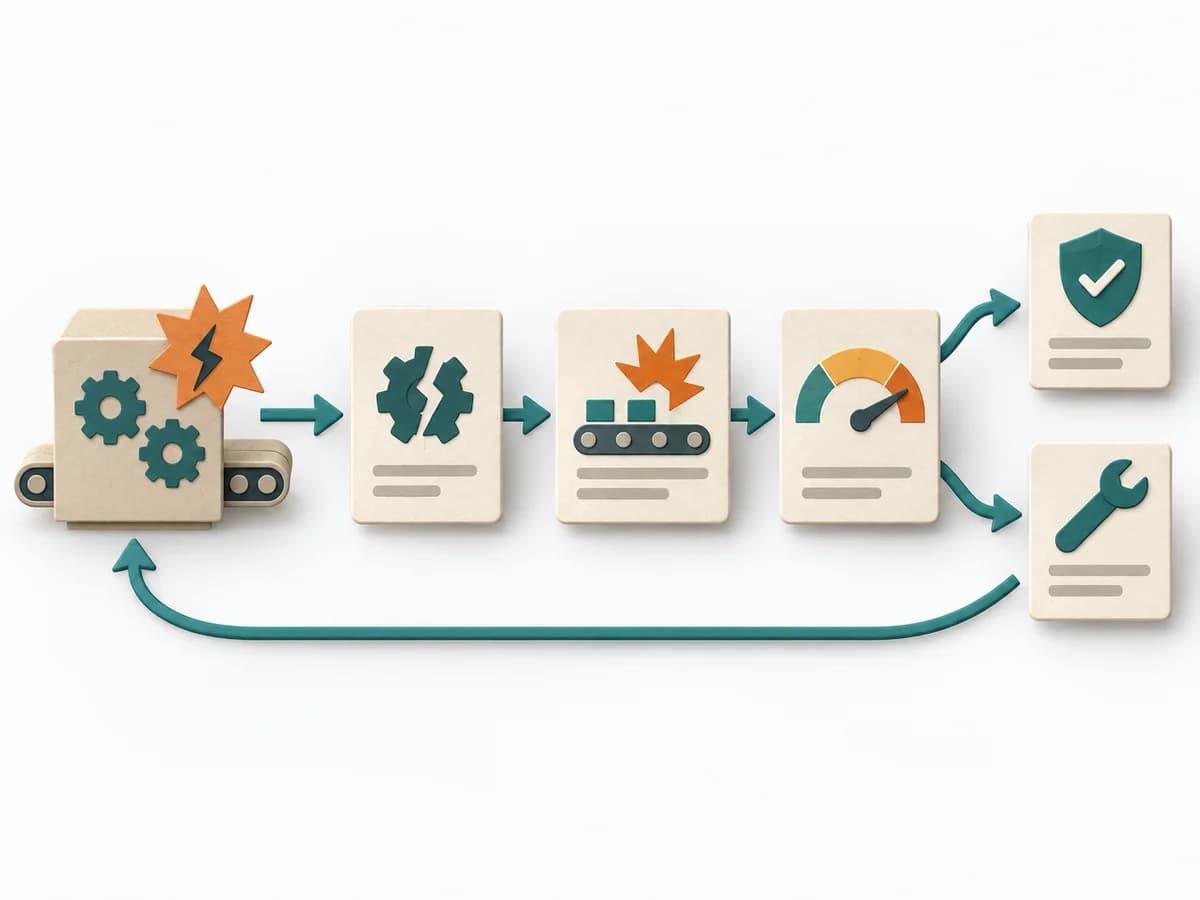 Operations Failure Mode and Effects Analysis |
|---|---|---|---|---|
Purposedifferent | When the question is whether two measures are related, the method makes patterns in the data picture visible. It separates felt correlations from relationships that actually show up in the data. | When two variants compete, discussions quickly decide by taste rather than effect. A/B Testing checks behavior under controlled conditions and separates real improvement from chance or expectation effects. | When assumptions still sit unordered in the room, it weighs uncertainty against leverage. It makes visible which hypotheses should be checked first. | For a process, product, or service with noticeable failure risks, the method assesses possible failure modes in advance. It directs attention to combinations of occurrence, effect, and detectability. |
Complexitydifferent | Low | High | Medium | High |
Timedifferent | 30-90 min | 1-4 Wochen | 45-60 min | 2-6 h |
Participantsdifferent | 1-4 | 1-6 | 2-8 | 3-10 |
Formatdifferent | Workshop + async | Async | Workshop + async | Workshop |
Outputdifferent | Scatter Plot, Korrelationsnotiz, Hypothesenliste | Experiment results, Decision log, Learning summary | Assumption map, Test backlog, Risk ranking | FMEA Table, Risk Priority, Mitigation Actions |
Tagsno overlap | Root causeQualityVisualization | ExperimentsGrowthAnalyticsValidation | AssumptionsRiskExperimentsValidation | RiskQualityOperationsRoot cause |