View methods side by side.
Choose up to four methods. Add them using the search and share the comparison by copying its link.
| Criterion | 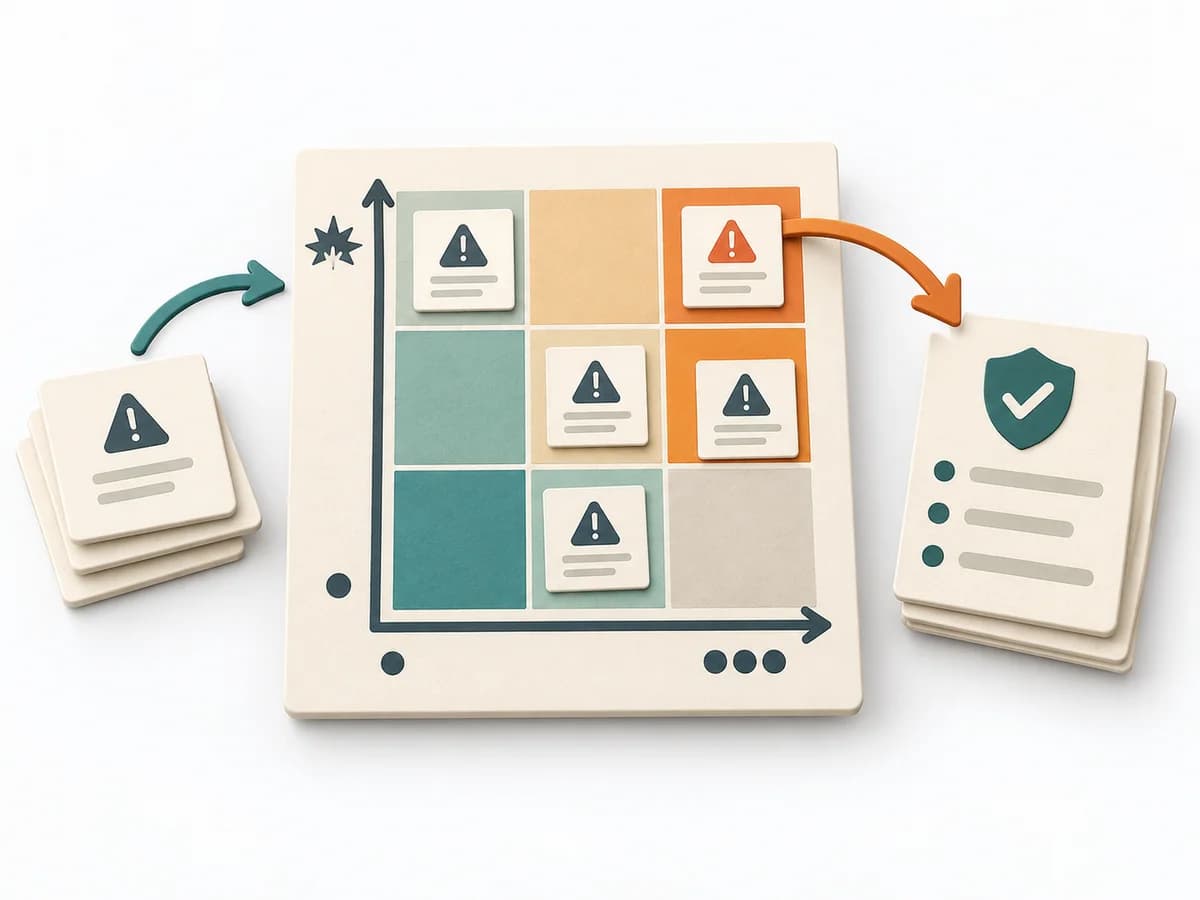 Decision Making Risk Matrix | 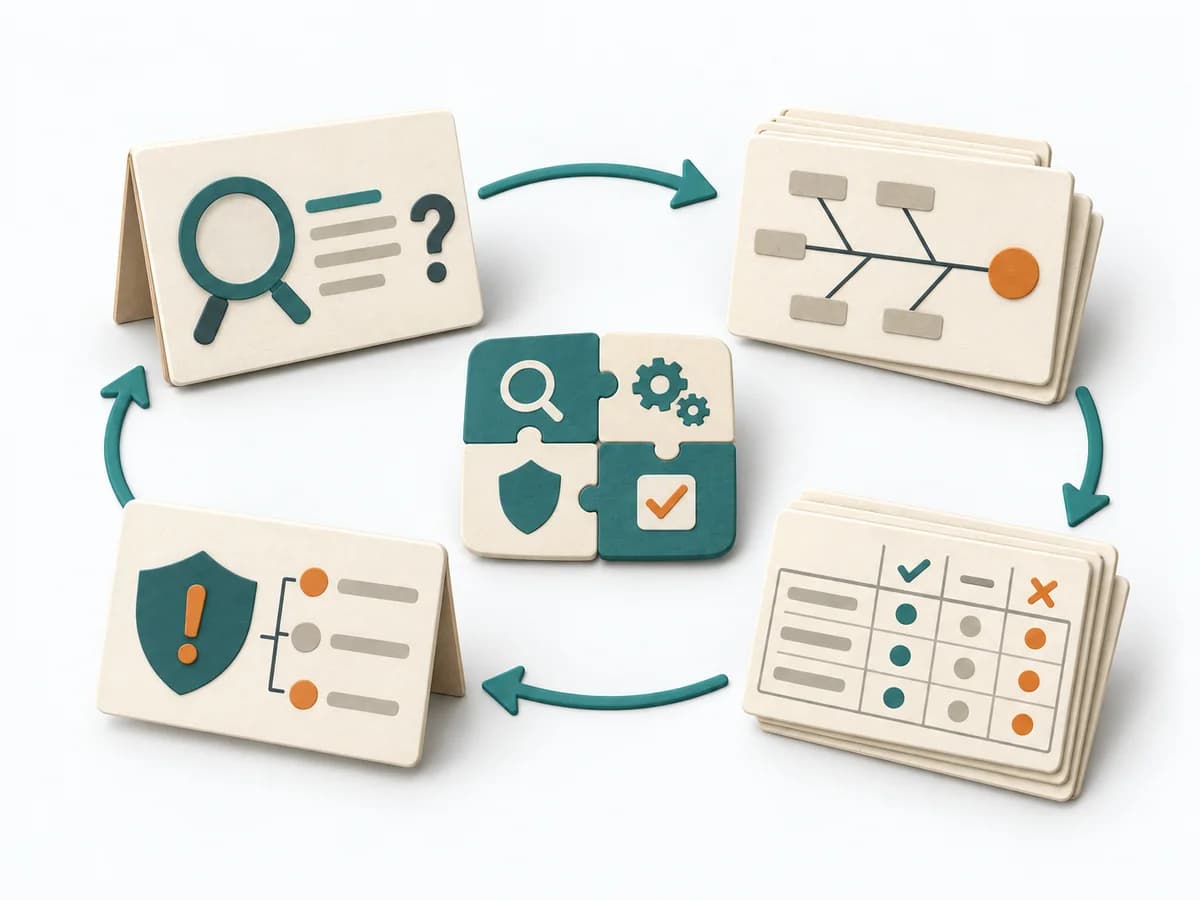 Operations Kepner-Tregoe | 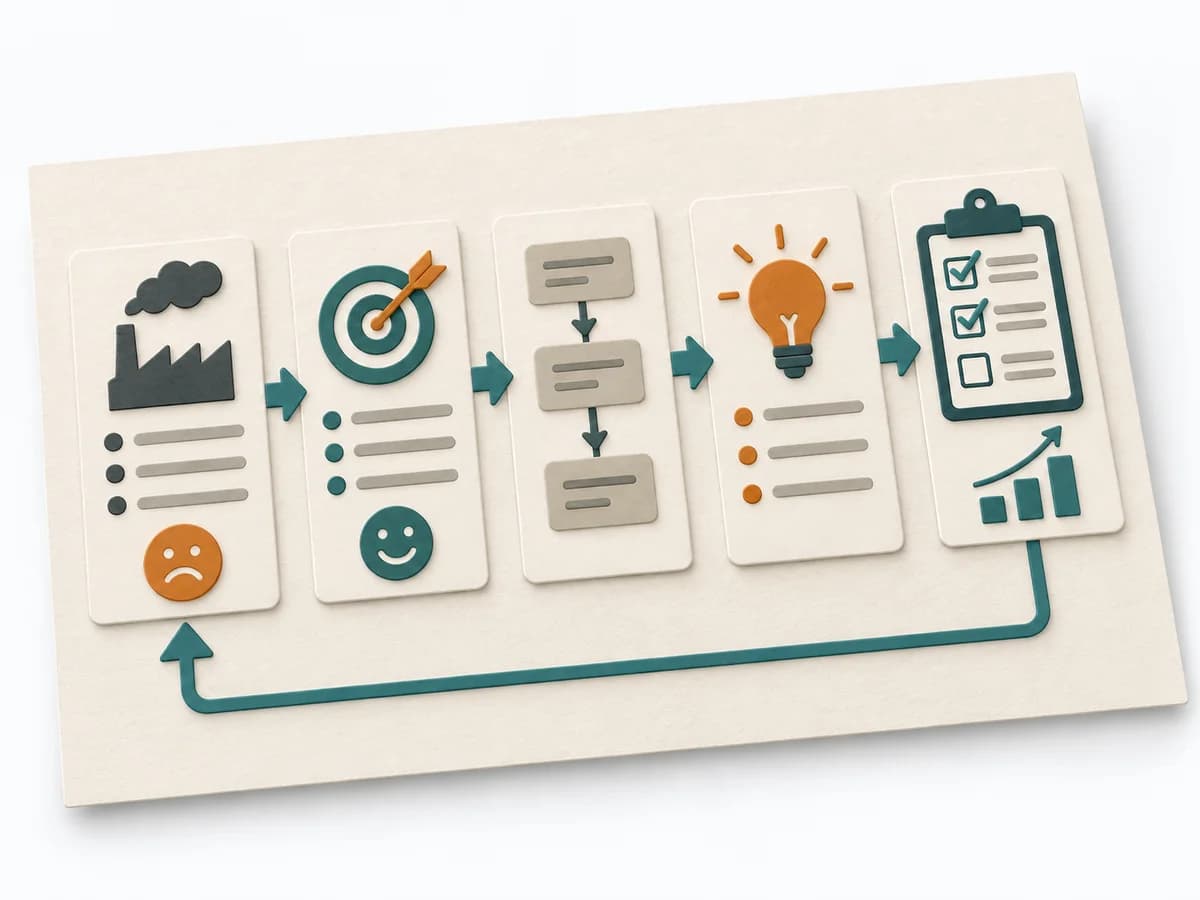 Operations A3 Problem Solving | 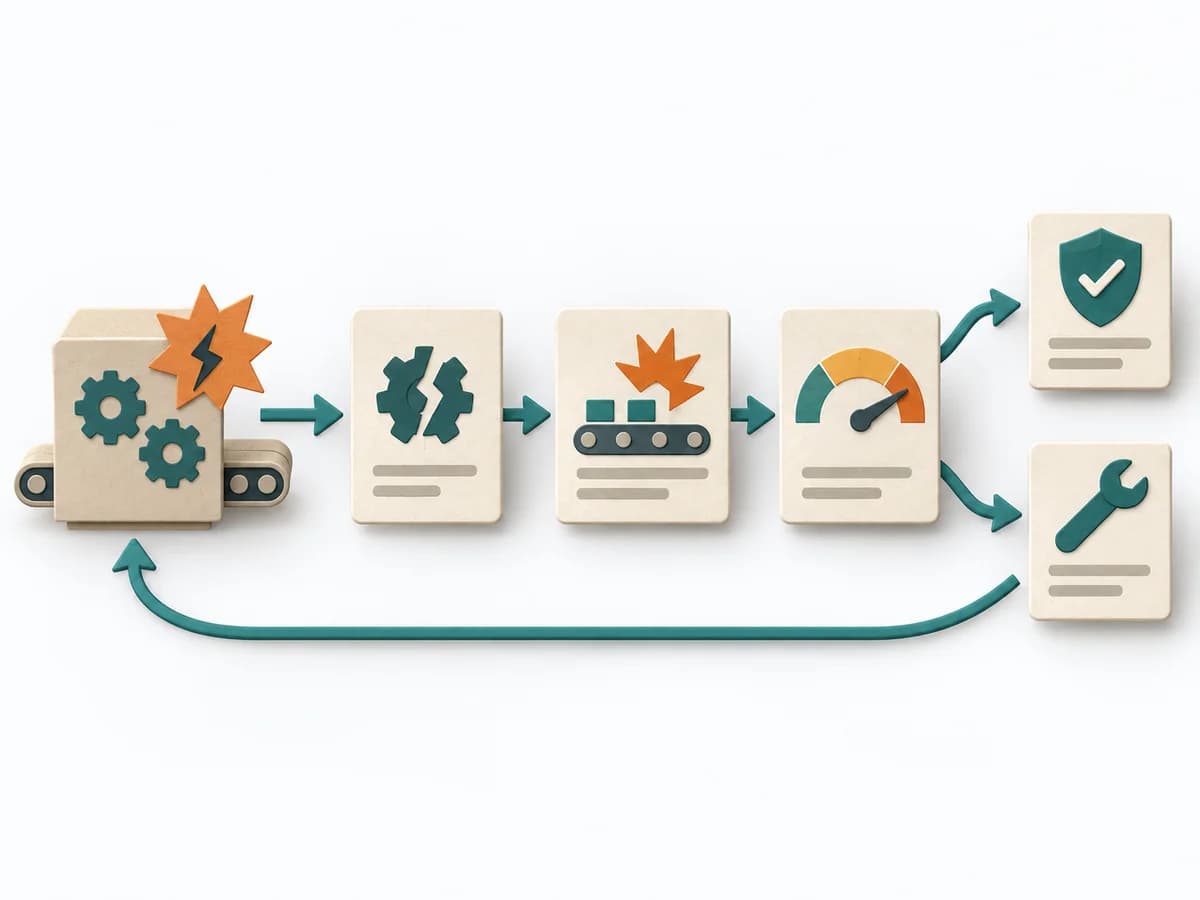 Operations Failure Mode and Effects Analysis |
|---|---|---|---|---|
Purposedifferent | When a project faces many possible disruptions, it quickly becomes unclear which risks deserve attention first. It separates options, evaluation criteria, and open risks. The result is captured as a Risk Matrix and a Top Risk List. | For a disturbance that's hard to pin down, the method cleanly separates problem, cause, and decision. It reduces mixing when symptoms allow several interpretations. | For a complex deviation with several people involved, the method bundles problem, analysis, and decision onto one page. It creates a shared working space where causes, countermeasures, and follow-up fit together. | For a process, product, or service with noticeable failure risks, the method assesses possible failure modes in advance. It directs attention to combinations of occurrence, effect, and detectability. |
Complexitydifferent | Low | High | Medium | High |
Timedifferent | 30-60 min | 2-8 h | 45-90 min | 2-6 h |
Participantsdifferent | 3-10 | 2-8 | 2-5 | 3-10 |
Formatdifferent | Workshop + async | Workshop + async | Workshop + async | Workshop |
Outputdifferent | Risk Matrix, Top Risk List | Problem Analysis, Decision Analysis, Risk Plan | A3 Report, Action Plan, Root Cause Analysis | FMEA Table, Risk Priority, Mitigation Actions |
Tagsno overlap | RiskDecisionPrioritizationAssessment | Problem solvingRoot causeDecisionOperations | LeanProblem solvingCoachingOperations | RiskQualityOperationsRoot cause |