View methods side by side.
Choose up to four methods. Add them using the search and share the comparison by copying its link.
| Criterion | 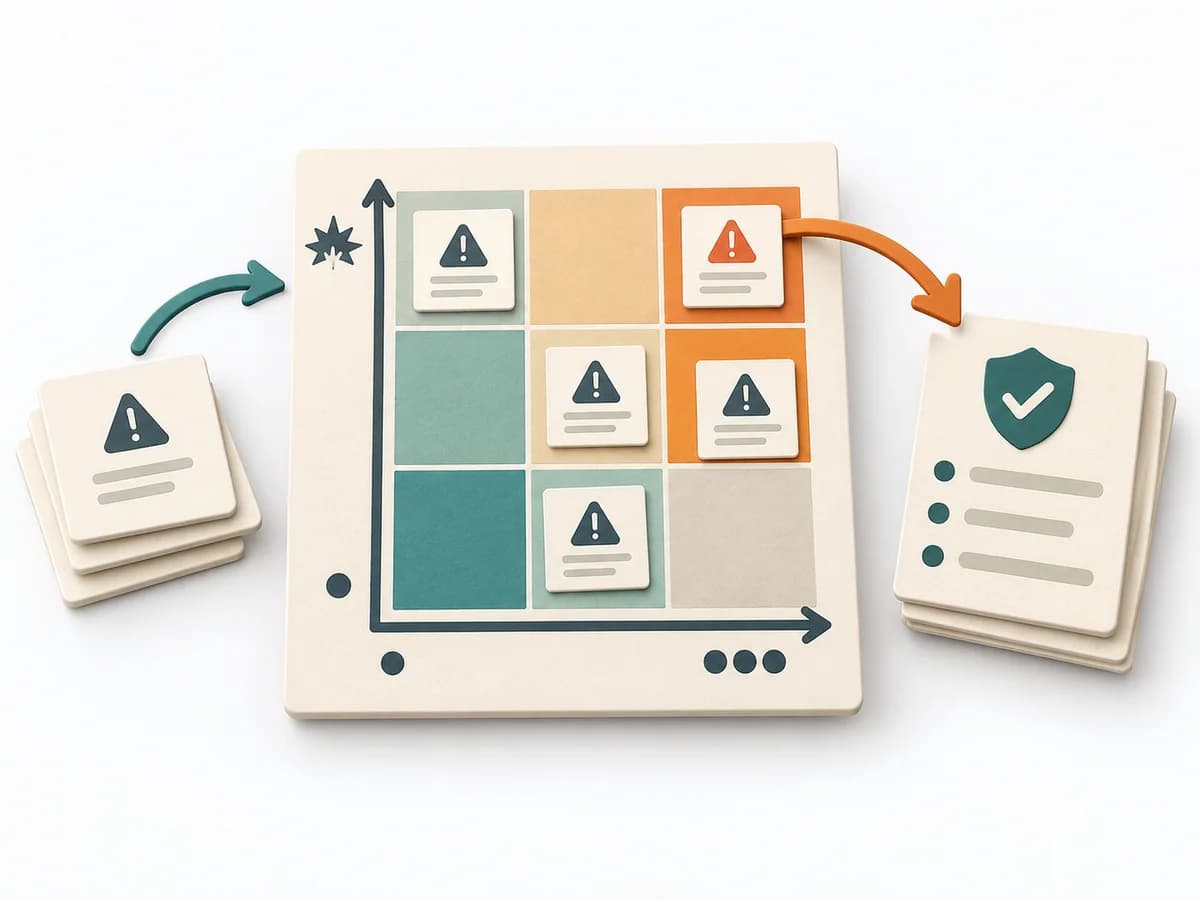 Decision Making Risk Matrix | 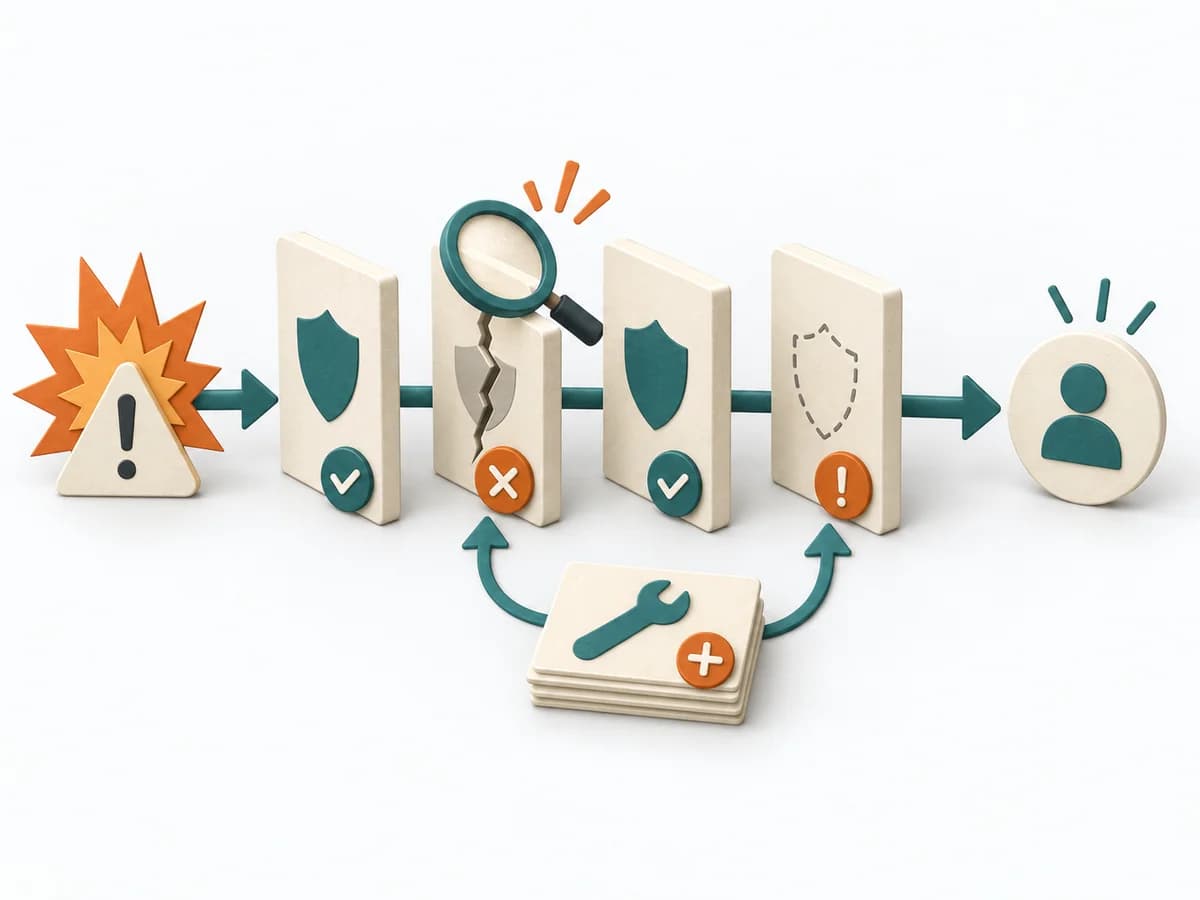 Operations Barrier Analysis | 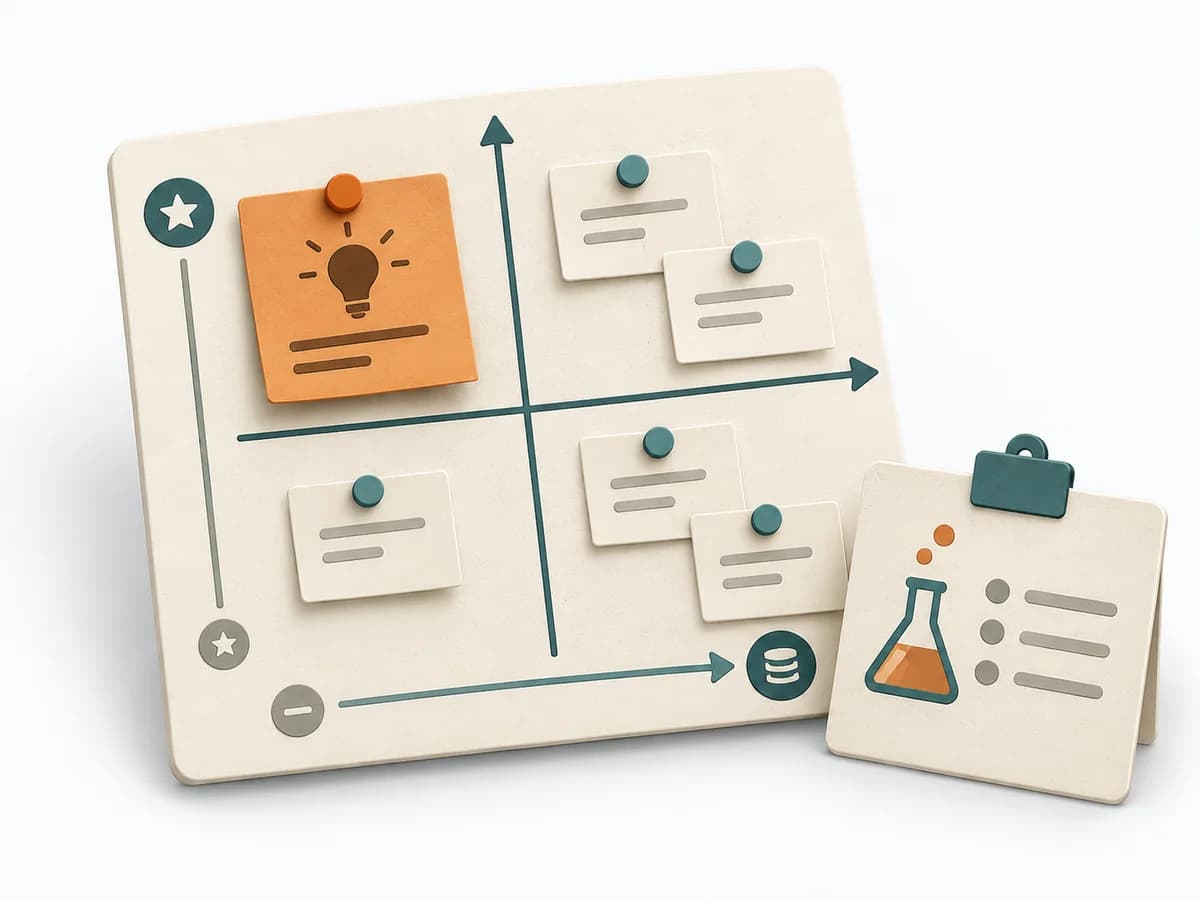 Product Discovery Assumption Mapping | 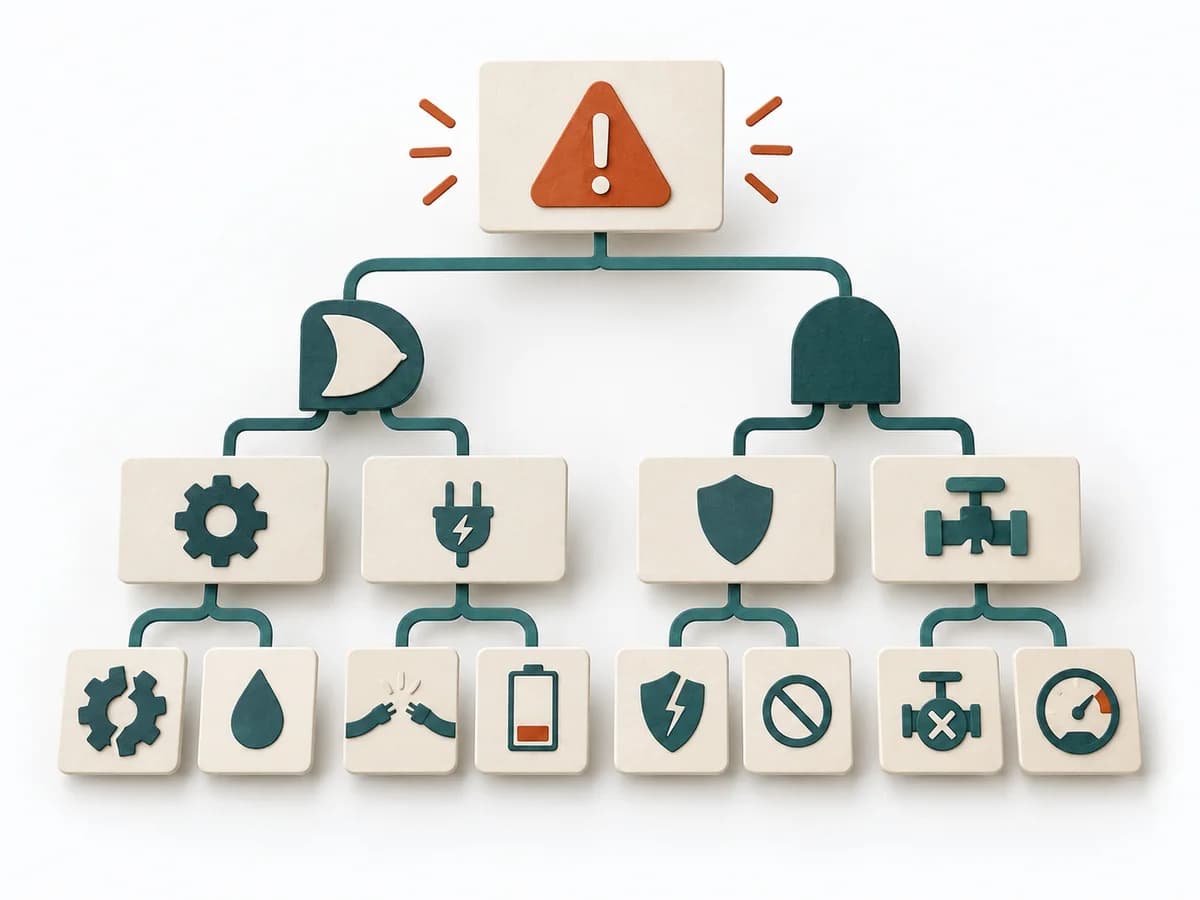 Operations Fault Tree Analysis |
|---|---|---|---|---|
Purposedifferent | When a project faces many possible disruptions, it quickly becomes unclear which risks deserve attention first. It separates options, evaluation criteria, and open risks. The result is captured as a Risk Matrix and a Top Risk List. | For a risk that can only be managed through multiple layers of protection, the method examines the effectiveness of each barrier. It shows where safeguards are missing, too weak, or fail under real conditions. | When assumptions still sit unordered in the room, it weighs uncertainty against leverage. It makes visible which hypotheses should be checked first. | For a critical top event with several possible triggers, the method logically models failure paths. It makes visible which combinations of conditions can lead to damage. |
Complexitydifferent | Low | Medium | Medium | High |
Timedifferent | 30-60 min | 2-4 h | 45-60 min | 2-6 h |
Participantsdifferent | 3-10 | 2-6 | 2-8 | 3-8 |
Formatsame | Workshop + async | Workshop + async | Workshop + async | Workshop + async |
Outputdifferent | Risk Matrix, Top Risk List | Barrier Inventory, Failure Analysis per Barrier, Action Backlog | Assumption map, Test backlog, Risk ranking | Fault Tree, Critical Paths, Cause Hypotheses, Control Actions |
Tagsno overlap | RiskDecisionPrioritizationAssessment | Root causeSafetyIncident | AssumptionsRiskExperimentsValidation | RiskRoot causeSafety |