View methods side by side.
Choose up to four methods. Add them using the search and share the comparison by copying its link.
| Criterion | 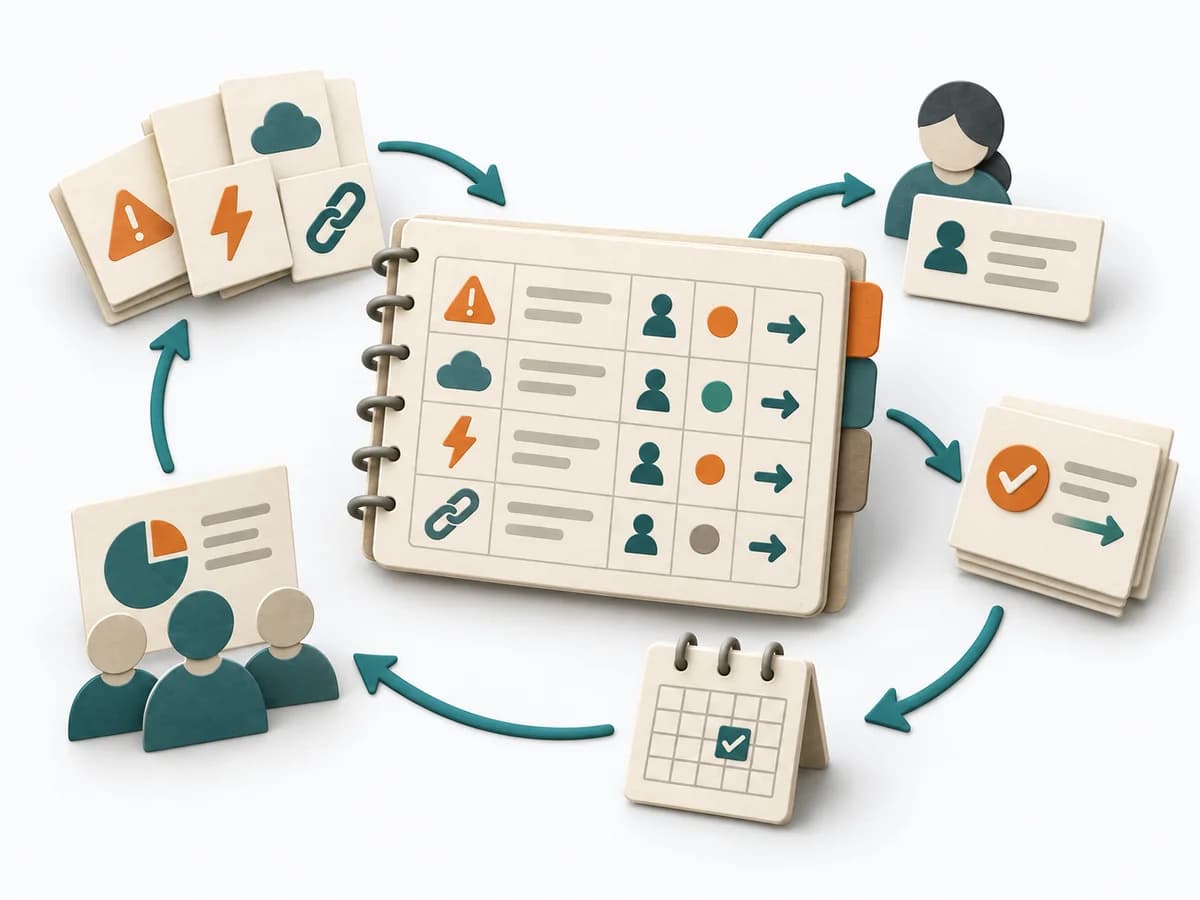 Delivery RAID Log | 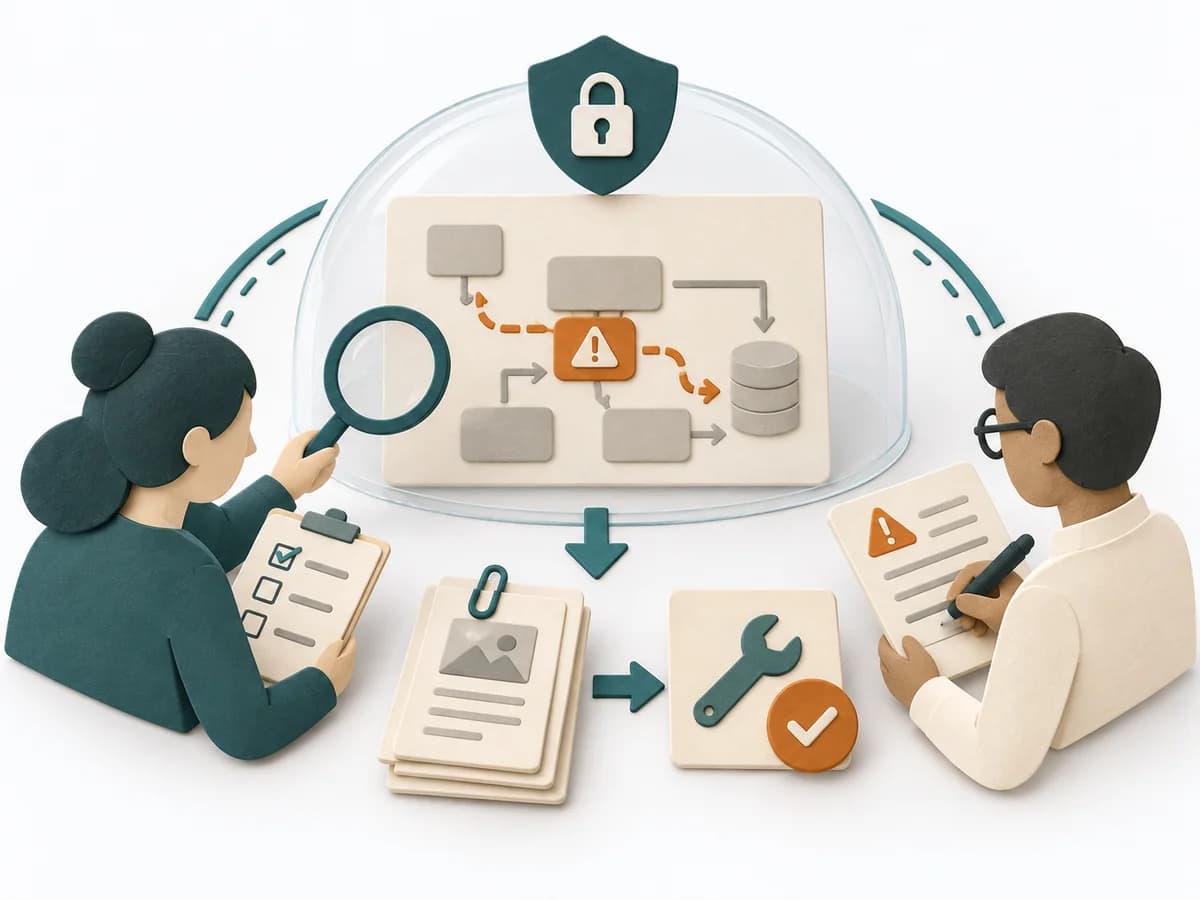 Decision Making Red Teaming | 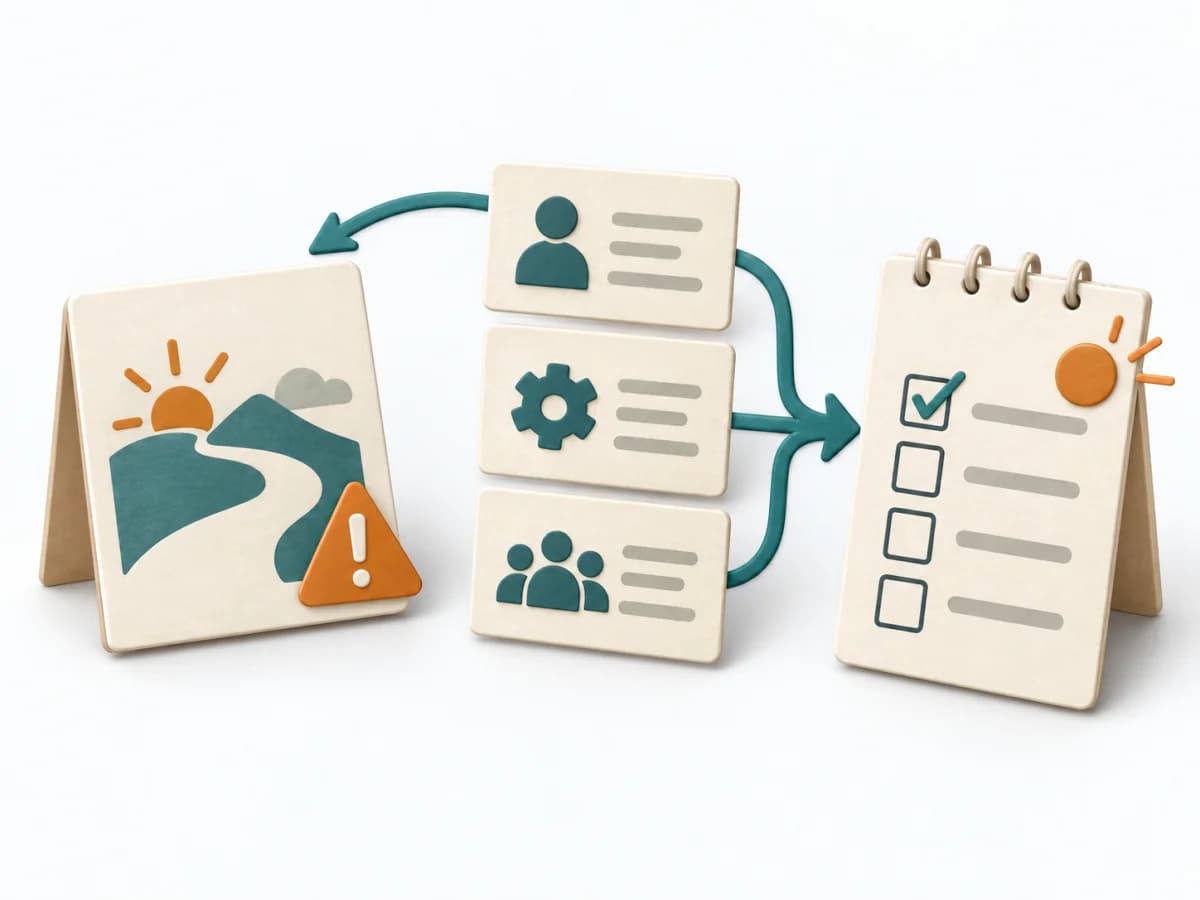 Decision Making Pre-Mortem | 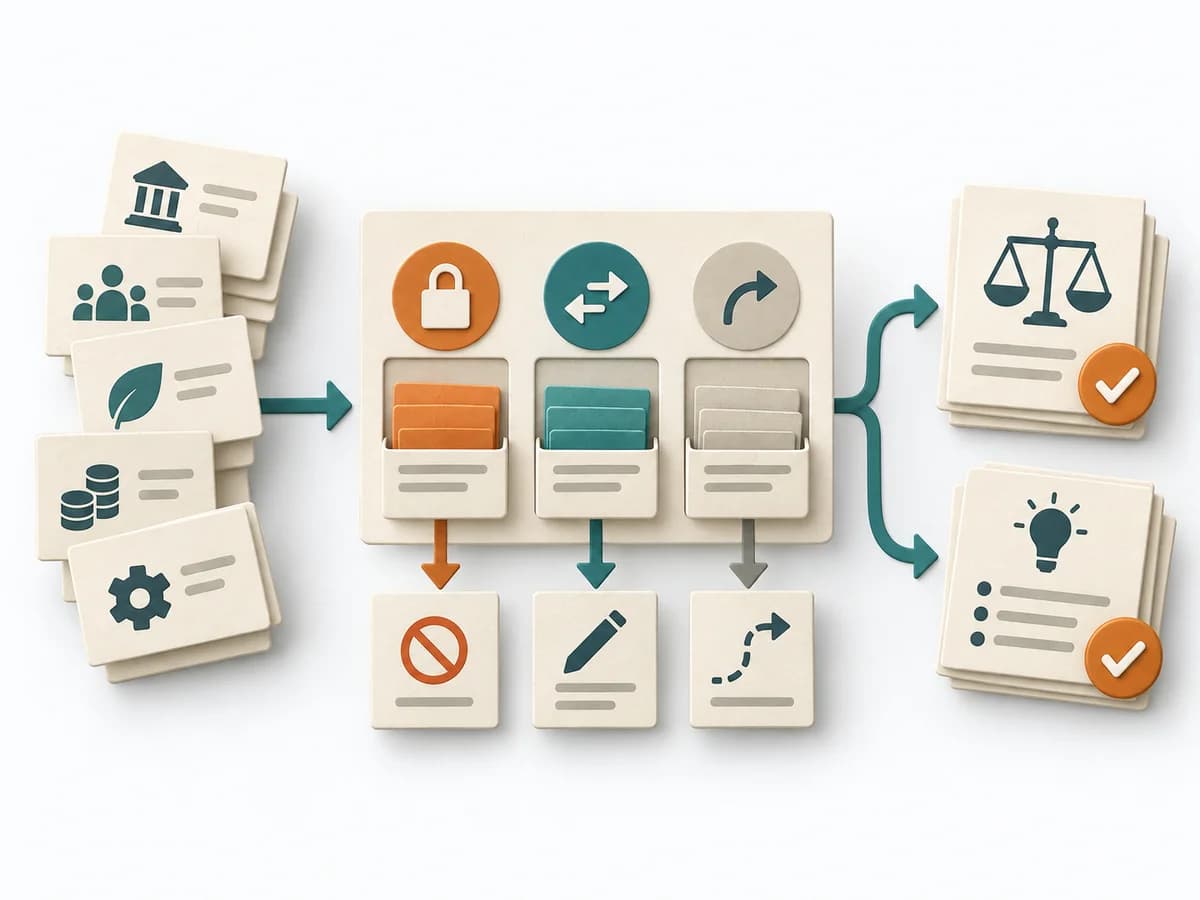 Decision Making Constraint Analysis |
|---|---|---|---|---|
Purposedifferent | Helps clarify scope, sequence, and delivery flow in concrete terms. It makes work, boundaries, and order steerable. The result is captured as a RAID Log and a source for status reporting. | For strategic decisions with high reach, agreement and gut feeling are often not enough. Red teaming brings deliberate opposition into the situation and tests where a plan breaks under real counterarguments. | In early initiatives with many uncertainties, planning quickly turns too optimistic. A pre-mortem makes the expected failure visible in advance and sharpens the view of causes, gaps, and countermeasures. | When an initiative stalls, the limit often lies not in the idea but in hard or soft boundary conditions. Constraint Analysis separates these limits and shows which of them can actually be shaped. |
Complexitydifferent | Low | High | Low | Low |
Timedifferent | 30 min Setup, dann laufend | 1-4 h | 20–45 min | 30-90 min |
Participantsdifferent | 1-3 maintaining, briefing for everyone | 3-8 | Small cross-functional group | 2-8 |
Formatdifferent | Async | Workshop | Workshop | Workshop + async |
Outputdifferent | RAID Log, Status Report Source | Challenge Findings, Risk Register, Mitigation Plan | Risk list, Mitigation plan, Assumption log | Constraint List, Hard/Soft Classification, Option Impact Notes, Decision Boundaries |
Tagsno overlap | RiskTrackingStakeholdersGovernance | RiskDecisionSensemaking | RiskDecisionFailurePlanning | ConstraintsDecisionPlanningOptions |