View methods side by side.
Choose up to four methods. Add them using the search and share the comparison by copying its link.
| Criterion | 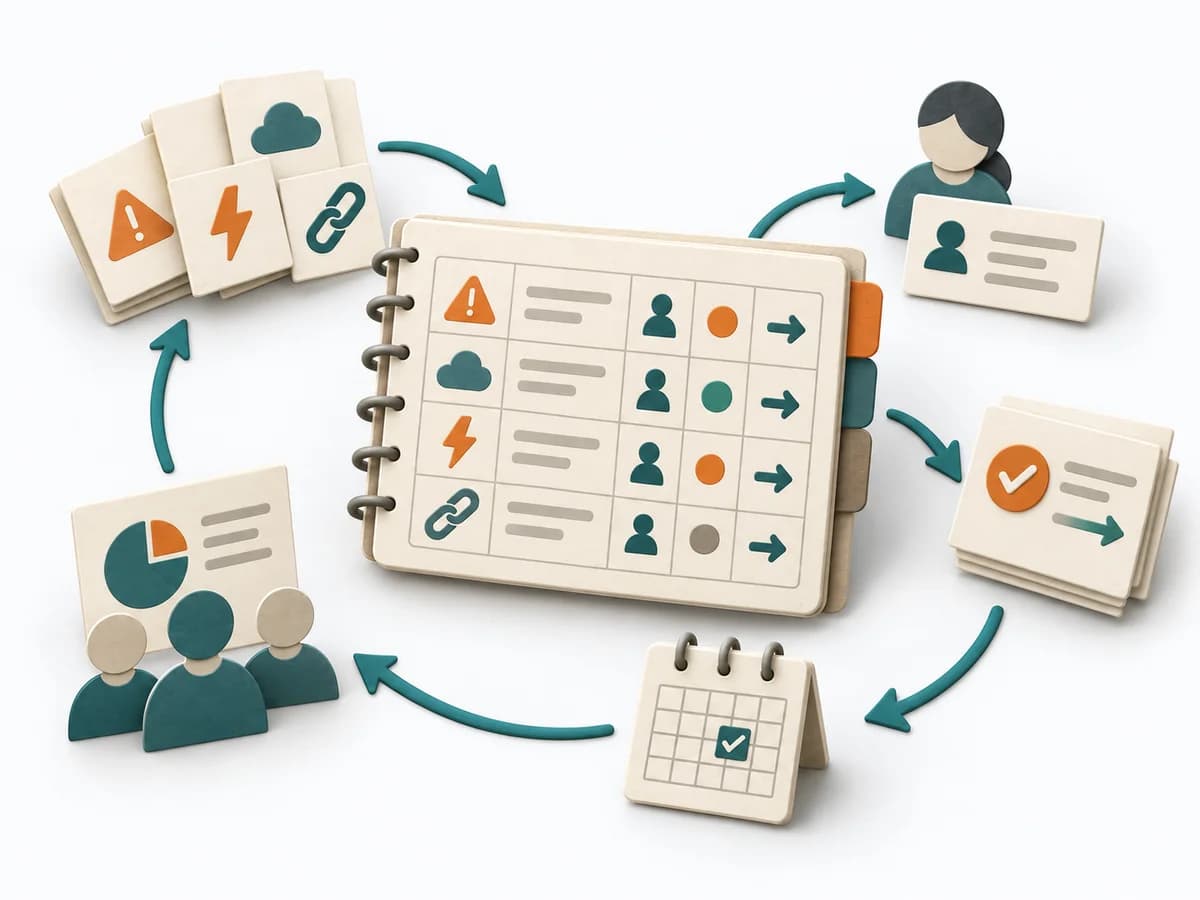 Delivery RAID Log | 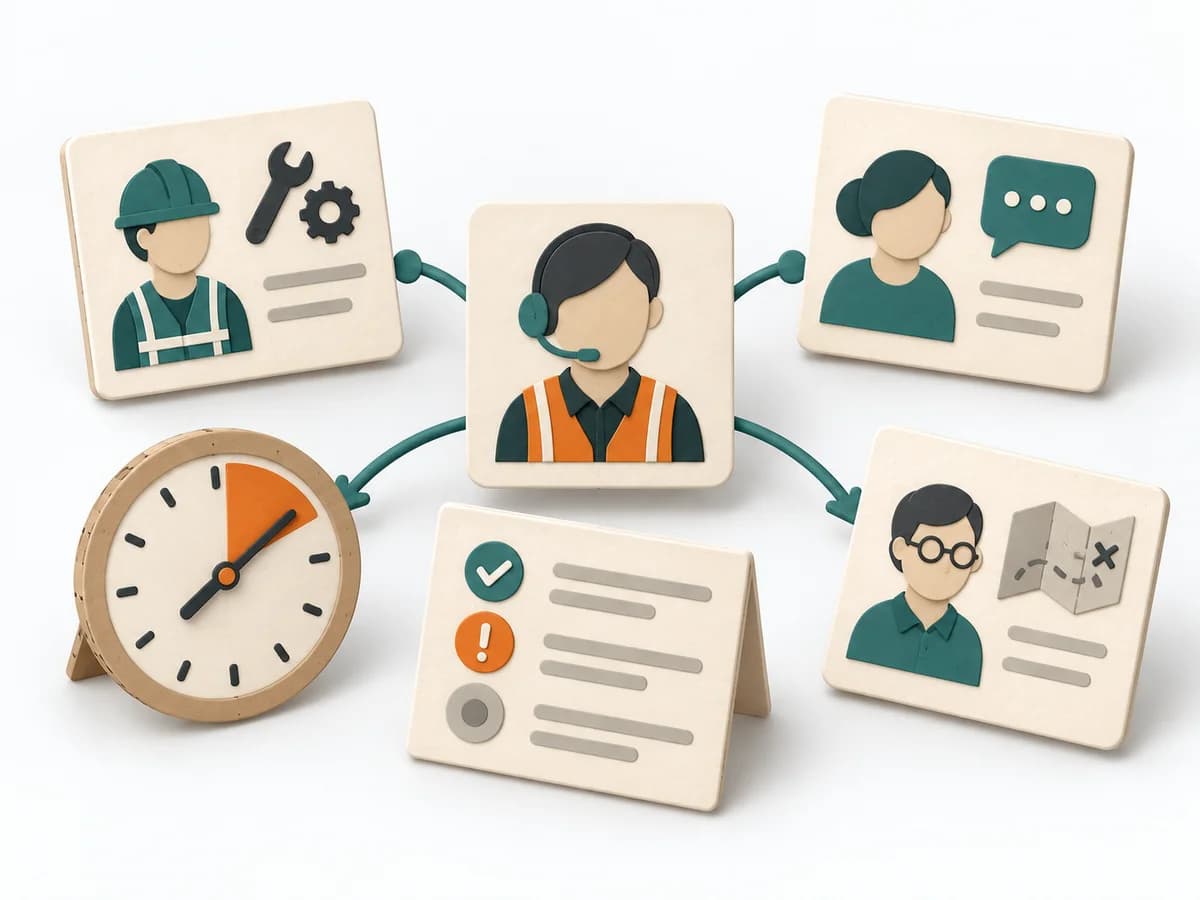 DevOps Incident Command | 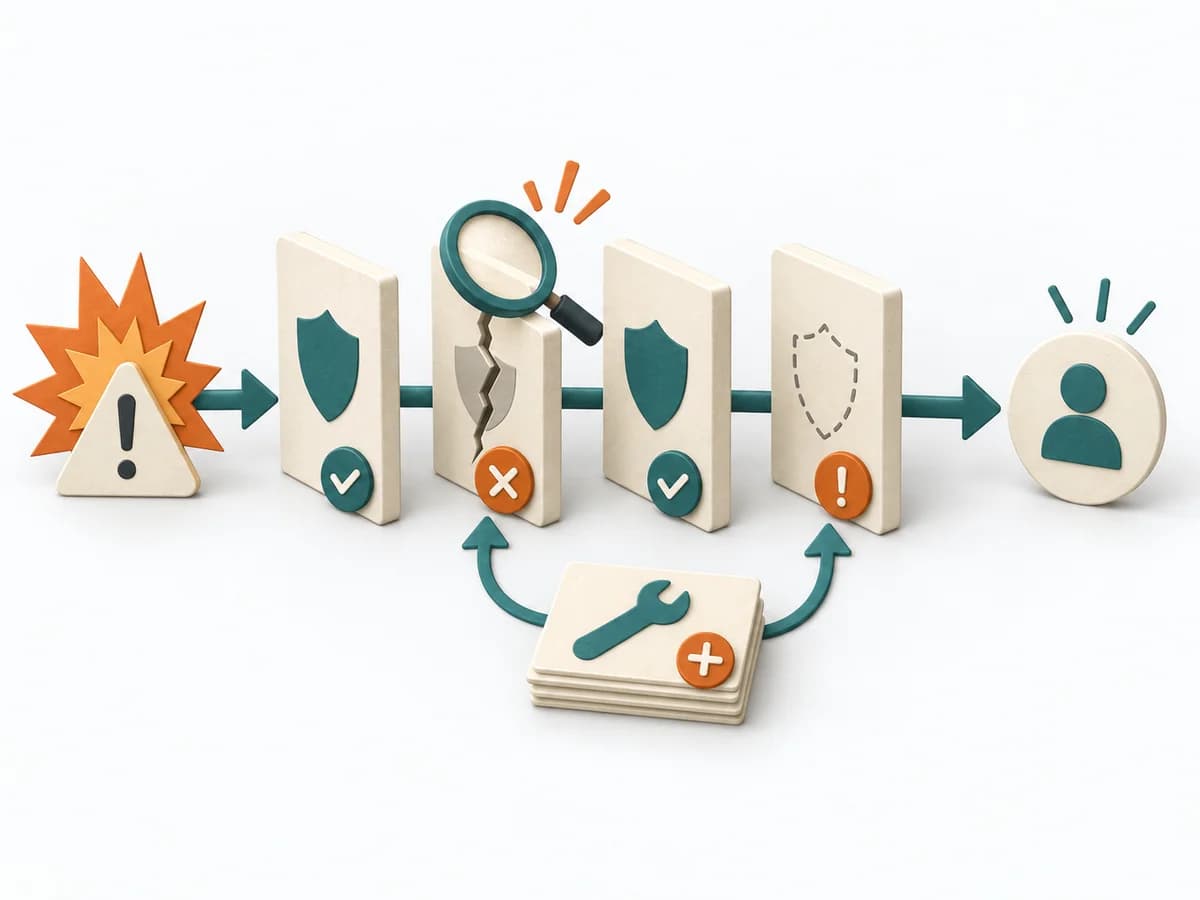 Operations Barrier Analysis | 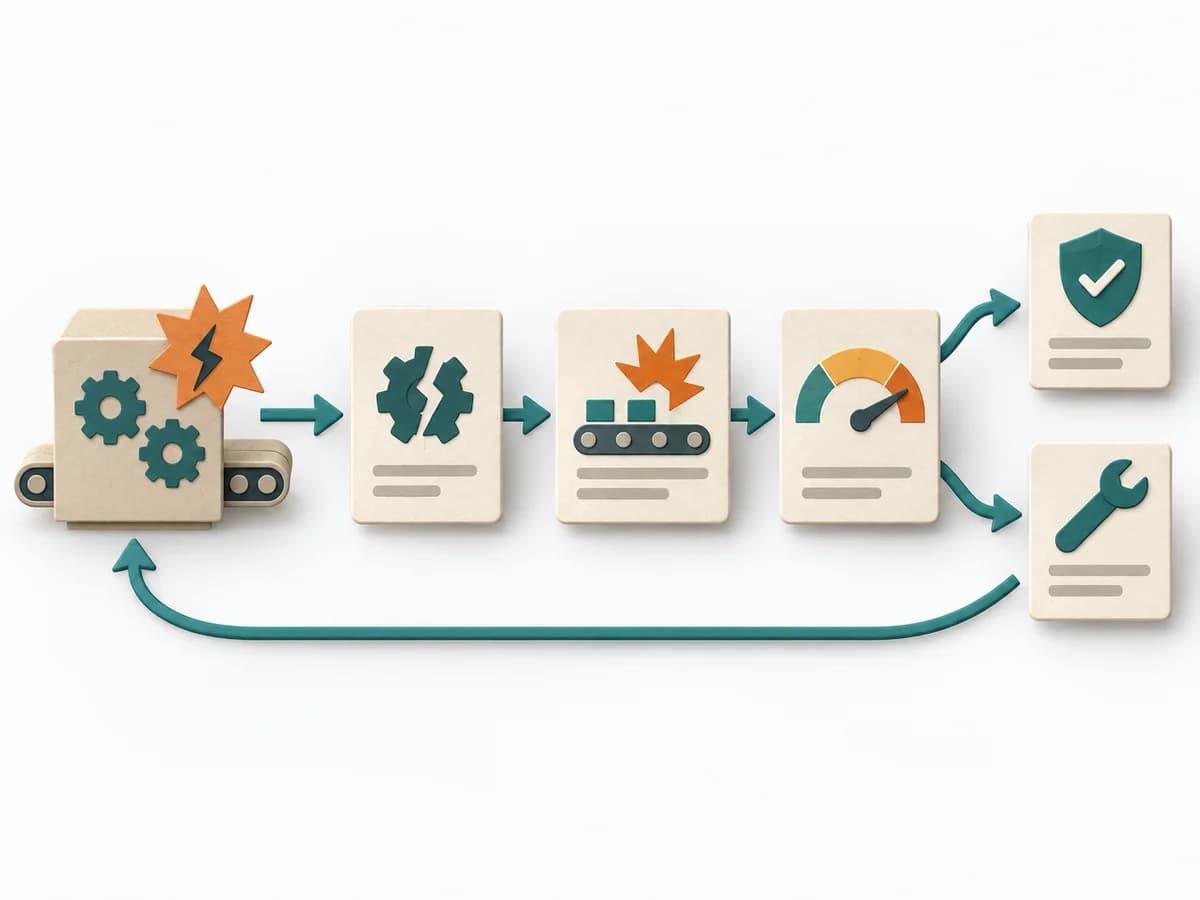 Operations Failure Mode and Effects Analysis |
|---|---|---|---|---|
Purposedifferent | Helps clarify scope, sequence, and delivery flow in concrete terms. It makes work, boundaries, and order steerable. The result is captured as a RAID Log and a source for status reporting. | During an acute incident with several people involved, the method creates a clear leadership and communication structure. It reduces chaos when fast coordination and clean situational awareness are both needed at once. | For a risk that can only be managed through multiple layers of protection, the method examines the effectiveness of each barrier. It shows where safeguards are missing, too weak, or fail under real conditions. | For a process, product, or service with noticeable failure risks, the method assesses possible failure modes in advance. It directs attention to combinations of occurrence, effect, and detectability. |
Complexitydifferent | Low | Medium | Medium | High |
Timedifferent | 30 min Setup, dann laufend | As needed | 2-4 h | 2-6 h |
Participantsdifferent | 1-3 maintaining, briefing for everyone | 4-15 | 2-6 | 3-10 |
Formatdifferent | Async | Workshop + async | Workshop + async | Workshop |
Outputdifferent | RAID Log, Status Report Source | Incident Log, Action Tracker, Stakeholder Updates | Barrier Inventory, Failure Analysis per Barrier, Action Backlog | FMEA Table, Risk Priority, Mitigation Actions |
Tagsno overlap | RiskTrackingStakeholdersGovernance | IncidentOperationsReliability | Root causeSafetyIncident | RiskQualityOperationsRoot cause |