View methods side by side.
Choose up to four methods. Add them using the search and share the comparison by copying its link.
| Criterion | 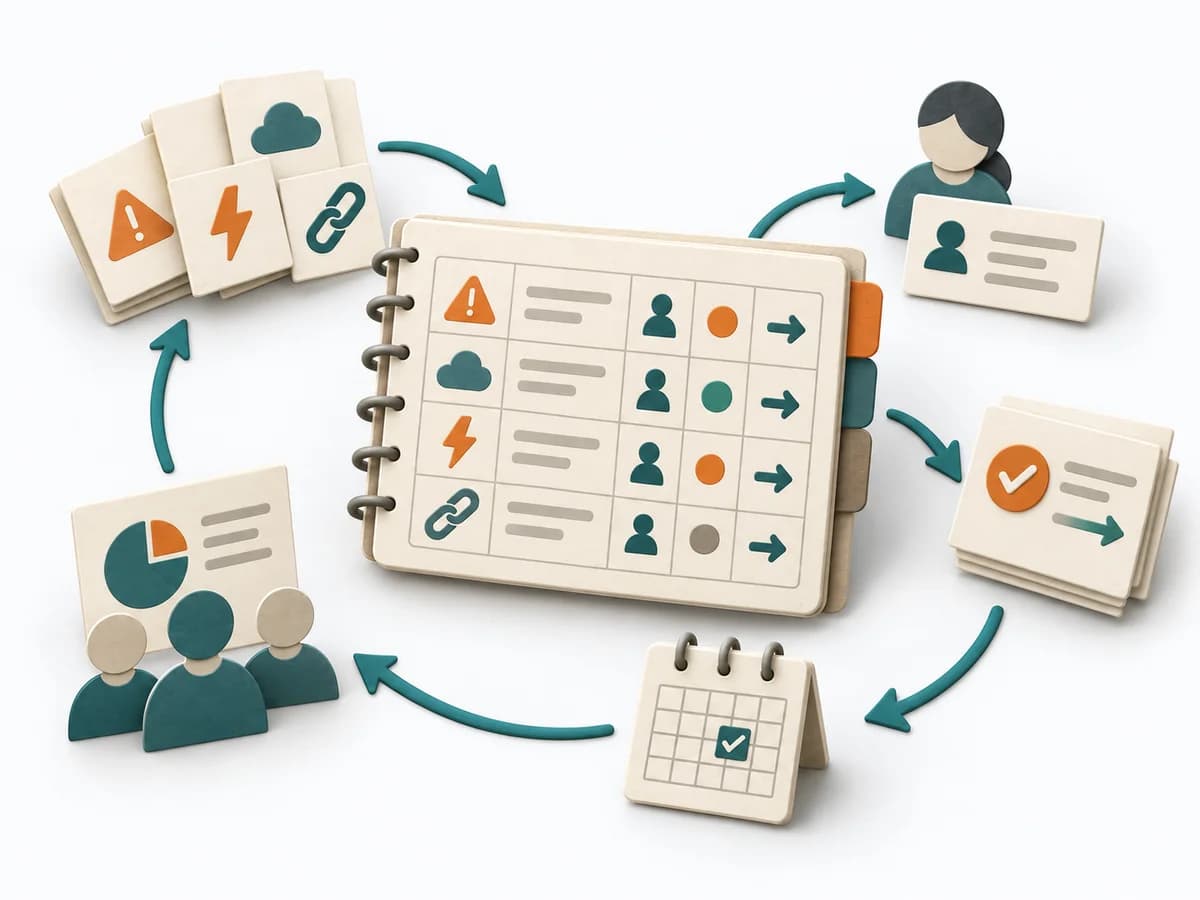 Delivery RAID Log | 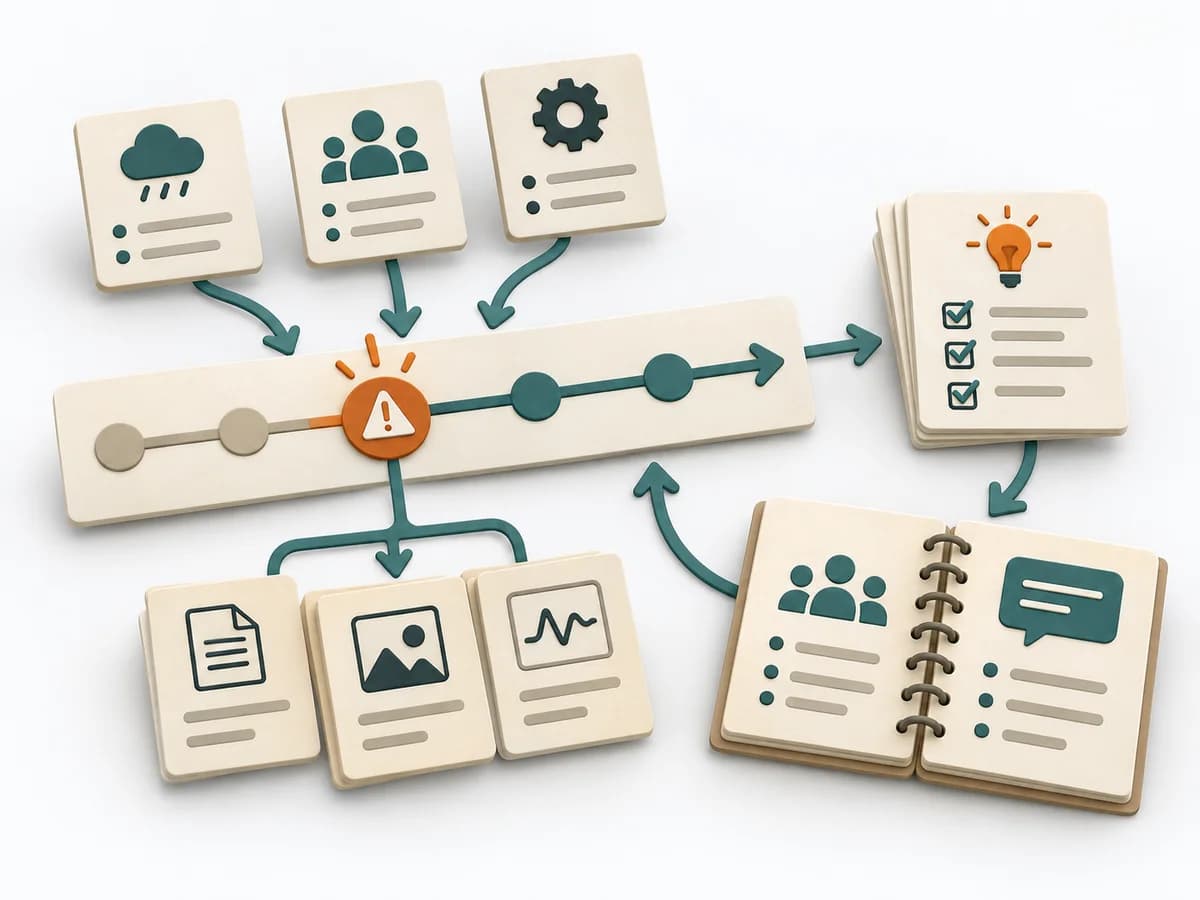 DevOps Blameless Postmortem | 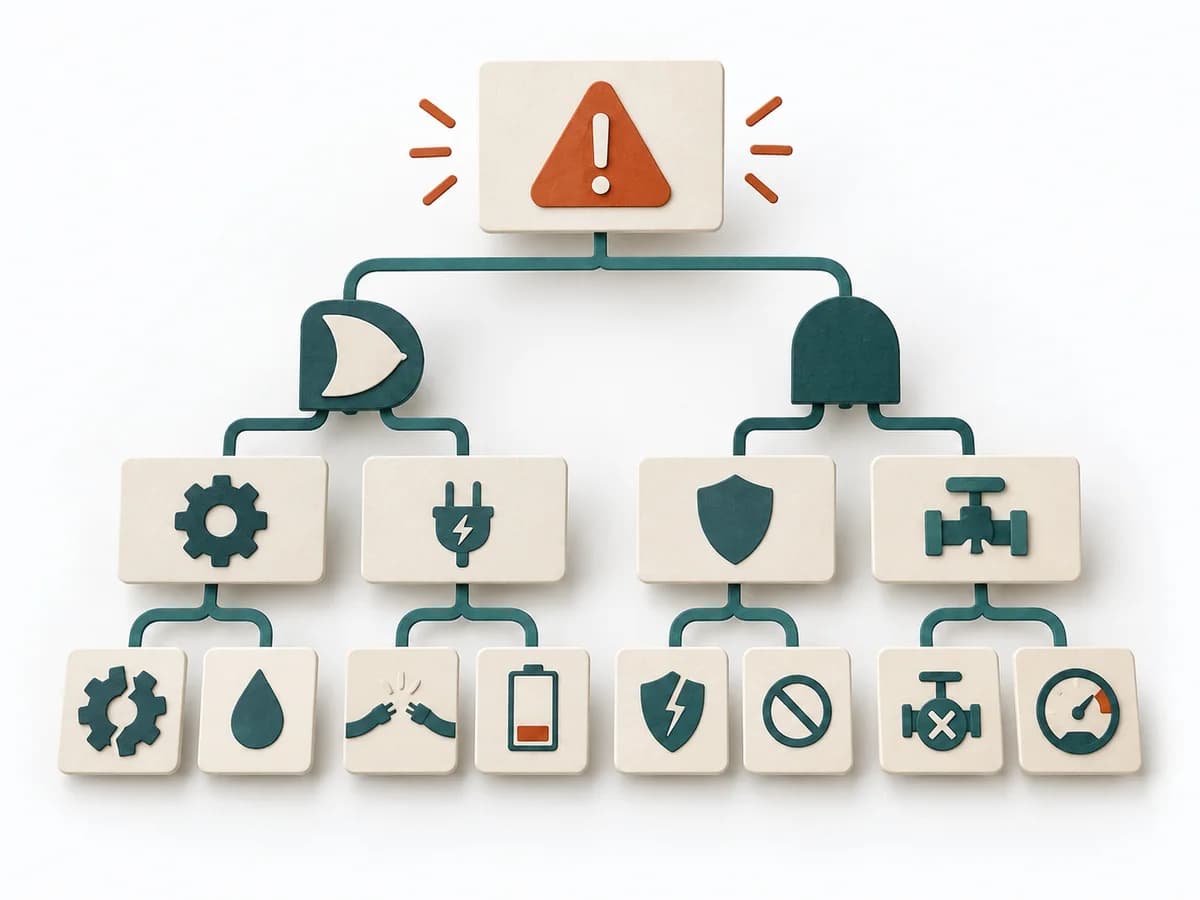 Operations Fault Tree Analysis | 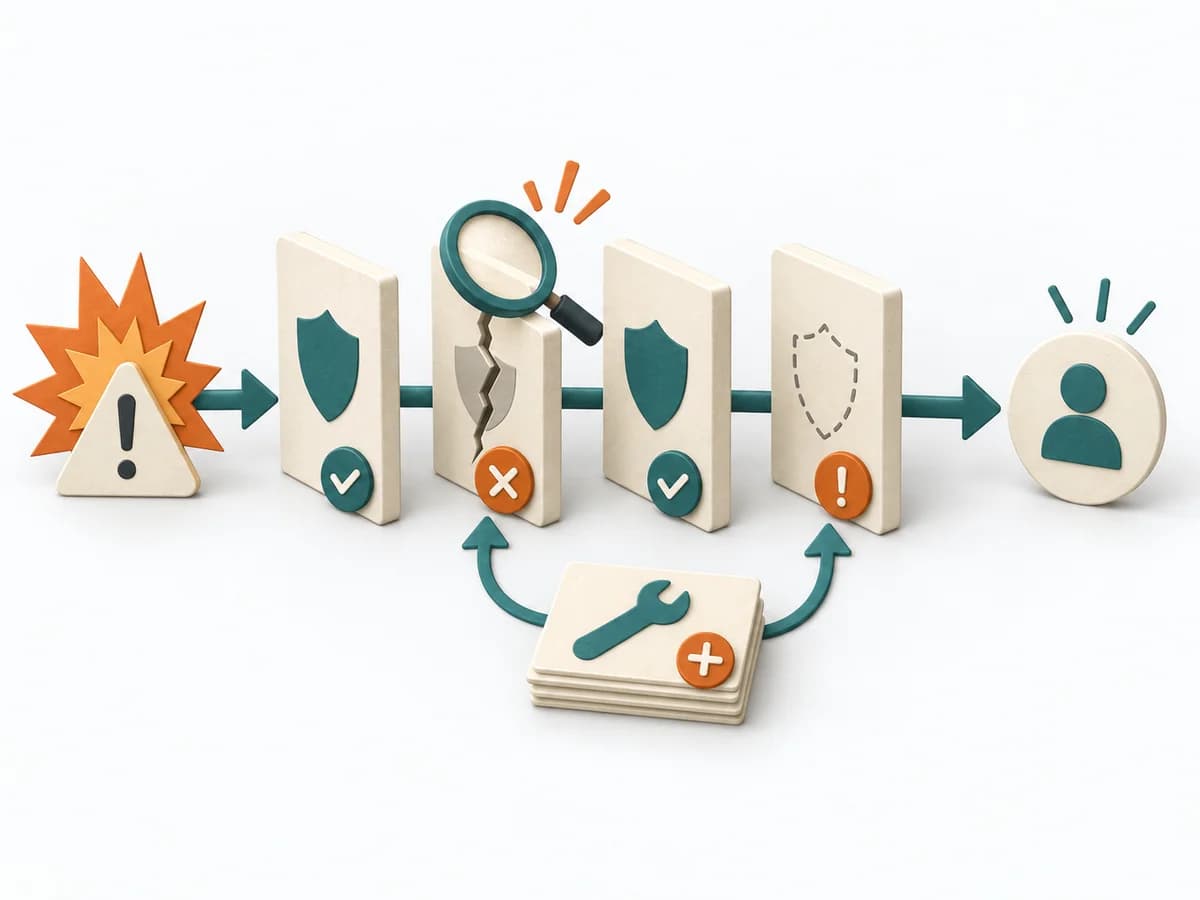 Operations Barrier Analysis |
|---|---|---|---|---|
Purposedifferent | Helps clarify scope, sequence, and delivery flow in concrete terms. It makes work, boundaries, and order steerable. The result is captured as a RAID Log and a source for status reporting. | After an incident with damage or a near miss, the method creates a sober field for learning without assigning blame. It directs attention to the course of events, conditions, and effective countermeasures. | For a critical top event with several possible triggers, the method logically models failure paths. It makes visible which combinations of conditions can lead to damage. | For a risk that can only be managed through multiple layers of protection, the method examines the effectiveness of each barrier. It shows where safeguards are missing, too weak, or fail under real conditions. |
Complexitydifferent | Low | Medium | High | Medium |
Timedifferent | 30 min Setup, dann laufend | 30-90 min | 2-6 h | 2-4 h |
Participantsdifferent | 1-3 maintaining, briefing for everyone | 3-12 | 3-8 | 2-6 |
Formatdifferent | Async | Workshop + async | Workshop + async | Workshop + async |
Outputdifferent | RAID Log, Status Report Source | Postmortem Doc, Action Items, Timeline | Fault Tree, Critical Paths, Cause Hypotheses, Control Actions | Barrier Inventory, Failure Analysis per Barrier, Action Backlog |
Tagsno overlap | RiskTrackingStakeholdersGovernance | Site Reliability EngineeringIncidentLearningReliability | RiskRoot causeSafety | Root causeSafetyIncident |