View methods side by side.
Choose up to four methods. Add them using the search and share the comparison by copying its link.
| Criterion | 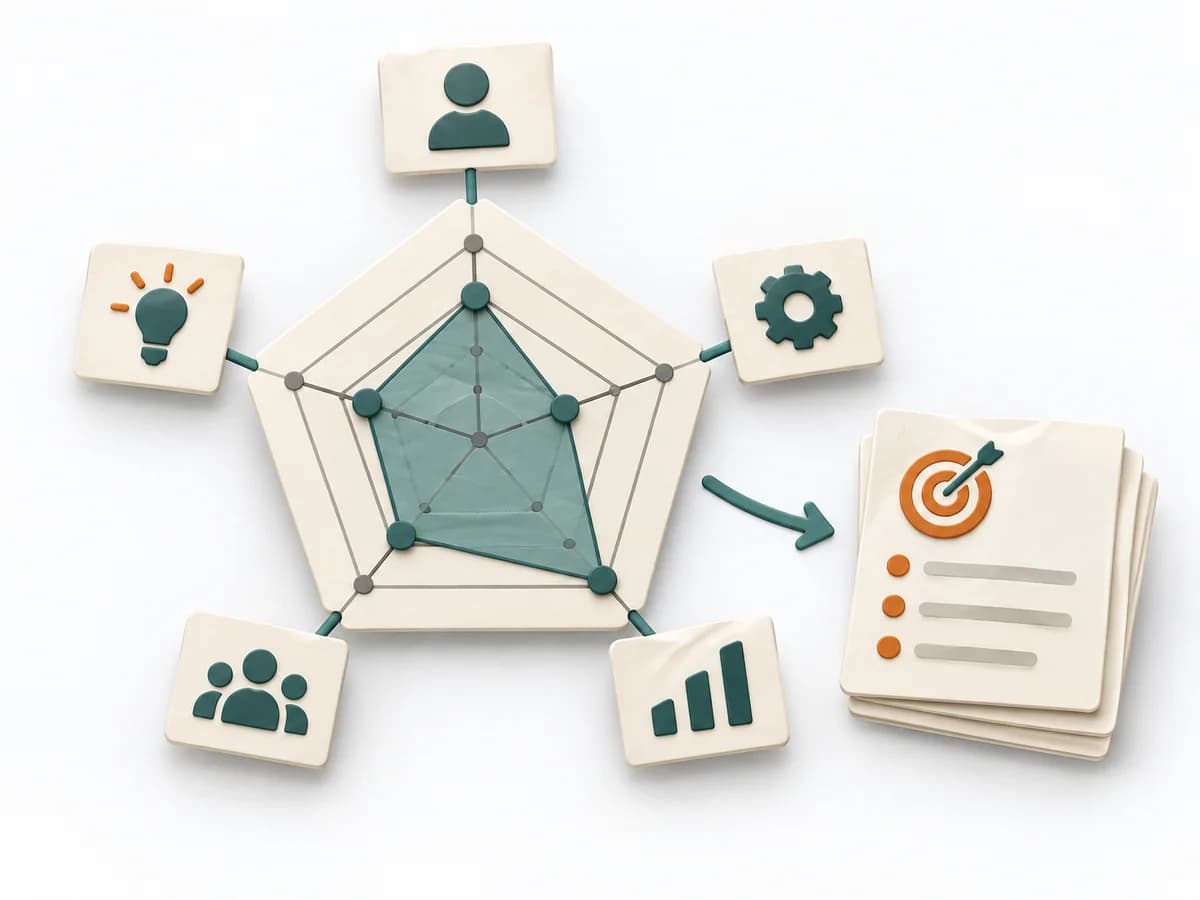 Decision Making Radar | 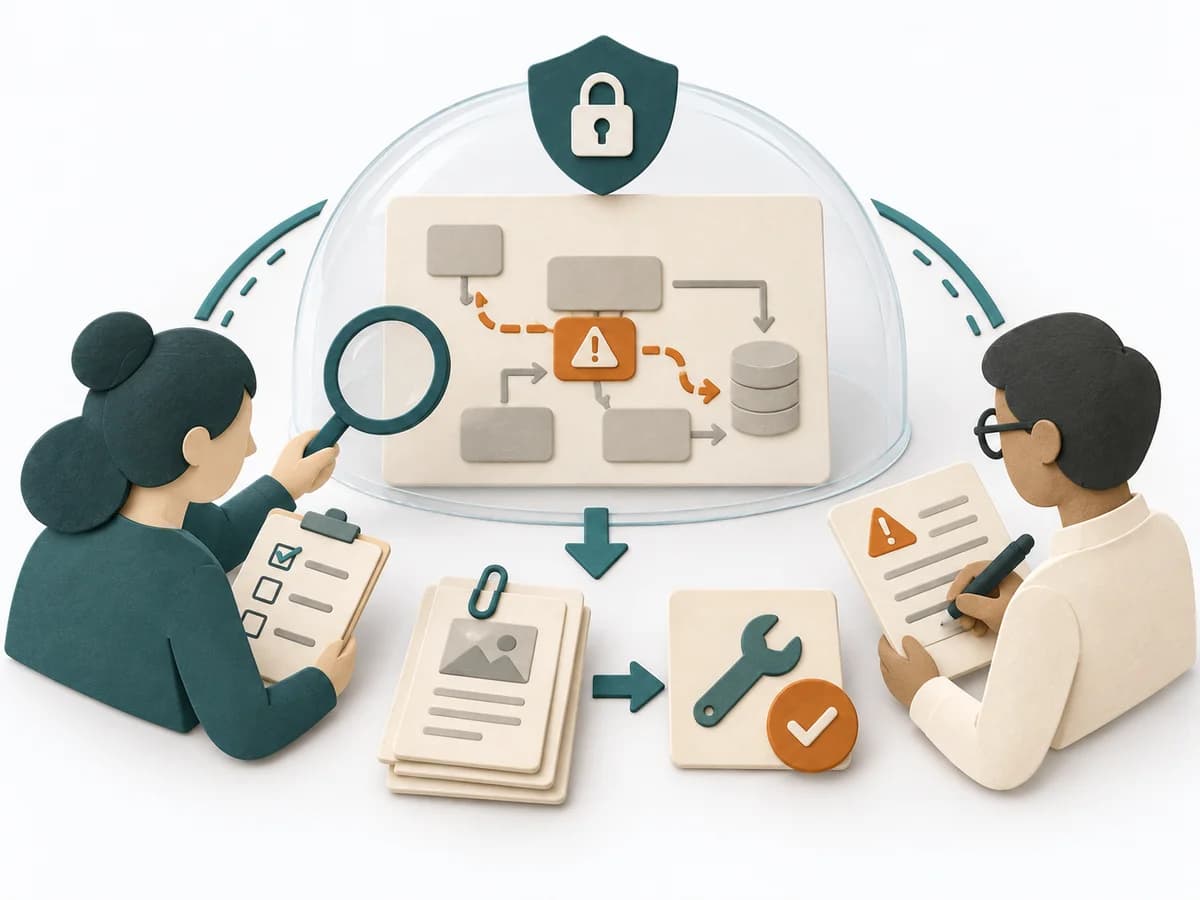 Decision Making Red Teaming | 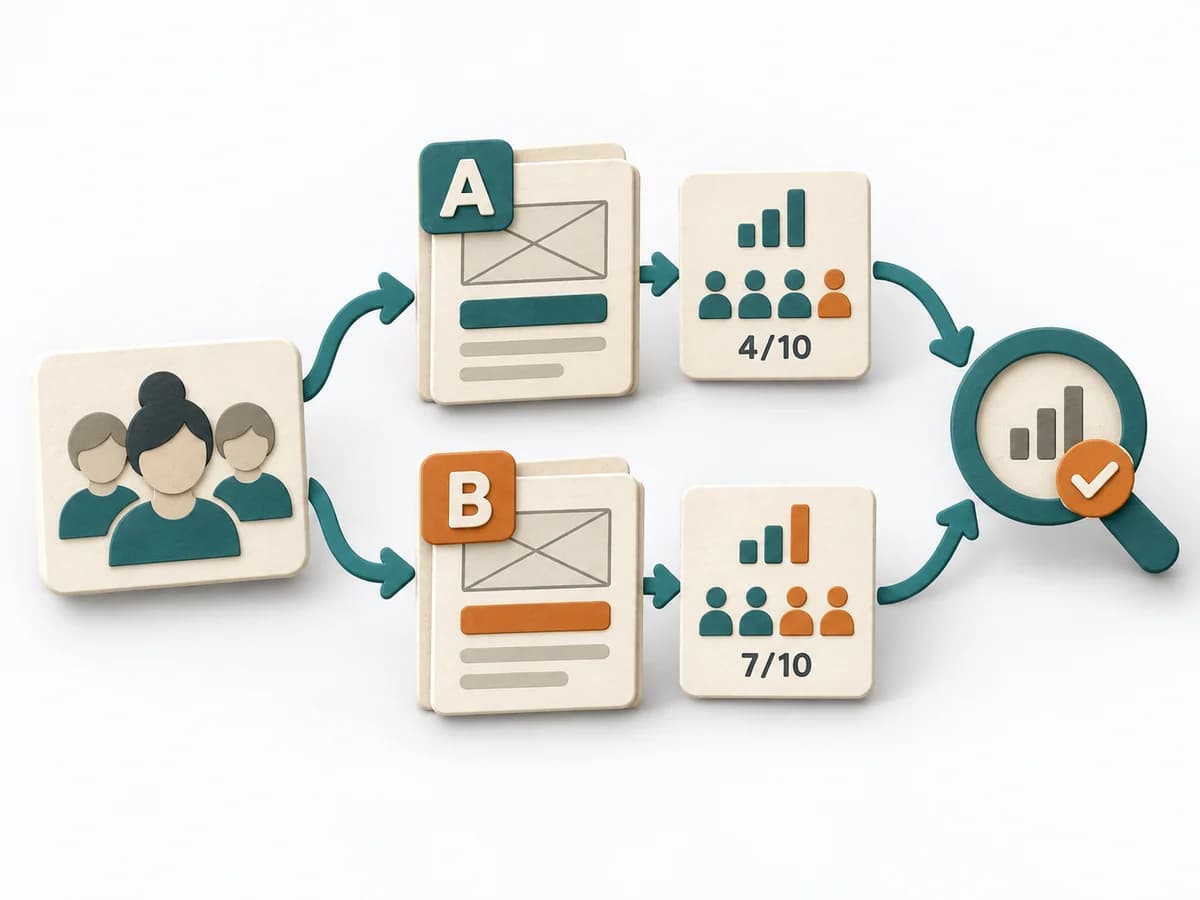 Growth A/B Testing | 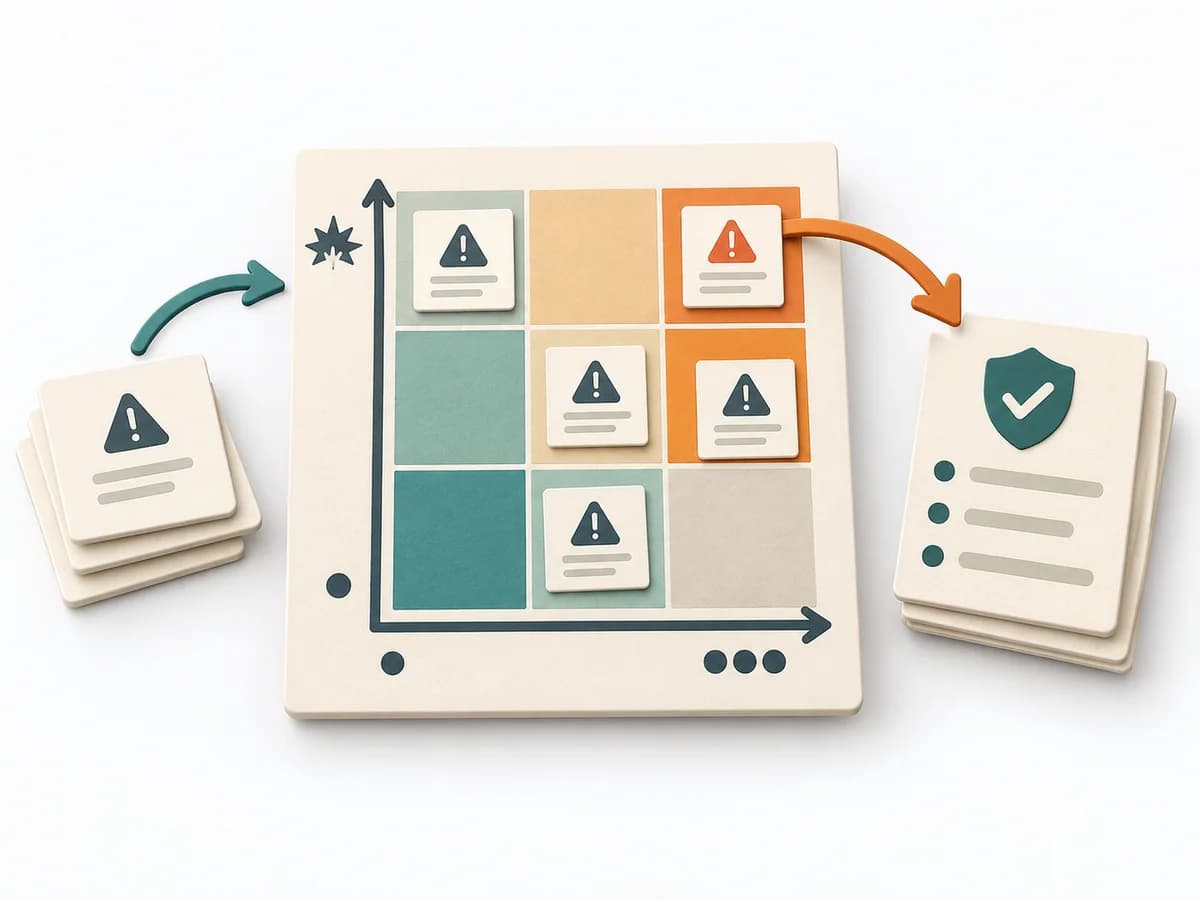 Decision Making Risk Matrix |
|---|---|---|---|---|
Purposedifferent | When capabilities, maturity levels, or market positions need to be compared across several dimensions, overview is easily lost. Radar brings different characteristics into a shared picture and shows patterns faster than tables do. | For strategic decisions with high reach, agreement and gut feeling are often not enough. Red teaming brings deliberate opposition into the situation and tests where a plan breaks under real counterarguments. | When two variants compete, discussions quickly decide by taste rather than effect. A/B Testing checks behavior under controlled conditions and separates real improvement from chance or expectation effects. | When a project faces many possible disruptions, it quickly becomes unclear which risks deserve attention first. It separates options, evaluation criteria, and open risks. The result is captured as a Risk Matrix and a Top Risk List. |
Complexitydifferent | Medium | High | High | Low |
Timedifferent | 1-2 h | 1-4 h | 1-4 Wochen | 30-60 min |
Participantsdifferent | 2-10 | 3-8 | 1-6 | 3-10 |
Formatdifferent | Workshop + async | Workshop | Async | Workshop + async |
Outputdifferent | Radar Map, Capability Scores, Action Areas | Challenge Findings, Risk Register, Mitigation Plan | Experiment results, Decision log, Learning summary | Risk Matrix, Top Risk List |
Tagsno overlap | AssessmentPortfolioCapability | RiskDecisionSensemaking | ExperimentsGrowthAnalyticsValidation | RiskDecisionPrioritizationAssessment |