View methods side by side.
Choose up to four methods. Add them using the search and share the comparison by copying its link.
| Criterion |  Decision Making Pre-Mortem | 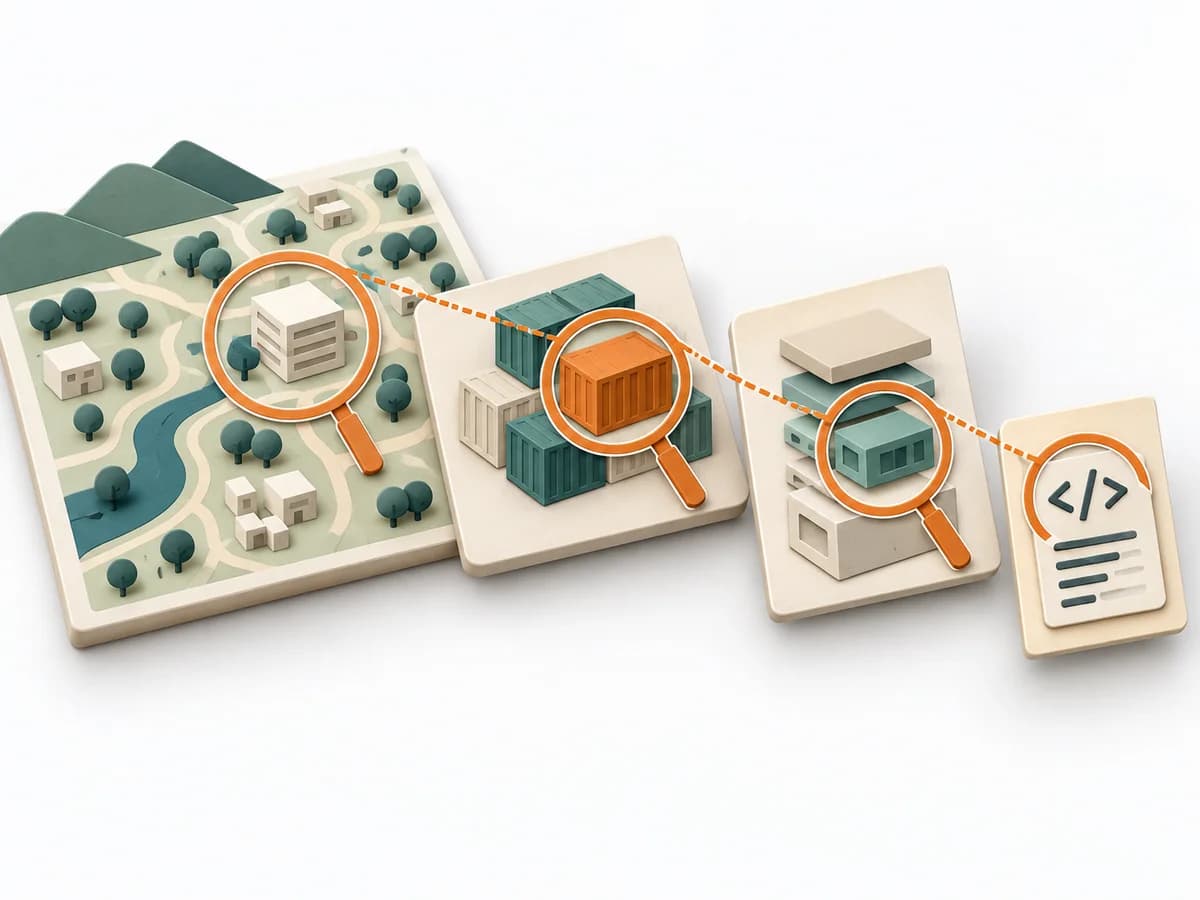 Architecture C4 Model |  Decision Making Red Teaming |  Decision Making Argument Mapping |
|---|---|---|---|---|
Purposedifferent | In early initiatives with many uncertainties, planning quickly turns too optimistic. A pre-mortem makes the expected failure visible in advance and sharpens the view of causes, gaps, and countermeasures. | The C4 Model makes a system legible across several resolution levels, from context down to code. It suits situations where different audiences need to understand the same architecture from different altitudes. | For strategic decisions with high reach, agreement and gut feeling are often not enough. Red teaming brings deliberate opposition into the situation and tests where a plan breaks under real counterarguments. | When statements, evidence, and counterarguments get mixed up, a debate quickly loses its structure. Argument Mapping breaks a thesis down into its reasoning and makes visible what it really rests on. |
Complexitydifferent | Low | Low | High | Medium |
Timedifferent | 20–45 min | 1-4 h | 1-4 h | 1-3 h |
Participantsdifferent | Small cross-functional group | 1-5 | 3-8 | 1-8 |
Formatdifferent | Workshop | Workshop + async | Workshop | Workshop + async |
Outputdifferent | Risk list, Mitigation plan, Assumption log | Context Diagram, Container Diagram, Component Diagram | Challenge Findings, Risk Register, Mitigation Plan | Argument Map, Evidence Gaps, Decision Rationale |
Tagsno overlap | RiskDecisionFailurePlanning | ArchitectureCommunicationVisualization | RiskDecisionSensemaking | SensemakingDecisionRationale |