View methods side by side.
Choose up to four methods. Add them using the search and share the comparison by copying its link.
| Criterion | 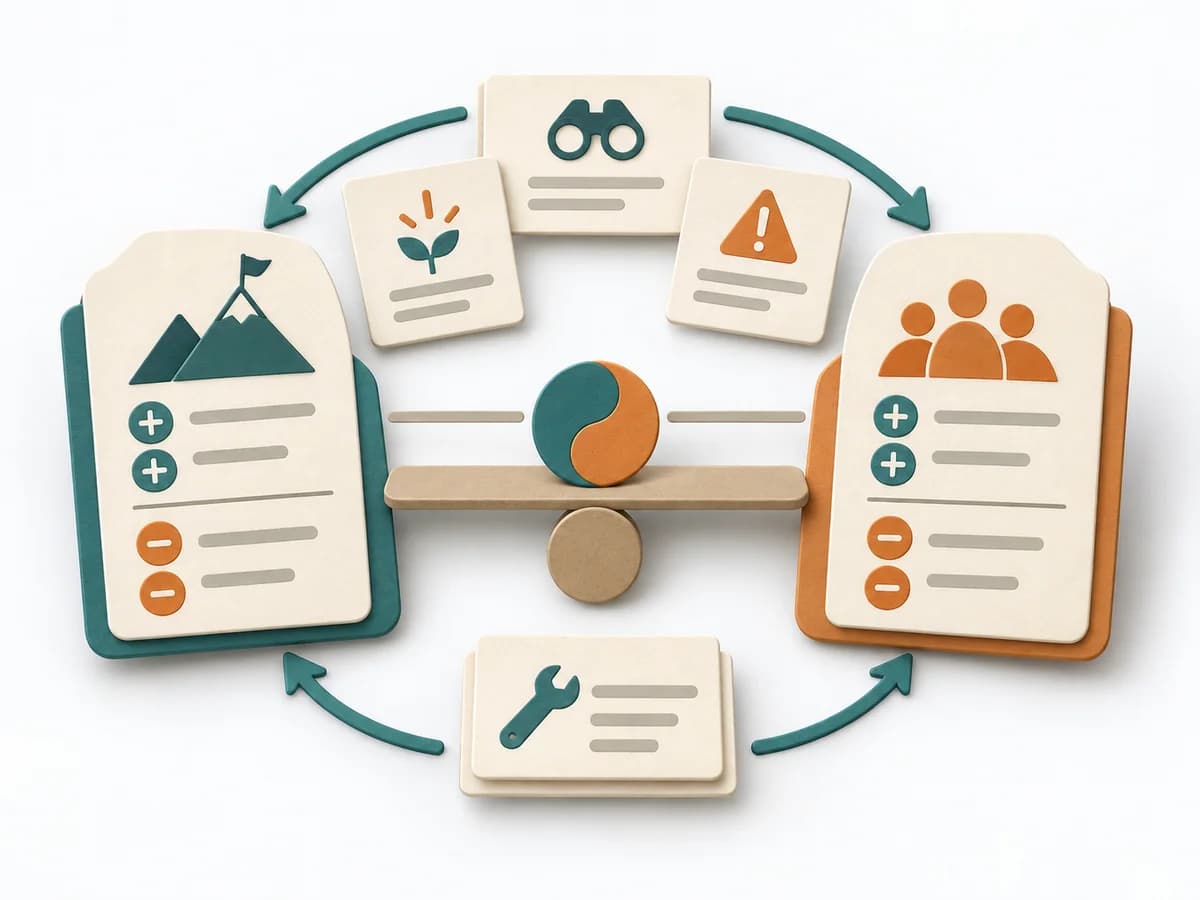 Systems Thinking Polarity Mapping | 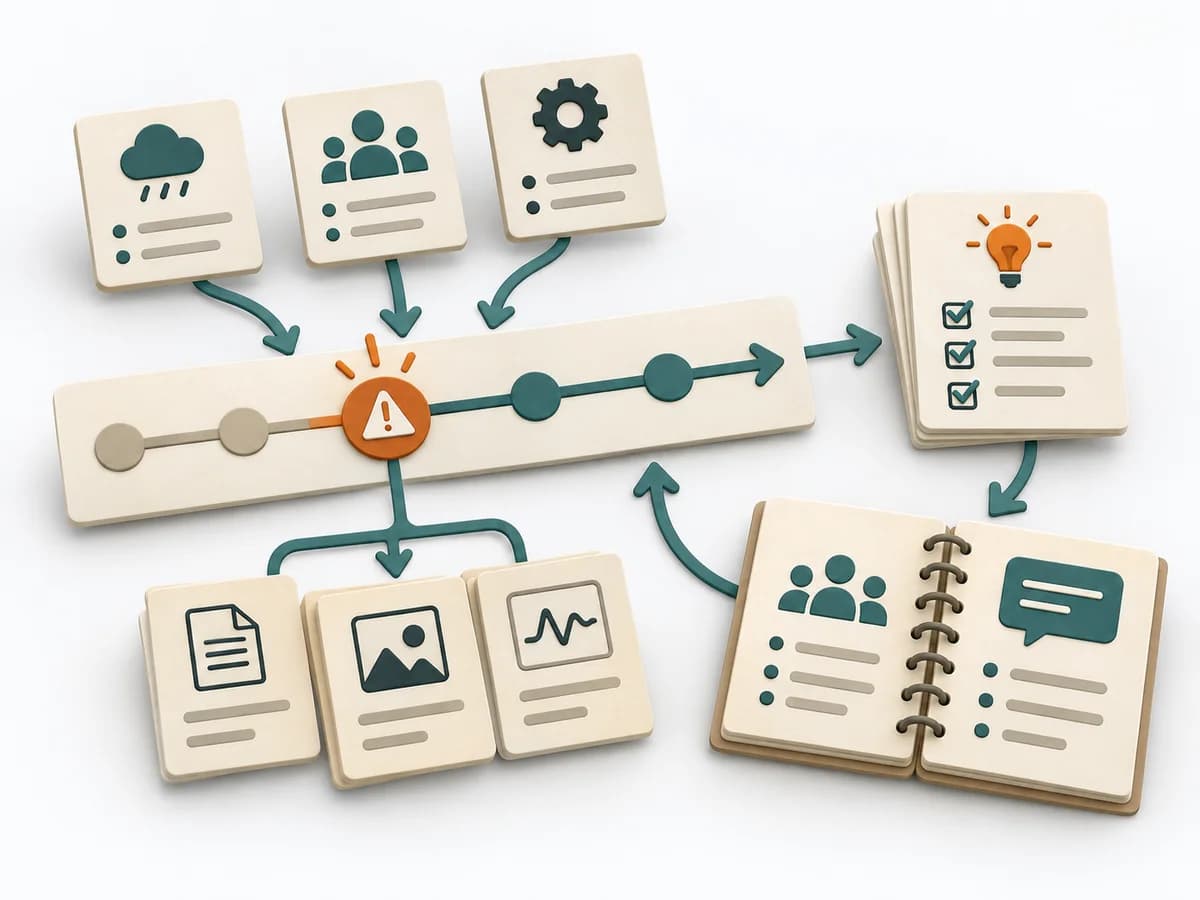 DevOps Blameless Postmortem | 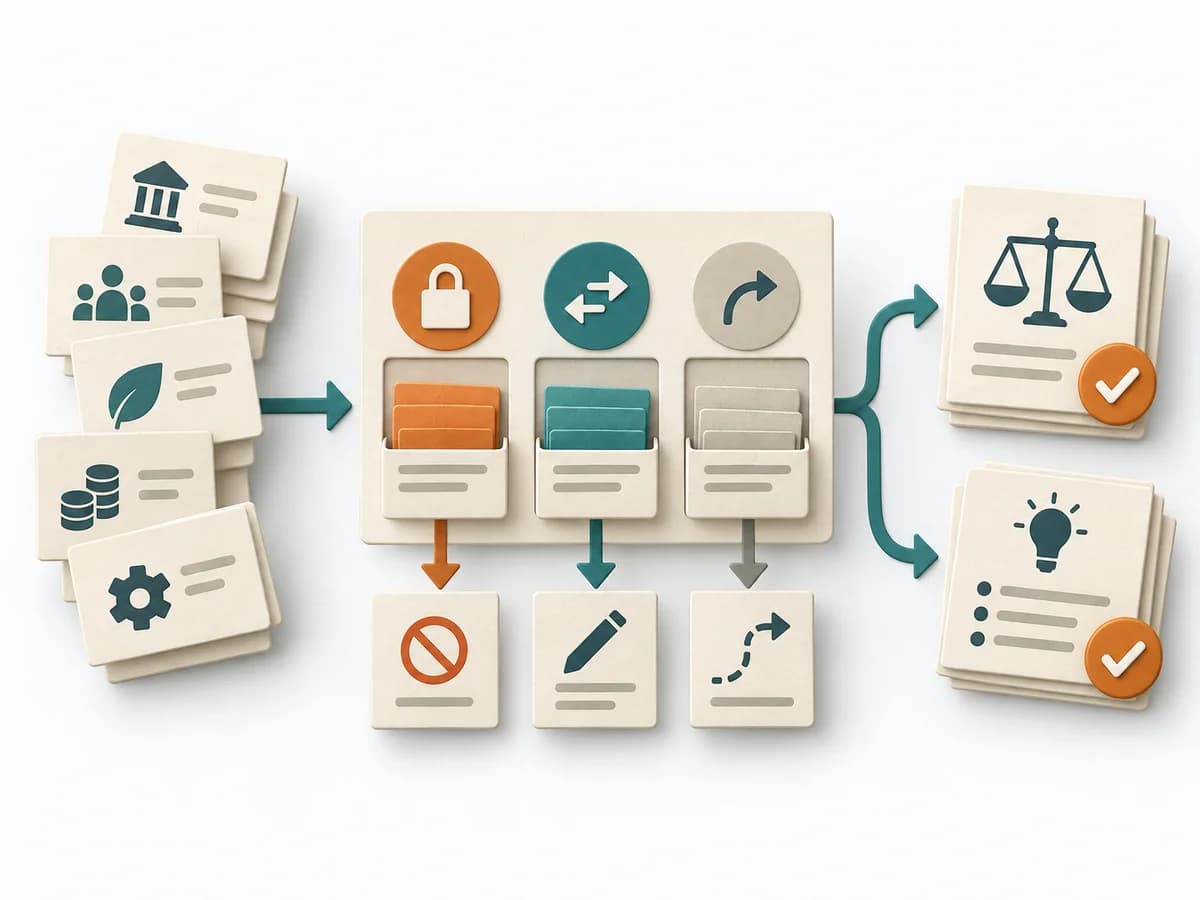 Decision Making Constraint Analysis | 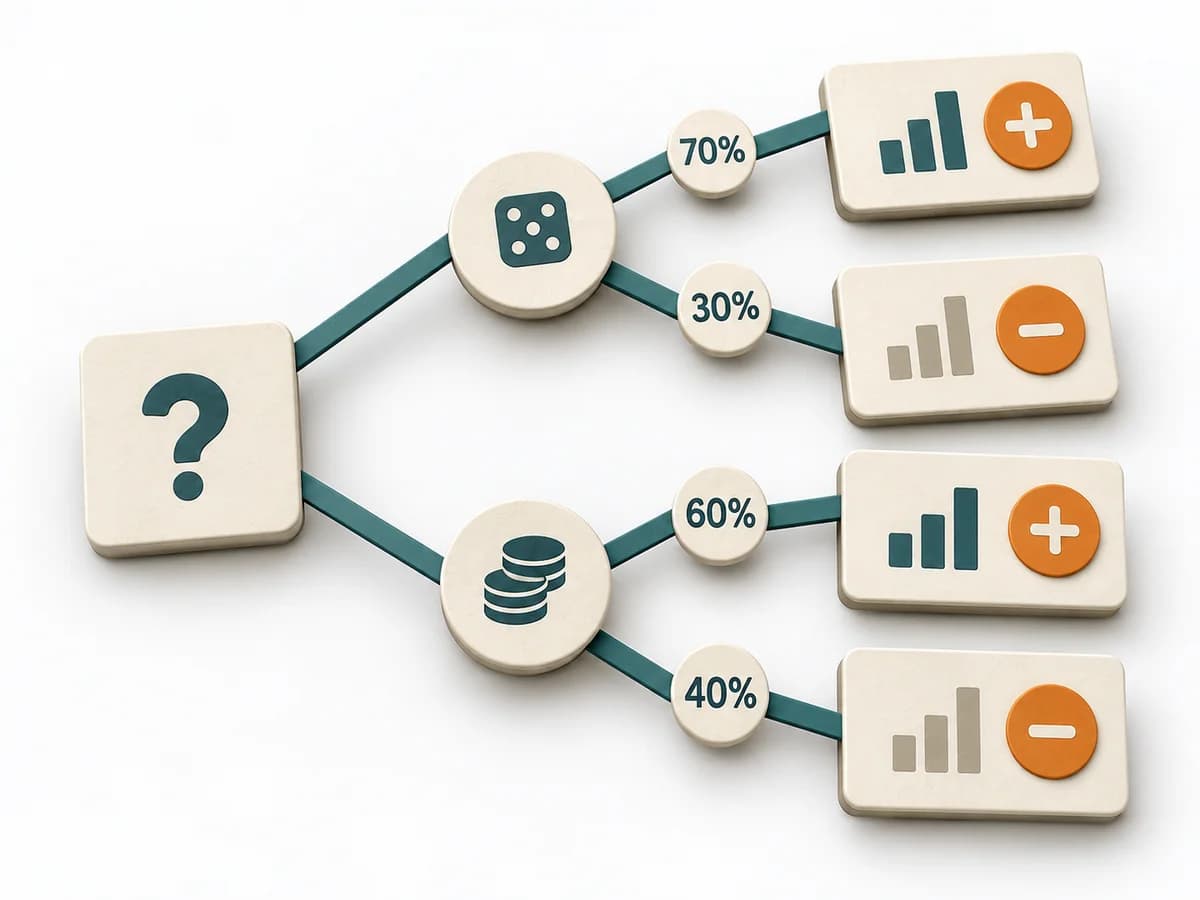 Decision Making Decision Tree |
|---|---|---|---|---|
Purposedifferent | Polarity Mapping makes tensions between two opposing poles tangible, such as standardization and adaptation or control and autonomy. The method guards against making apparent either-or decisions prematurely. | After an incident with damage or a near miss, the method creates a sober field for learning without assigning blame. It directs attention to the course of events, conditions, and effective countermeasures. | When an initiative stalls, the limit often lies not in the idea but in hard or soft boundary conditions. Constraint Analysis separates these limits and shows which of them can actually be shaped. | For decisions with follow-on paths and dependencies, a linear comparison is often not enough. A Decision Tree shows how options branch under conditions and which consequences hang on each branch. |
Complexitydifferent | Medium | Medium | Low | Medium |
Timedifferent | 1-2 h | 30-90 min | 30-90 min | 30-90 min |
Participantsdifferent | 3-12 | 3-12 | 2-8 | 1-6 |
Formatdifferent | Workshop | Workshop + async | Workshop + async | Workshop + async |
Outputdifferent | Polarity Map, Warning Signs, Balance Actions | Postmortem Doc, Action Items, Timeline | Constraint List, Hard/Soft Classification, Option Impact Notes, Decision Boundaries | Decision Tree, Option Map, Assumption List |
Tagsno overlap | Systems thinkingTradeoffsLeadership | Site Reliability EngineeringIncidentLearningReliability | ConstraintsDecisionPlanningOptions | DecisionTreeOptions |