View methods side by side.
Choose up to four methods. Add them using the search and share the comparison by copying its link.
| Criterion |  Decision Making OODA Loop | 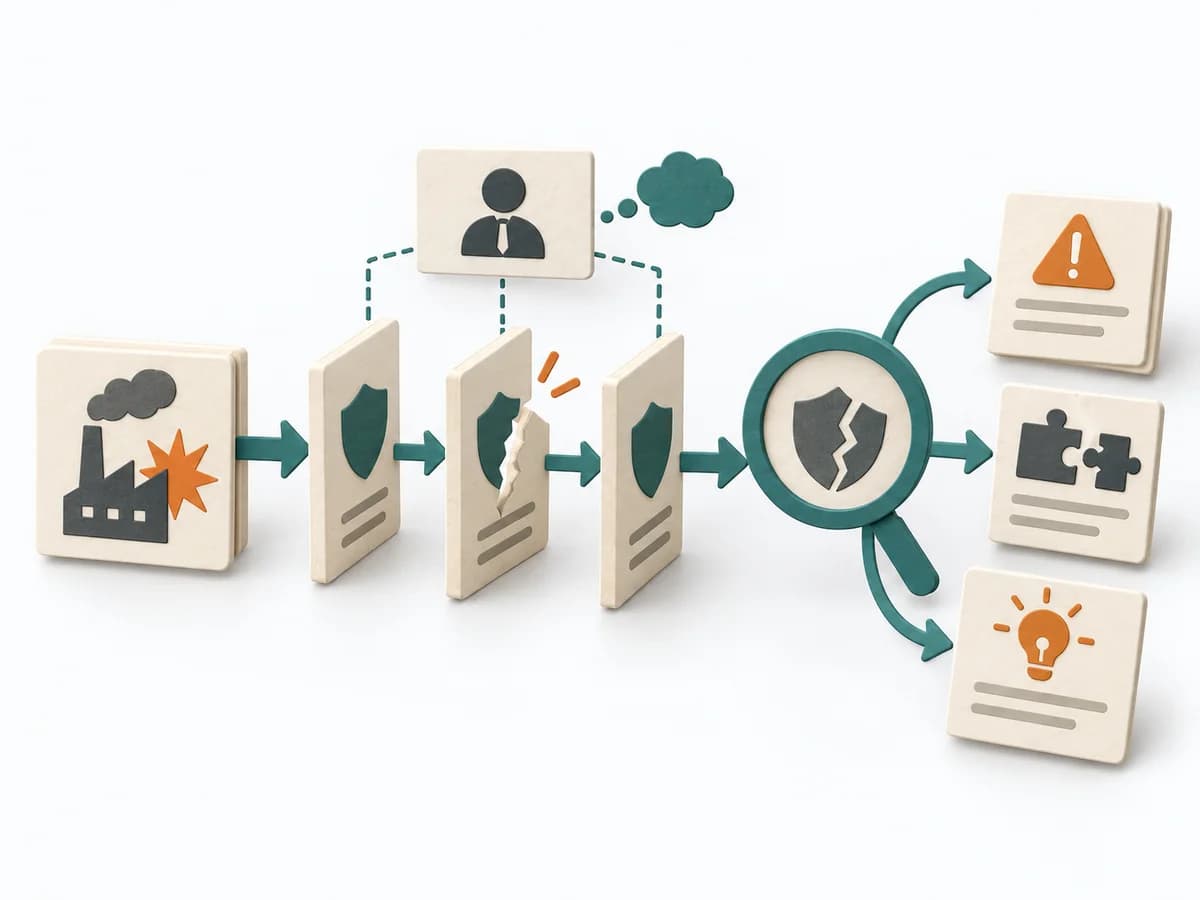 Operations MORT Analysis |  Operations 5 Whys | 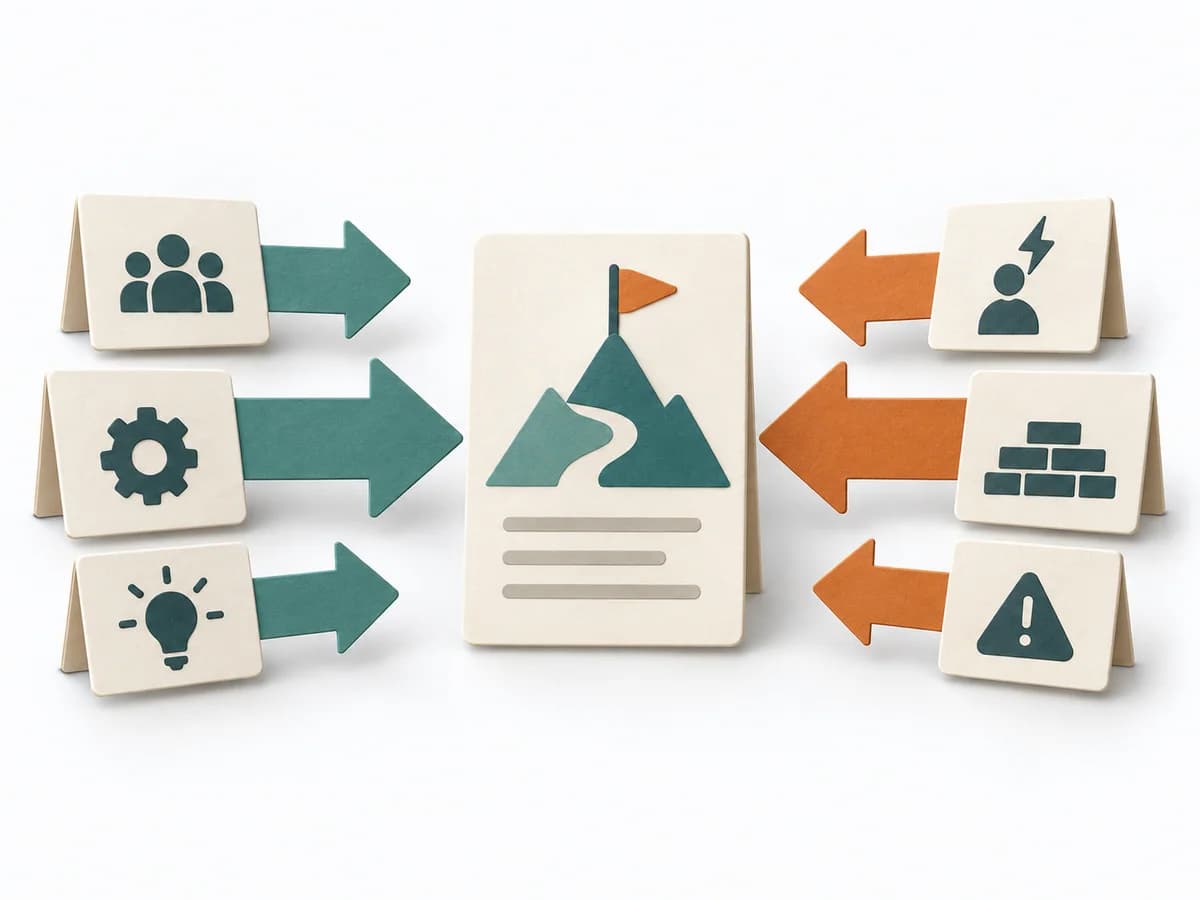 Decision Making Force Field Analysis |
|---|---|---|---|---|
Purposedifferent | In dynamic situations, decisions become outdated faster than they can be prepared. The OODA Loop holds observing, orienting, deciding, and acting together as a recurring rhythm so reaction does not slide into inertia. | For a safety-relevant event or a system with high protection requirements, the method examines where controls failed. It exposes both technical and organizational gaps. | For a single, hard-to-explain deviation, the method exposes the causal chain behind the visible symptom. It keeps the cause open until a controllable condition emerges instead of a mere description. | In change initiatives, supporting and restraining forces sit at the table at the same time. Force Field Analysis makes these tensions explicit and shows where change can be pushed forward by strengthening or relieving. |
Complexitydifferent | Medium | High | Low | Low |
Timedifferent | 15-60 min je Zyklus | Mehrere Tage bis Wochen | 15-30 min | 45-90 min |
Participantsdifferent | 1-8 | 2-6 | 2-6 | 3-12 |
Formatdifferent | Workshop + async | Workshop + async | Workshop | Workshop |
Outputdifferent | Situation Assessment, Decision Loop, Action Updates | MORT Worksheets, Findings per Branch, Corrective Actions, Systemic Recommendations | Root cause notes, Countermeasures | Force Field Map, Change Levers, Risk Notes |
Tagsno overlap | DecisionChangeLearningStrategy | Root causeSafetySystemicIncident | Root causeIncidentLeanProblem solving | ChangeDecisionStrategy |