View methods side by side.
Choose up to four methods. Add them using the search and share the comparison by copying its link.
| Criterion |  Decision Making OODA Loop | 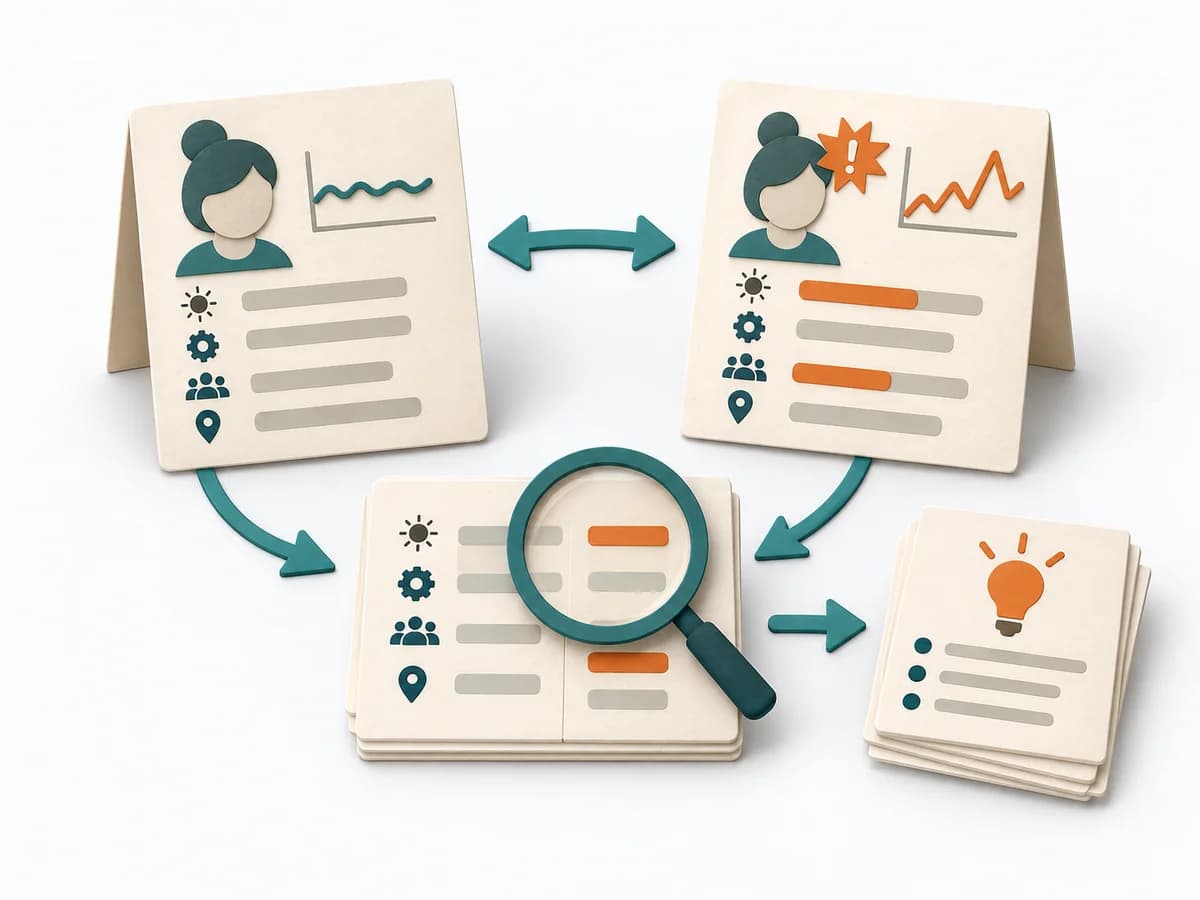 Operations Change Analysis | 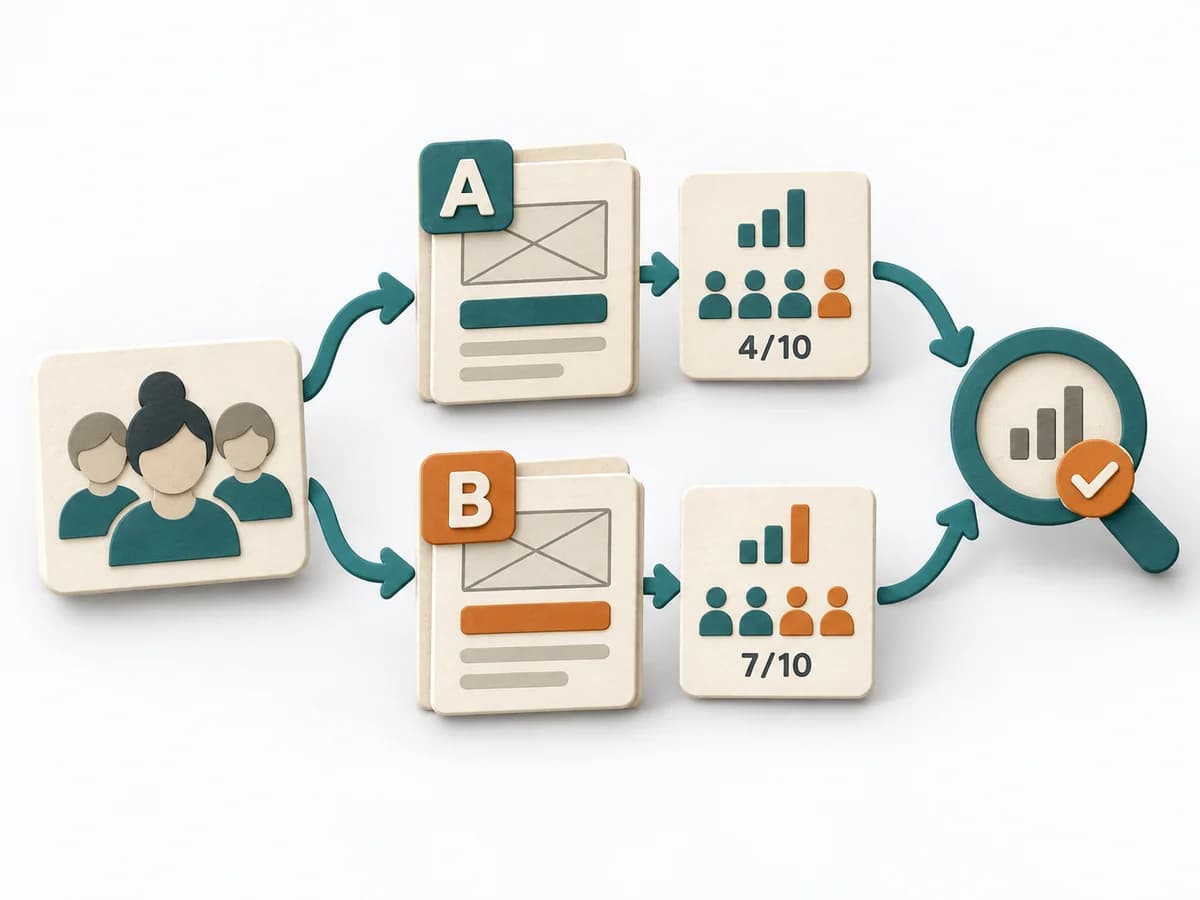 Growth A/B Testing | 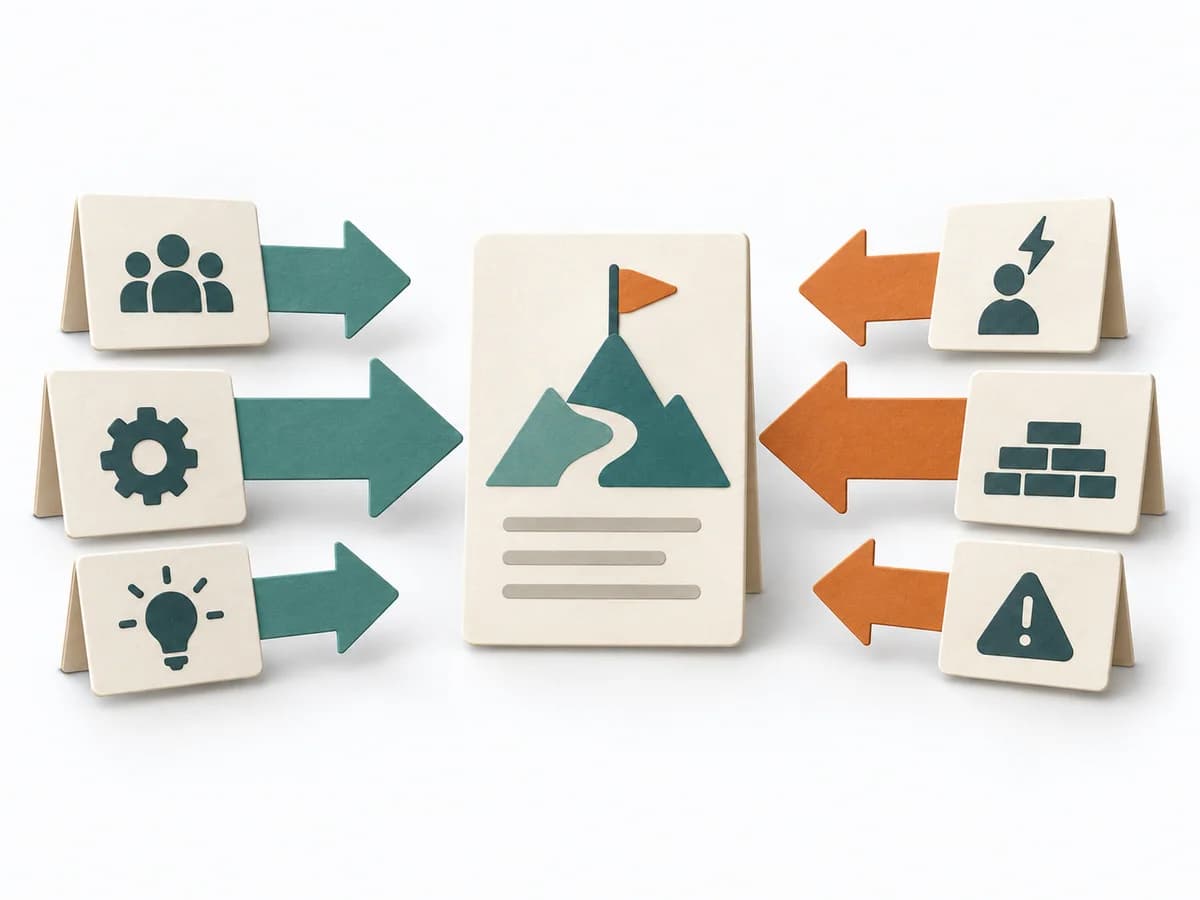 Decision Making Force Field Analysis |
|---|---|---|---|---|
Purposedifferent | In dynamic situations, decisions become outdated faster than they can be prepared. The OODA Loop holds observing, orienting, deciding, and acting together as a recurring rhythm so reaction does not slide into inertia. | For a deviation after a change, the method isolates the influence of the altered condition. It narrows down which differences are relevant and which are just accompanying noise. | When two variants compete, discussions quickly decide by taste rather than effect. A/B Testing checks behavior under controlled conditions and separates real improvement from chance or expectation effects. | In change initiatives, supporting and restraining forces sit at the table at the same time. Force Field Analysis makes these tensions explicit and shows where change can be pushed forward by strengthening or relieving. |
Complexitydifferent | Medium | Medium | High | Low |
Timedifferent | 15-60 min je Zyklus | 45-120 min | 1-4 Wochen | 45-90 min |
Participantsdifferent | 1-8 | 2-6 | 1-6 | 3-12 |
Formatdifferent | Workshop + async | Workshop + async | Async | Workshop |
Outputdifferent | Situation Assessment, Decision Loop, Action Updates | Change Matrix, Cause Hypotheses, Validation Questions, Action List | Experiment results, Decision log, Learning summary | Force Field Map, Change Levers, Risk Notes |
Tagsno overlap | DecisionChangeLearningStrategy | ChangeRoot causeTroubleshootingComparison | ExperimentsGrowthAnalyticsValidation | ChangeDecisionStrategy |