View methods side by side.
Choose up to four methods. Add them using the search and share the comparison by copying its link.
| Criterion |  Decision Making OODA Loop |  Decision Making Argument Mapping | 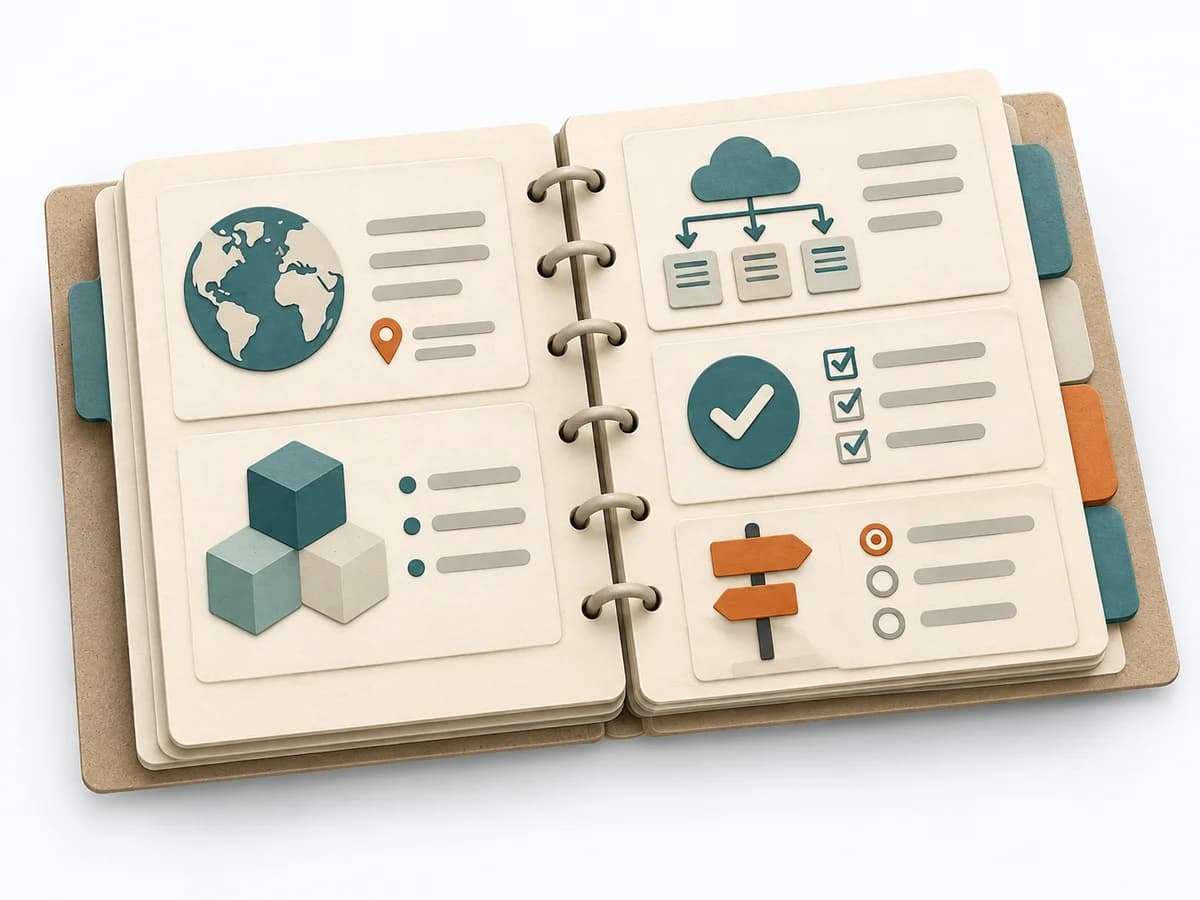 Architecture arc42 | 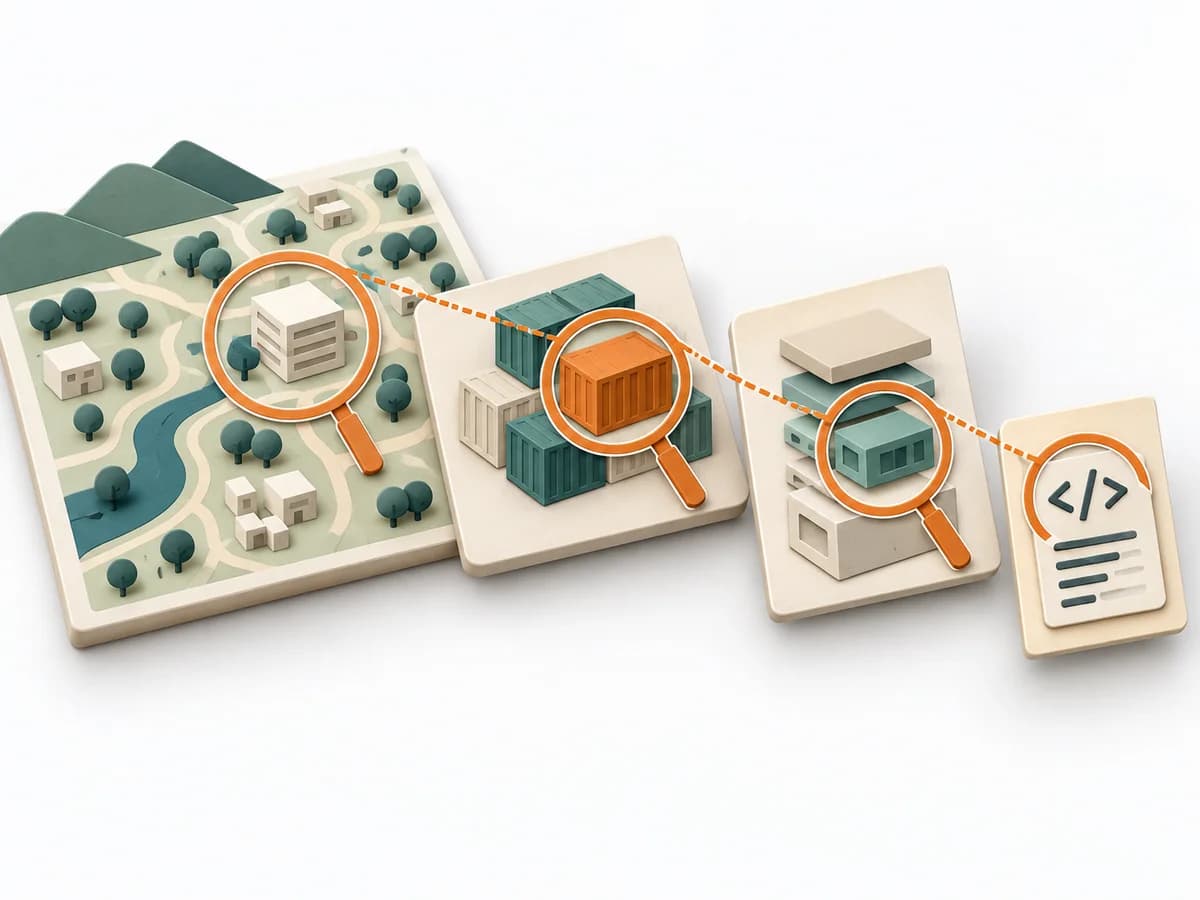 Architecture C4 Model |
|---|---|---|---|---|
Purposedifferent | In dynamic situations, decisions become outdated faster than they can be prepared. The OODA Loop holds observing, orienting, deciding, and acting together as a recurring rhythm so reaction does not slide into inertia. | When statements, evidence, and counterarguments get mixed up, a debate quickly loses its structure. Argument Mapping breaks a thesis down into its reasoning and makes visible what it really rests on. | arc42 structures architecture knowledge so teams can document system, decisions, and risks consistently. The template builds a living understanding of the architecture instead of scattered notes. | The C4 Model makes a system legible across several resolution levels, from context down to code. It suits situations where different audiences need to understand the same architecture from different altitudes. |
Complexitydifferent | Medium | Medium | Low | Low |
Timedifferent | 15-60 min je Zyklus | 1-3 h | 1-2 Tage | 1-4 h |
Participantsdifferent | 1-8 | 1-8 | 1-4 | 1-5 |
Formatsame | Workshop + async | Workshop + async | Workshop + async | Workshop + async |
Outputdifferent | Situation Assessment, Decision Loop, Action Updates | Argument Map, Evidence Gaps, Decision Rationale | Architecture Document, Context View, Runtime View, Deployment View | Context Diagram, Container Diagram, Component Diagram |
Tagsno overlap | DecisionChangeLearningStrategy | SensemakingDecisionRationale | ArchitectureDocumentationCommunication | ArchitectureCommunicationVisualization |