View methods side by side.
Choose up to four methods. Add them using the search and share the comparison by copying its link.
| Criterion |  Systems Thinking Leverage Points | 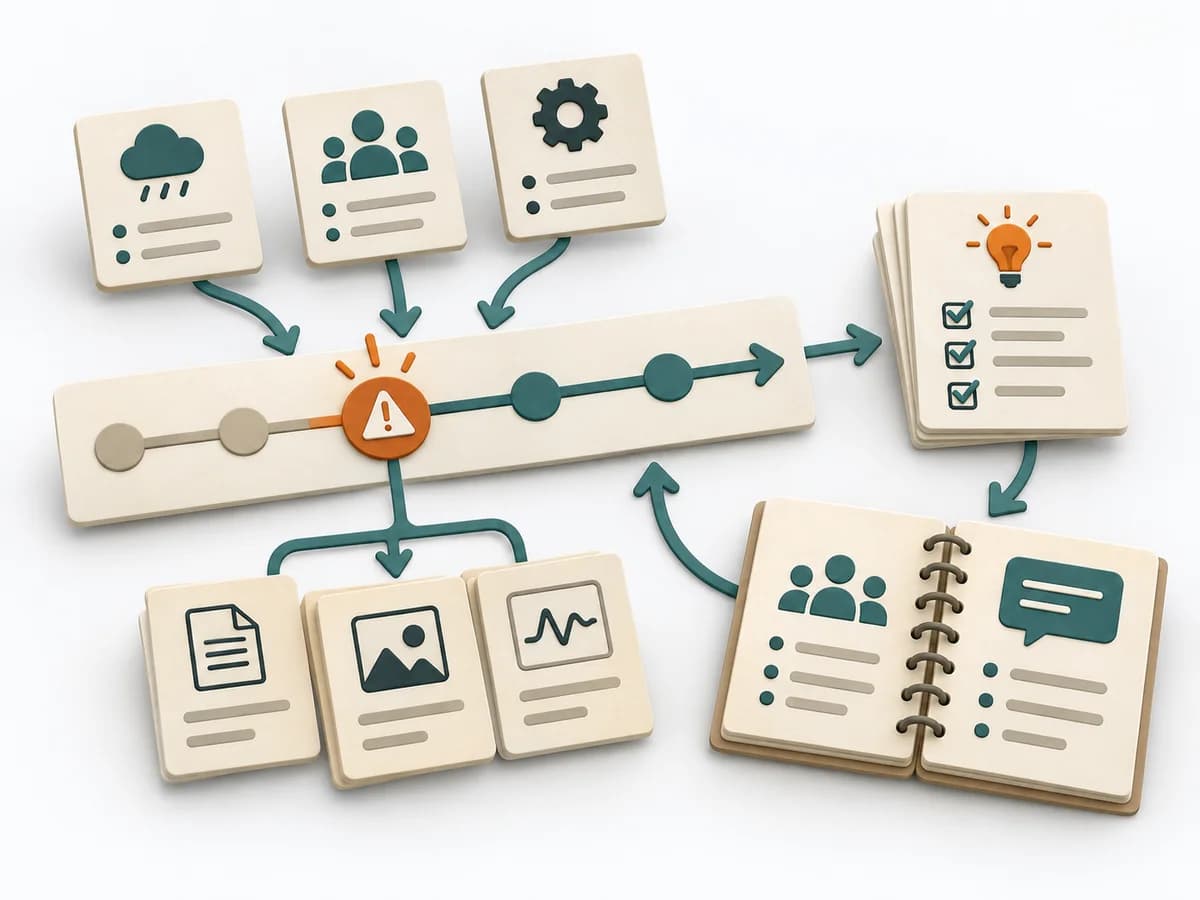 DevOps Blameless Postmortem | 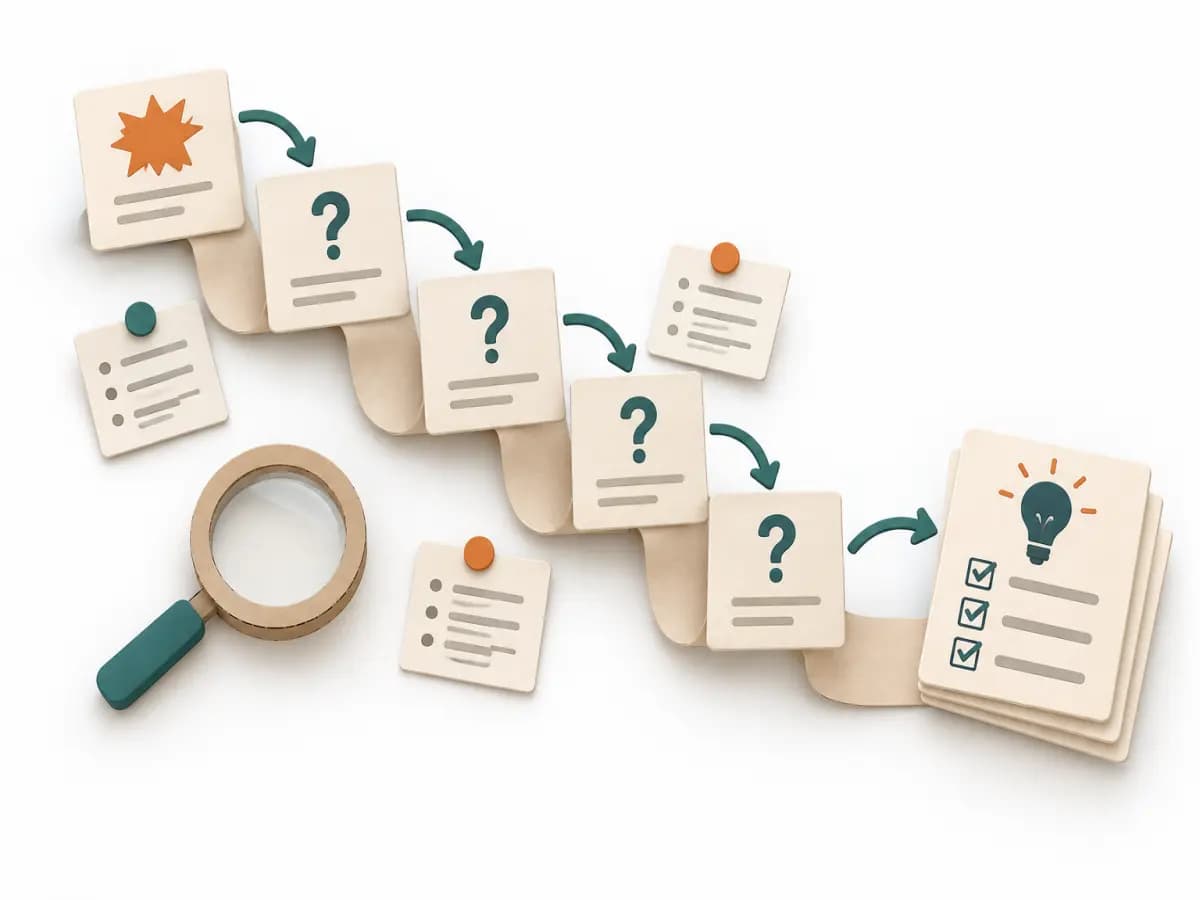 Operations 5 Whys |  Decision Making OODA Loop |
|---|---|---|---|---|
Purposedifferent | Leverage Points show exactly where interventions in a system produce a disproportionate effect. It draws relationships, patterns, and feedback loops. The result is captured as a leverage map and action strategy. | After an incident with damage or a near miss, the method creates a sober field for learning without assigning blame. It directs attention to the course of events, conditions, and effective countermeasures. | For a single, hard-to-explain deviation, the method exposes the causal chain behind the visible symptom. It keeps the cause open until a controllable condition emerges instead of a mere description. | In dynamic situations, decisions become outdated faster than they can be prepared. The OODA Loop holds observing, orienting, deciding, and acting together as a recurring rhythm so reaction does not slide into inertia. |
Complexitydifferent | High | Medium | Low | Medium |
Timedifferent | Half day | 30-90 min | 15-30 min | 15-60 min je Zyklus |
Participantsdifferent | 3-12 | 3-12 | 2-6 | 1-8 |
Formatdifferent | Workshop | Workshop + async | Workshop | Workshop + async |
Outputdifferent | Leverage Map, Action Strategy | Postmortem Doc, Action Items, Timeline | Root cause notes, Countermeasures | Situation Assessment, Decision Loop, Action Updates |
Tagsno overlap | Systems thinkingChangeStrategy | Site Reliability EngineeringIncidentLearningReliability | Root causeIncidentLeanProblem solving | DecisionChangeLearningStrategy |