View methods side by side.
Choose up to four methods. Add them using the search and share the comparison by copying its link.
| Criterion |  Systems Thinking Leverage Points | 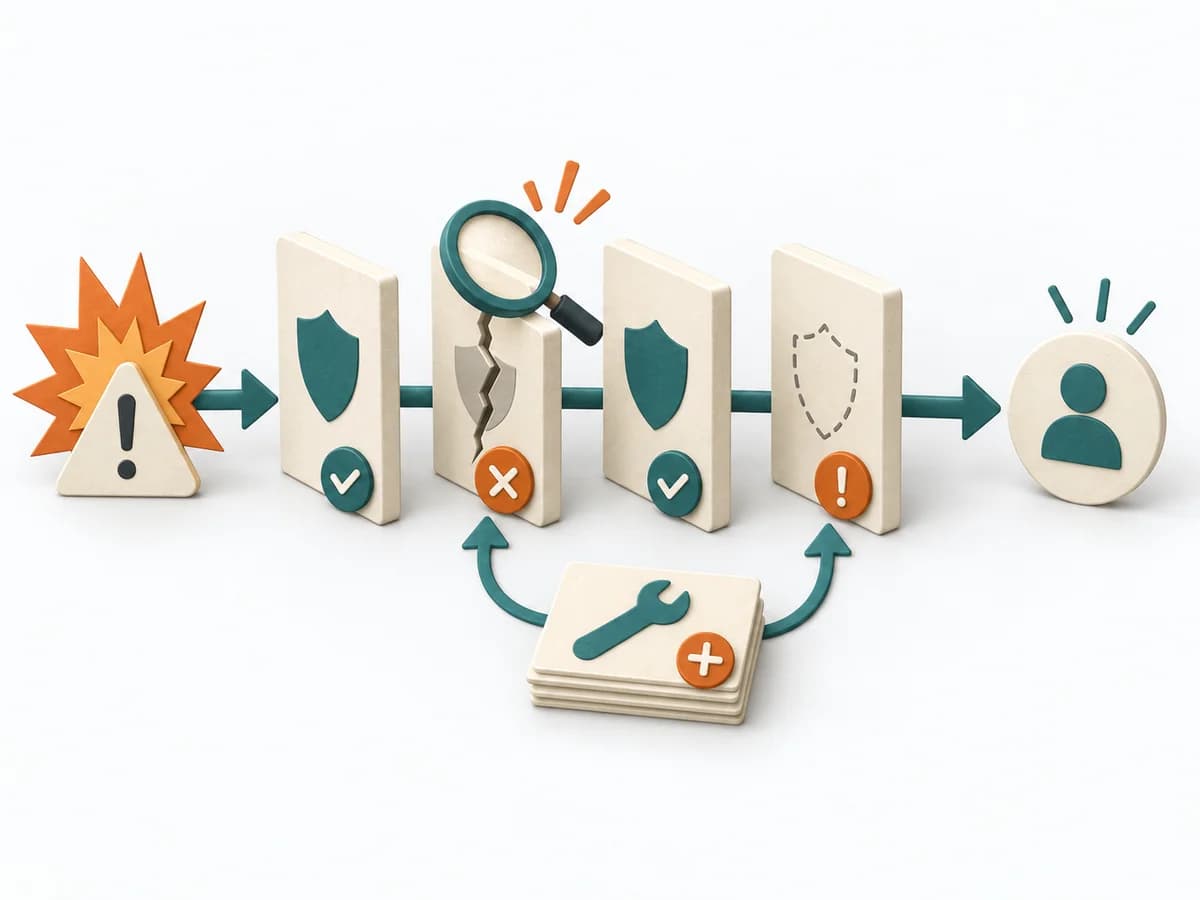 Operations Barrier Analysis | 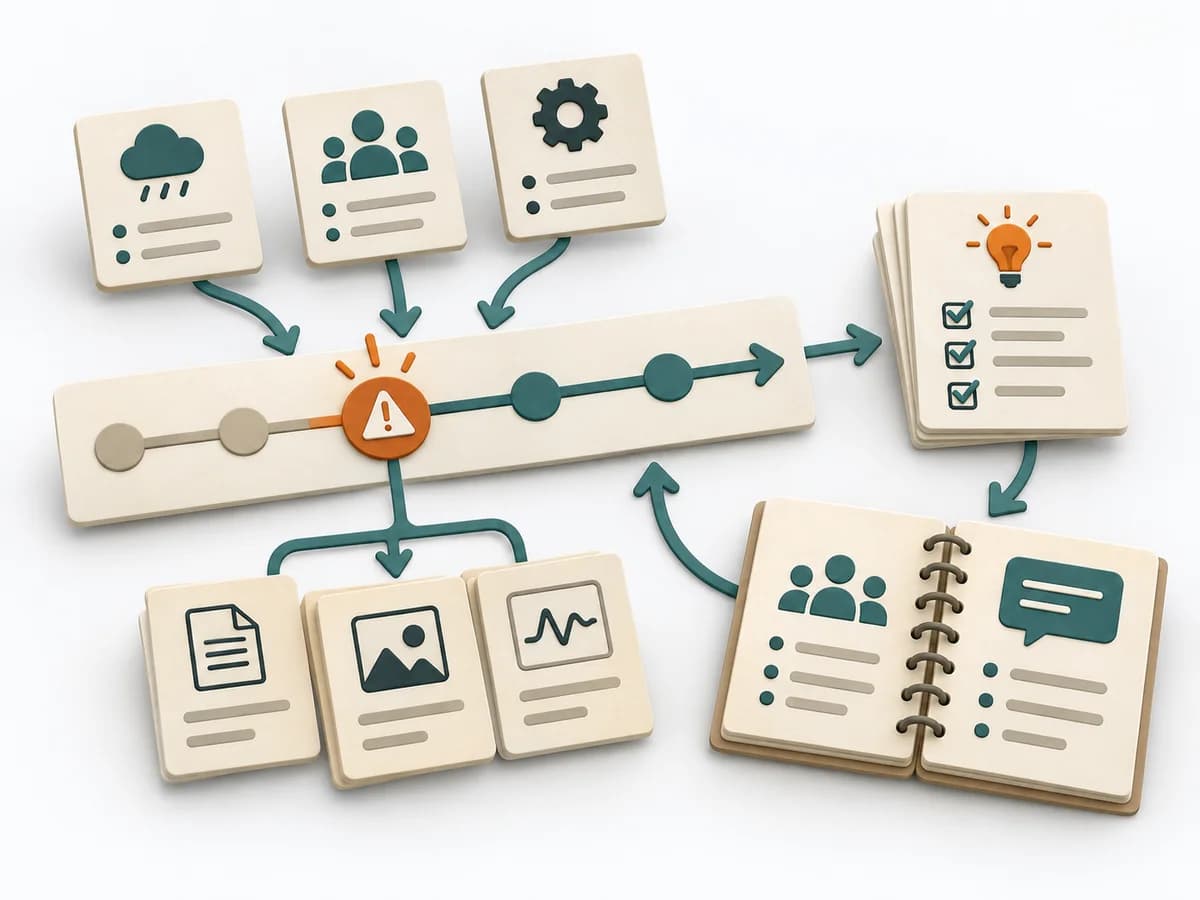 DevOps Blameless Postmortem |  Operations 5 Whys |
|---|---|---|---|---|
Purposedifferent | Leverage Points show exactly where interventions in a system produce a disproportionate effect. It draws relationships, patterns, and feedback loops. The result is captured as a leverage map and action strategy. | For a risk that can only be managed through multiple layers of protection, the method examines the effectiveness of each barrier. It shows where safeguards are missing, too weak, or fail under real conditions. | After an incident with damage or a near miss, the method creates a sober field for learning without assigning blame. It directs attention to the course of events, conditions, and effective countermeasures. | For a single, hard-to-explain deviation, the method exposes the causal chain behind the visible symptom. It keeps the cause open until a controllable condition emerges instead of a mere description. |
Complexitydifferent | High | Medium | Medium | Low |
Timedifferent | Half day | 2-4 h | 30-90 min | 15-30 min |
Participantsdifferent | 3-12 | 2-6 | 3-12 | 2-6 |
Formatdifferent | Workshop | Workshop + async | Workshop + async | Workshop |
Outputdifferent | Leverage Map, Action Strategy | Barrier Inventory, Failure Analysis per Barrier, Action Backlog | Postmortem Doc, Action Items, Timeline | Root cause notes, Countermeasures |
Tagsno overlap | Systems thinkingChangeStrategy | Root causeSafetyIncident | Site Reliability EngineeringIncidentLearningReliability | Root causeIncidentLeanProblem solving |