View methods side by side.
Choose up to four methods. Add them using the search and share the comparison by copying its link.
| Criterion | 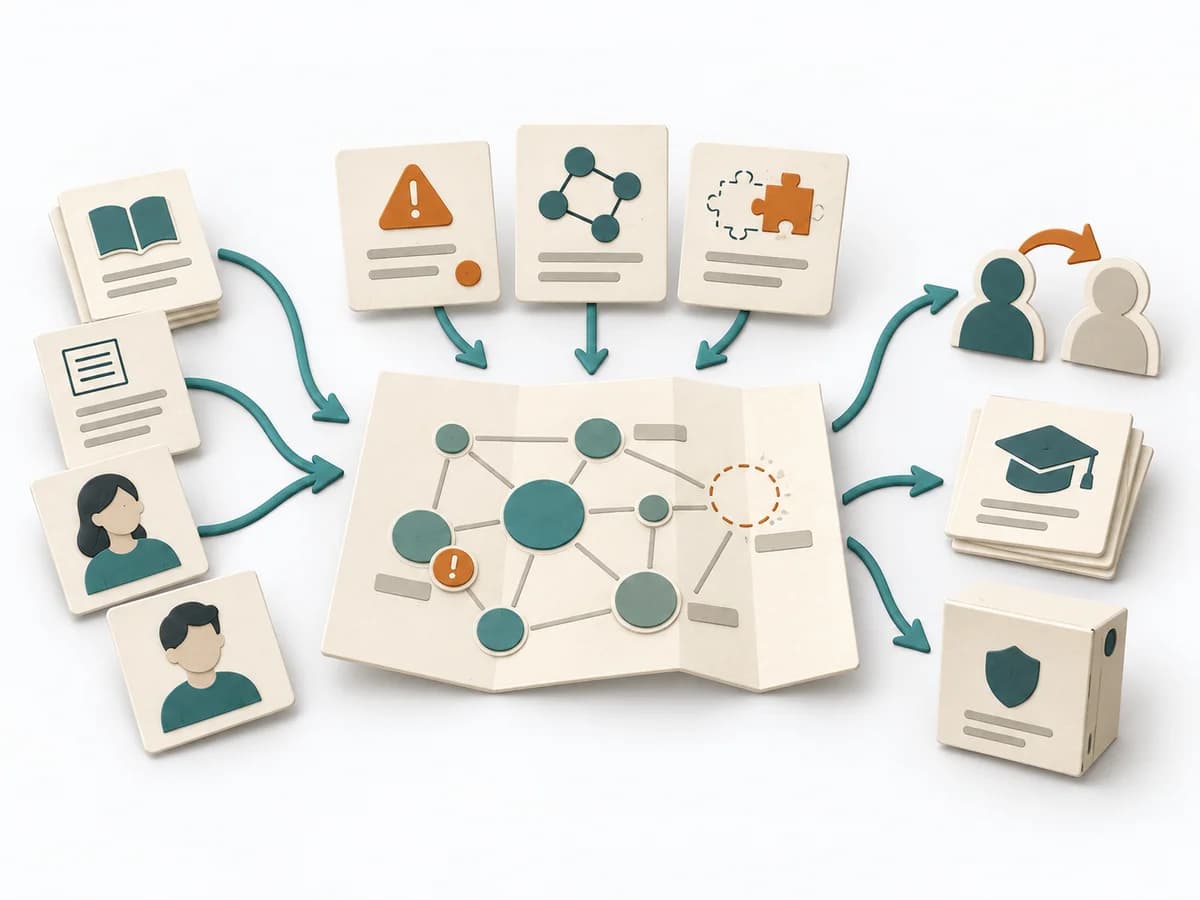 Knowledge Modeling Knowledge Mapping | 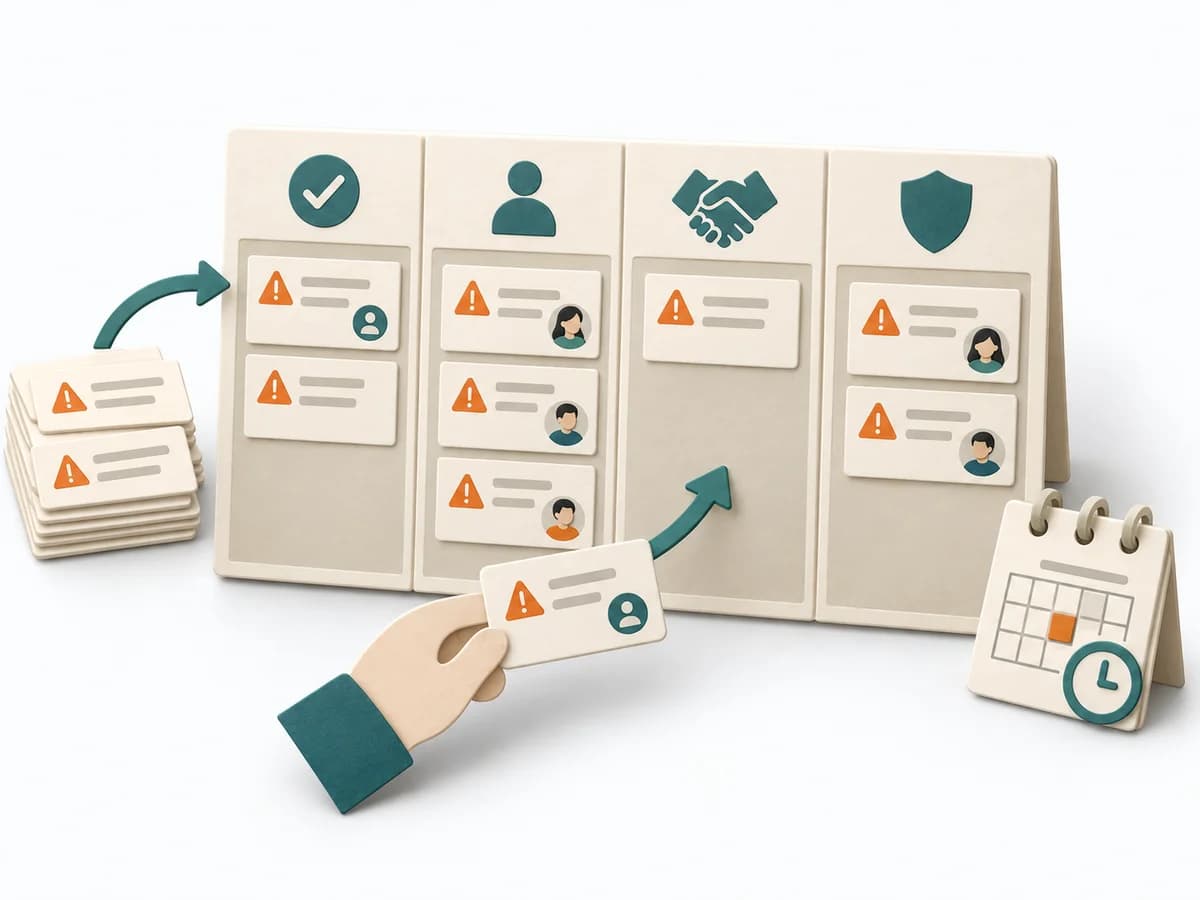 Agile ROAM Board | 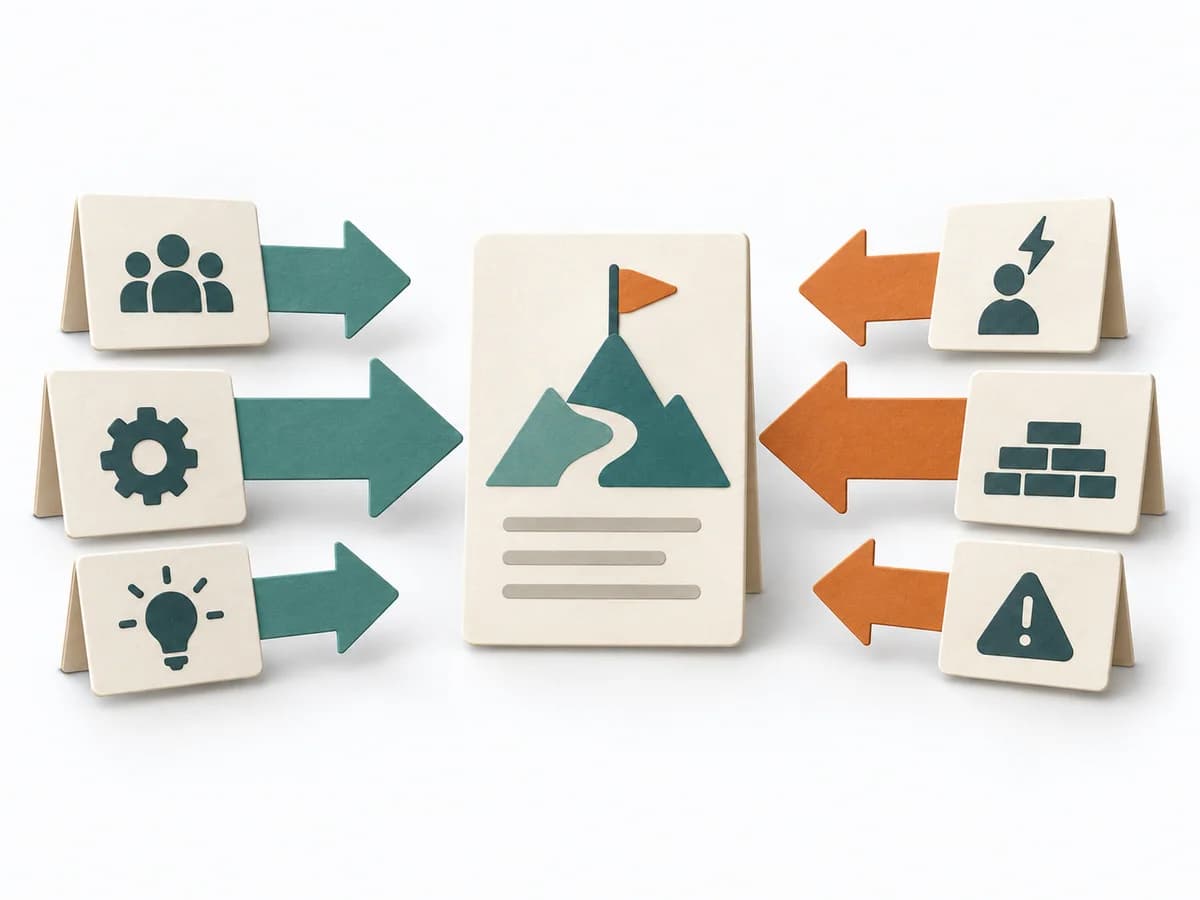 Decision Making Force Field Analysis |  Decision Making OODA Loop |
|---|---|---|---|---|
Purposedifferent | Knowledge Mapping makes knowledge, gaps, and transfer paths visible across a field. It fits when expertise should not just exist but also be findable and transferable. | When work needs to move between different states or columns, it makes that movement and its handoffs legible. It sorts work by value, risk, and delivery ability. The result is captured as a ROAM Board and an Owner List. | In change initiatives, supporting and restraining forces sit at the table at the same time. Force Field Analysis makes these tensions explicit and shows where change can be pushed forward by strengthening or relieving. | In dynamic situations, decisions become outdated faster than they can be prepared. The OODA Loop holds observing, orienting, deciding, and acting together as a recurring rhythm so reaction does not slide into inertia. |
Complexitydifferent | Medium | Low | Low | Medium |
Timedifferent | 1-3 h | 20-40 min initial, dann laufend | 45-90 min | 15-60 min je Zyklus |
Participantsdifferent | 3-12 | 3-15 | 3-12 | 1-8 |
Formatdifferent | Workshop | Workshop + async | Workshop | Workshop + async |
Outputdifferent | Knowledge Map, Critical Knowledge Areas, Transfer Plan | ROAM Board, Owner List | Force Field Map, Change Levers, Risk Notes | Situation Assessment, Decision Loop, Action Updates |
Tagsno overlap | KnowledgeMappingRisk | RiskAgileTrackingAlignment | ChangeDecisionStrategy | DecisionChangeLearningStrategy |