View methods side by side.
Choose up to four methods. Add them using the search and share the comparison by copying its link.
| Criterion | 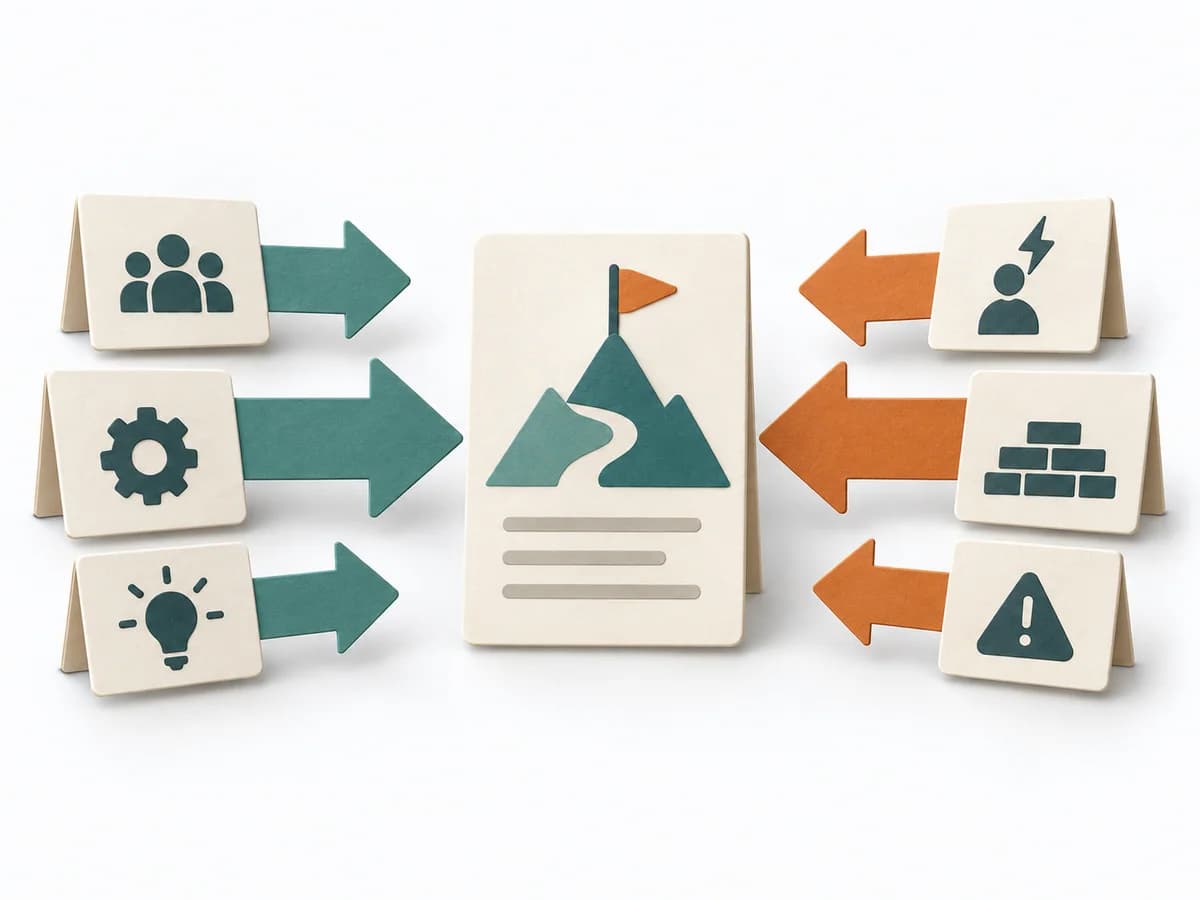 Decision Making Force Field Analysis | 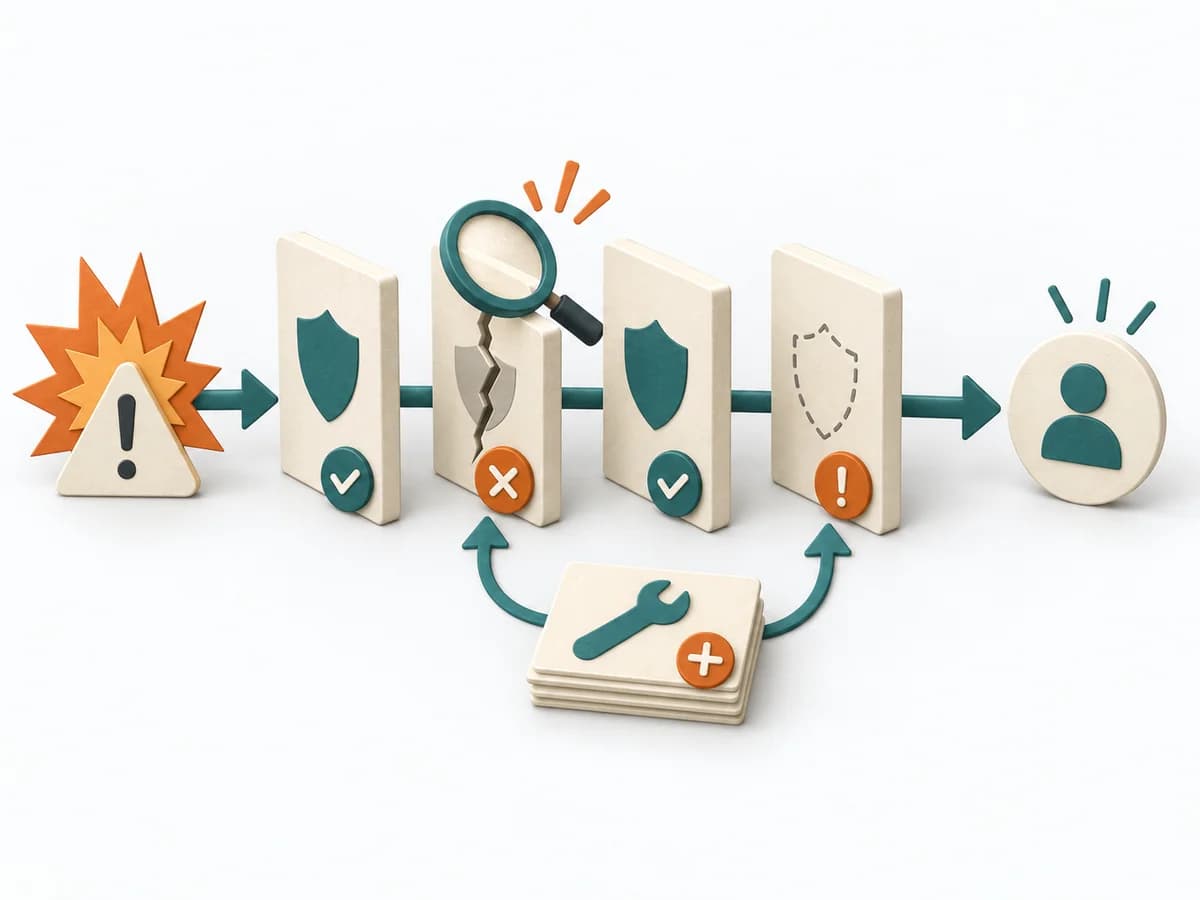 Operations Barrier Analysis | 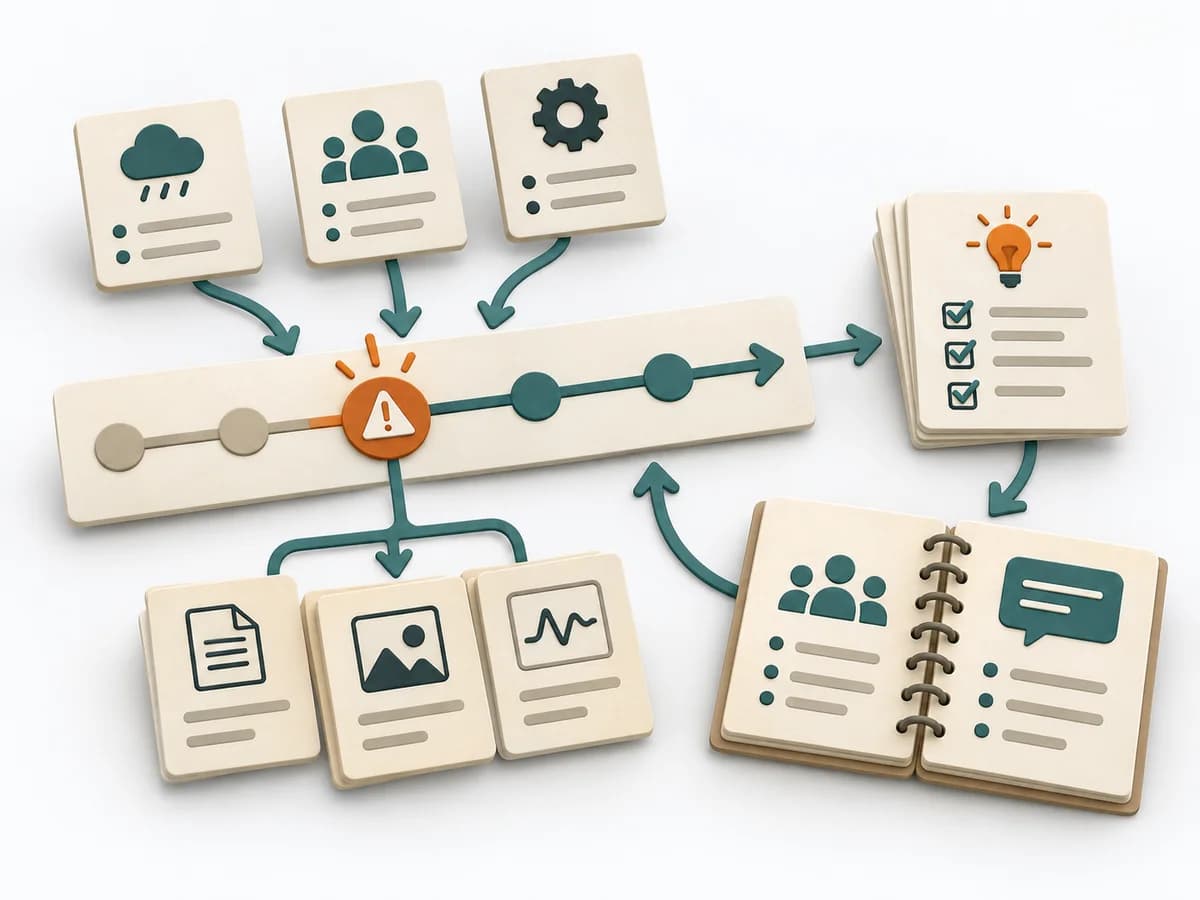 DevOps Blameless Postmortem | 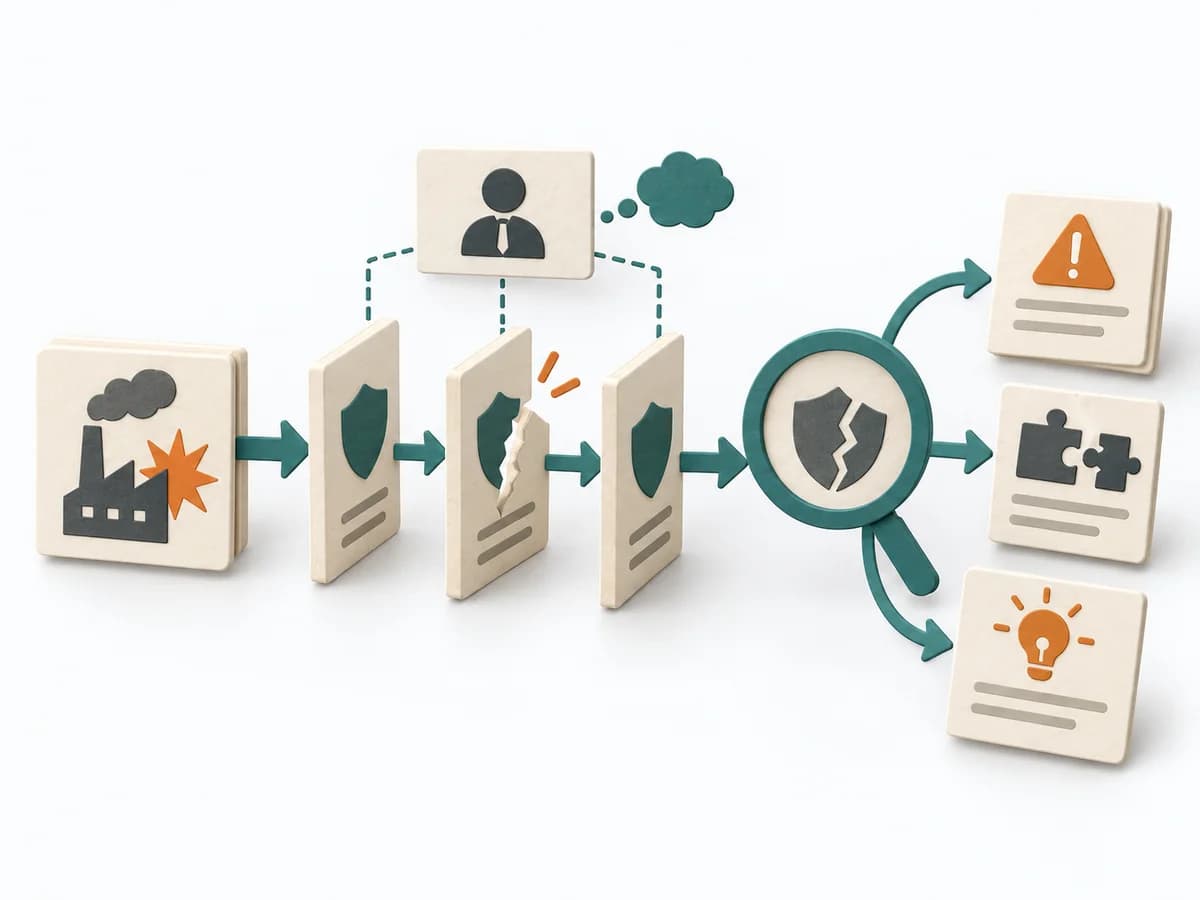 Operations MORT Analysis |
|---|---|---|---|---|
Purposedifferent | In change initiatives, supporting and restraining forces sit at the table at the same time. Force Field Analysis makes these tensions explicit and shows where change can be pushed forward by strengthening or relieving. | For a risk that can only be managed through multiple layers of protection, the method examines the effectiveness of each barrier. It shows where safeguards are missing, too weak, or fail under real conditions. | After an incident with damage or a near miss, the method creates a sober field for learning without assigning blame. It directs attention to the course of events, conditions, and effective countermeasures. | For a safety-relevant event or a system with high protection requirements, the method examines where controls failed. It exposes both technical and organizational gaps. |
Complexitydifferent | Low | Medium | Medium | High |
Timedifferent | 45-90 min | 2-4 h | 30-90 min | Mehrere Tage bis Wochen |
Participantsdifferent | 3-12 | 2-6 | 3-12 | 2-6 |
Formatdifferent | Workshop | Workshop + async | Workshop + async | Workshop + async |
Outputdifferent | Force Field Map, Change Levers, Risk Notes | Barrier Inventory, Failure Analysis per Barrier, Action Backlog | Postmortem Doc, Action Items, Timeline | MORT Worksheets, Findings per Branch, Corrective Actions, Systemic Recommendations |
Tagsno overlap | ChangeDecisionStrategy | Root causeSafetyIncident | Site Reliability EngineeringIncidentLearningReliability | Root causeSafetySystemicIncident |