View methods side by side.
Choose up to four methods. Add them using the search and share the comparison by copying its link.
| Criterion | 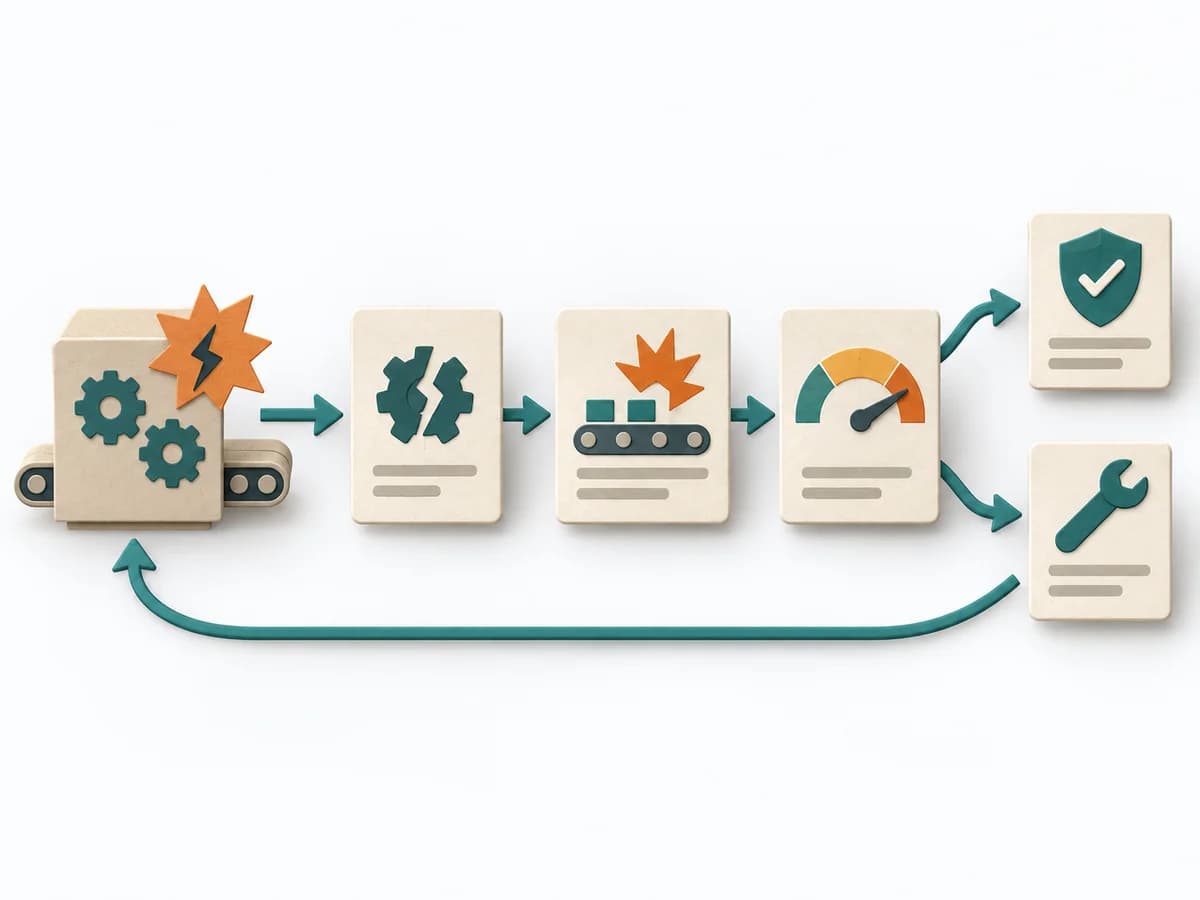 Operations Failure Mode and Effects Analysis |  Decision Making OODA Loop |  Operations 5 Whys |  Operations Root Cause Analysis |
|---|---|---|---|---|
Purposedifferent | For a process, product, or service with noticeable failure risks, the method assesses possible failure modes in advance. It directs attention to combinations of occurrence, effect, and detectability. | In dynamic situations, decisions become outdated faster than they can be prepared. The OODA Loop holds observing, orienting, deciding, and acting together as a recurring rhythm so reaction does not slide into inertia. | For a single, hard-to-explain deviation, the method exposes the causal chain behind the visible symptom. It keeps the cause open until a controllable condition emerges instead of a mere description. | When a problem keeps recurring and the cause stays unclear, the method exposes the underlying mechanism. It separates symptom, guess, and robust explanation from one another. |
Complexitydifferent | High | Medium | Low | Medium |
Timedifferent | 2-6 h | 15-60 min je Zyklus | 15-30 min | 1-4 h |
Participantsdifferent | 3-10 | 1-8 | 2-6 | 3-8 |
Formatdifferent | Workshop | Workshop + async | Workshop | Workshop + async |
Outputdifferent | FMEA Table, Risk Priority, Mitigation Actions | Situation Assessment, Decision Loop, Action Updates | Root cause notes, Countermeasures | Problem Statement, Cause Hypotheses, Confirmed Causes, Action Plan |
Tagsno overlap | RiskQualityOperationsRoot cause | DecisionChangeLearningStrategy | Root causeIncidentLeanProblem solving | Root causeProblem solvingQualityIncident |