View methods side by side.
Choose up to four methods. Add them using the search and share the comparison by copying its link.
Selected:Failure Mode and Effects AnalysisDecision Framing WorkshopBarrier AnalysisRoot Cause Analysis
| Criterion | 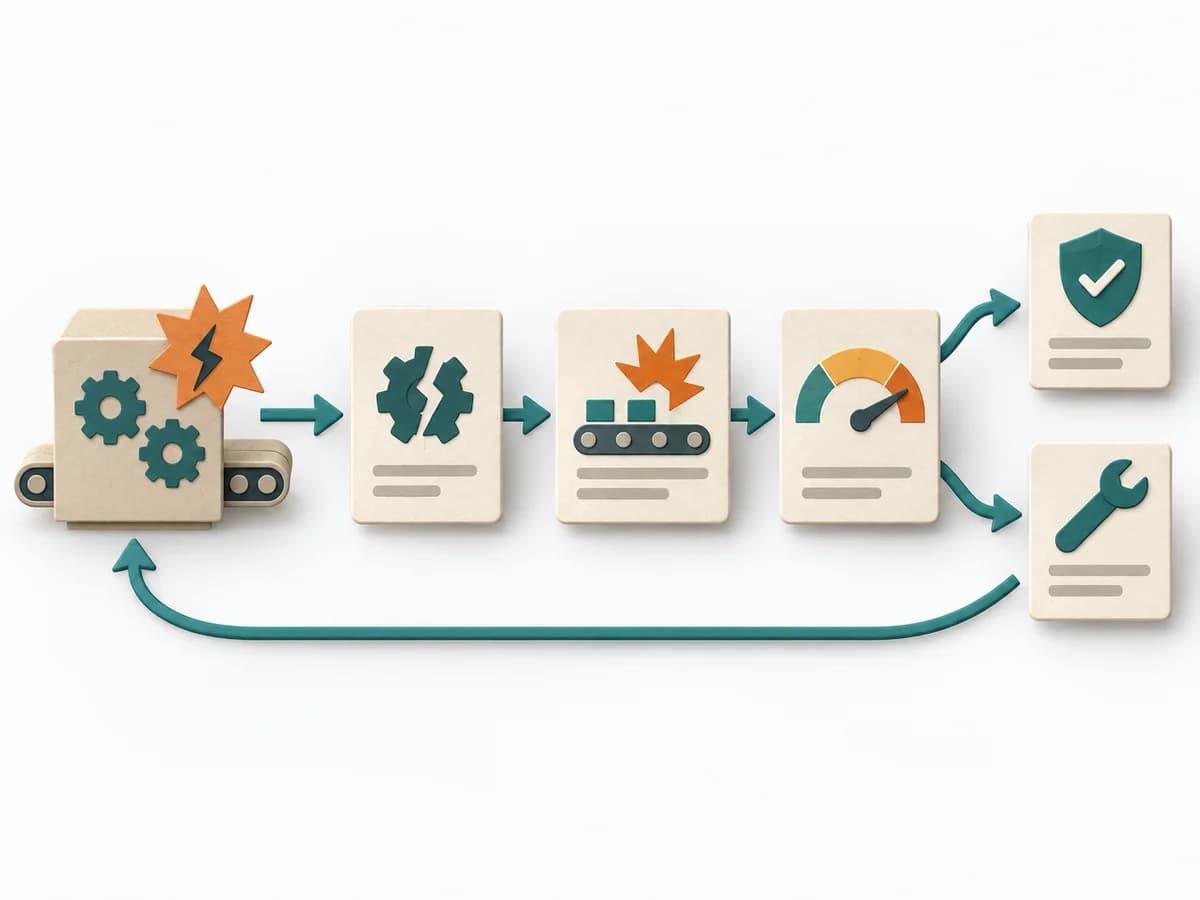 Operations Failure Mode and Effects Analysis | 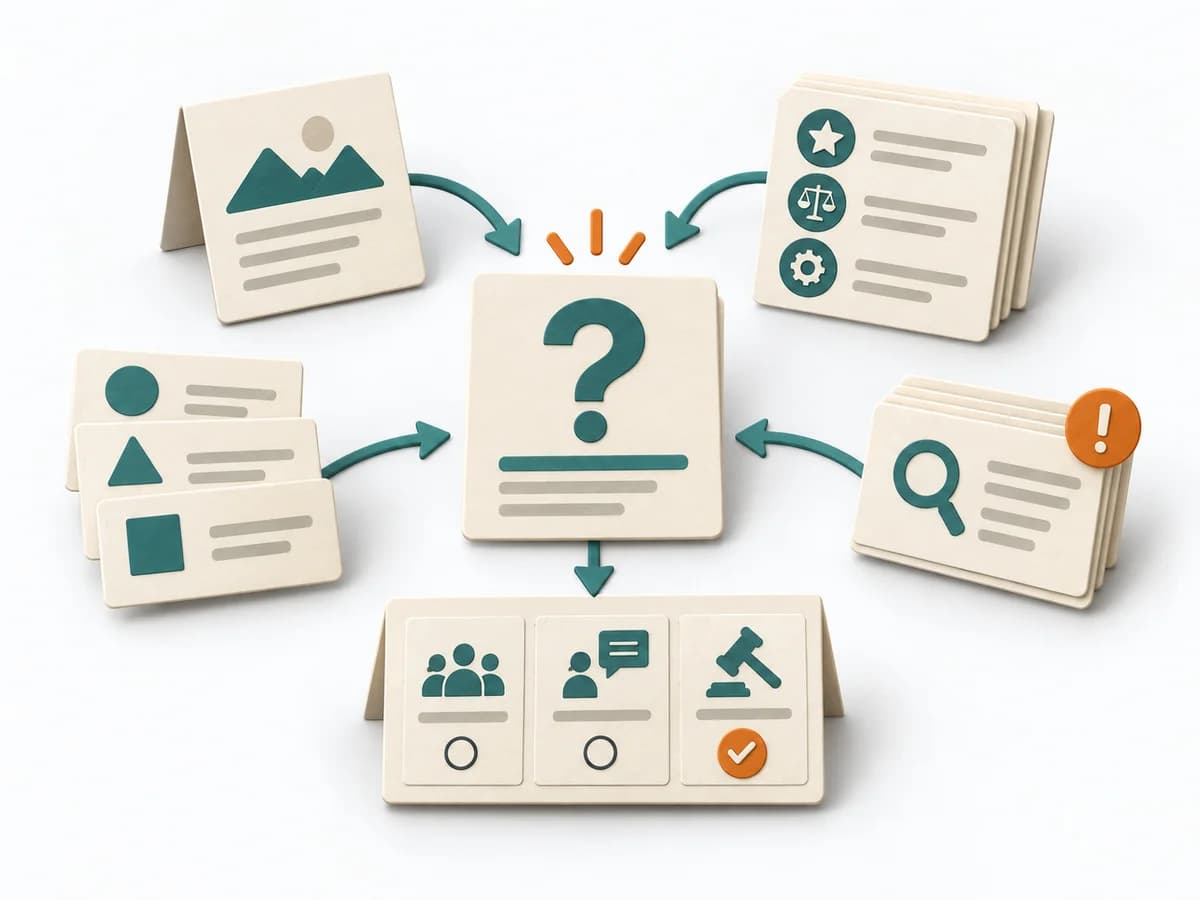 Decision Making Decision Framing Workshop | 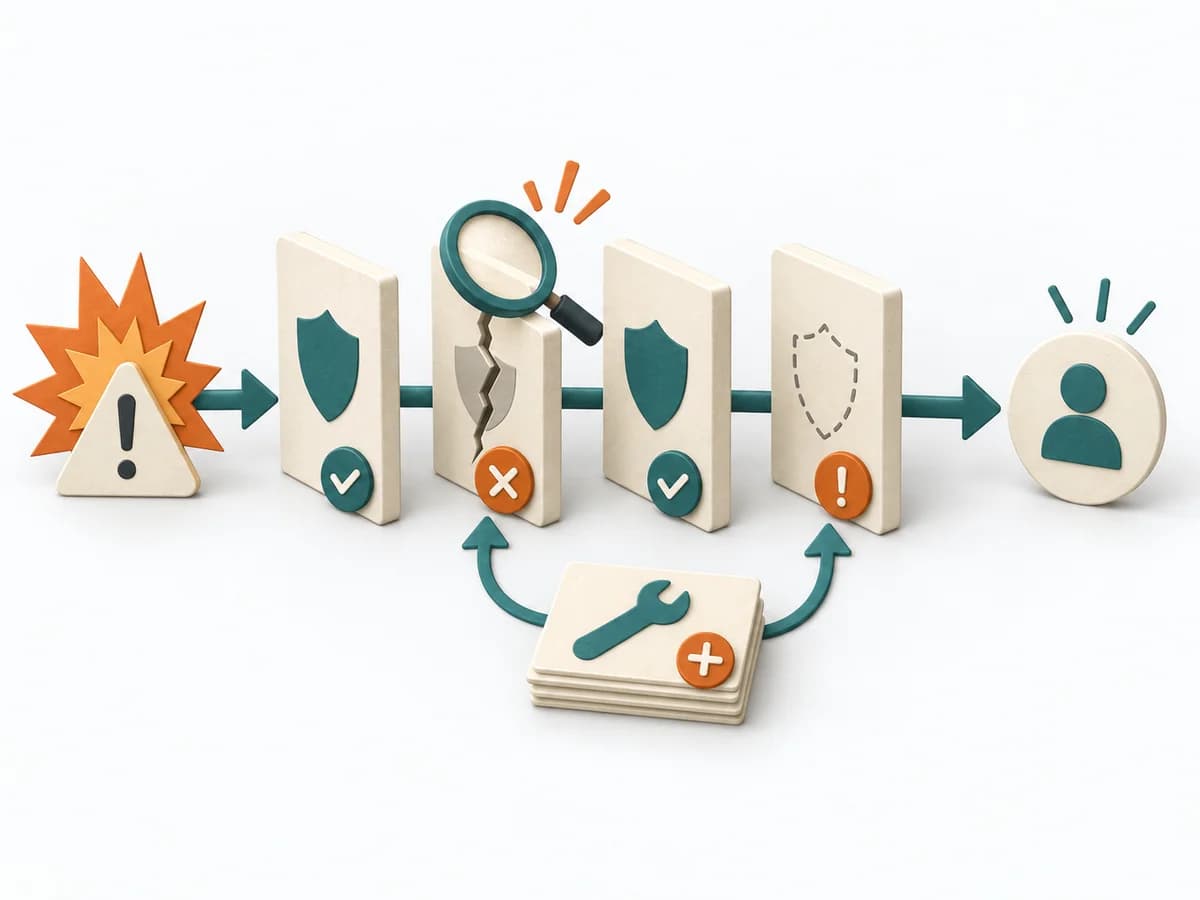 Operations Barrier Analysis | 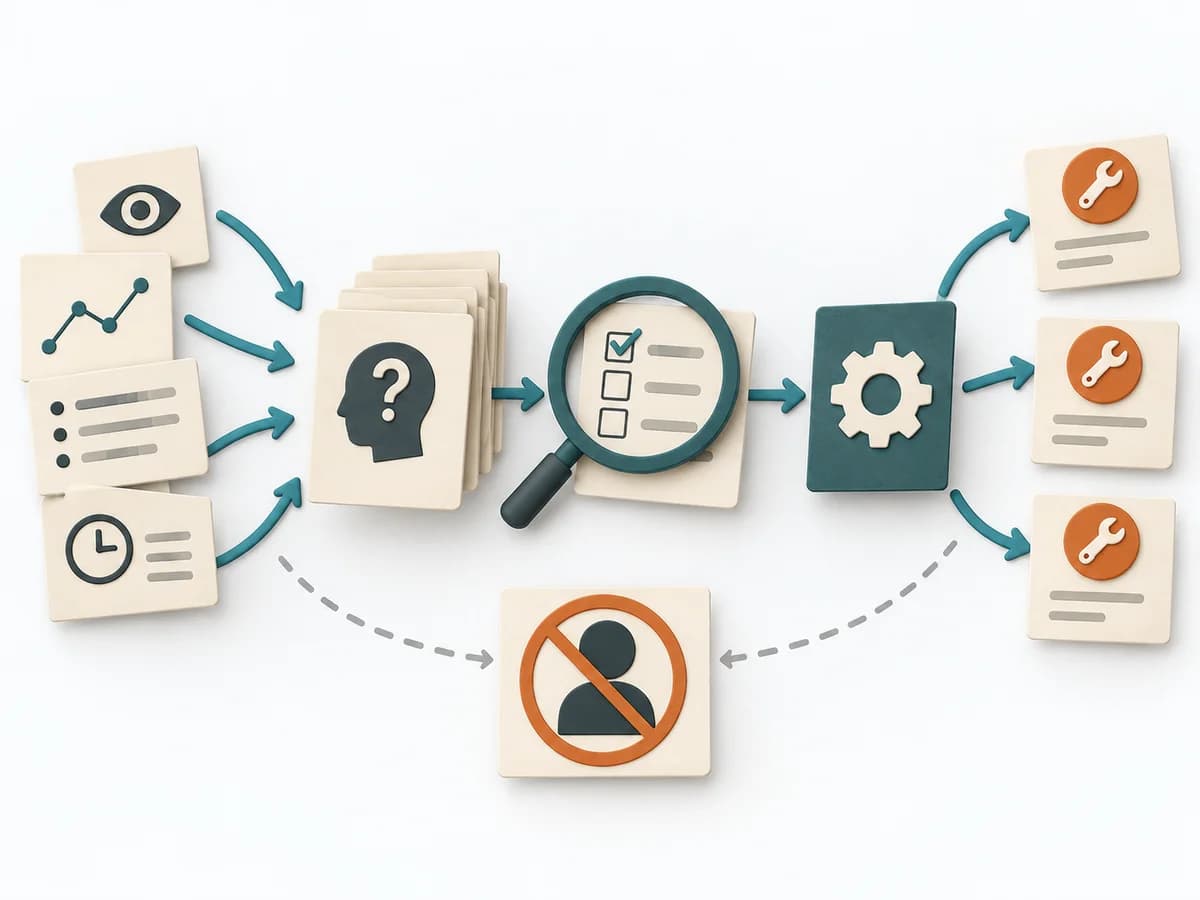 Operations Root Cause Analysis |
|---|---|---|---|---|
Purposedifferent | For a process, product, or service with noticeable failure risks, the method assesses possible failure modes in advance. It directs attention to combinations of occurrence, effect, and detectability. | When a decision is poorly framed, even good answers deliver little value. A Decision Framing Workshop sharpens the problem, goal, and boundaries before the actual weighing begins. | For a risk that can only be managed through multiple layers of protection, the method examines the effectiveness of each barrier. It shows where safeguards are missing, too weak, or fail under real conditions. | When a problem keeps recurring and the cause stays unclear, the method exposes the underlying mechanism. It separates symptom, guess, and robust explanation from one another. |
Complexitydifferent | High | Medium | Medium | Medium |
Timedifferent | 2-6 h | 60-120 min | 2-4 h | 1-4 h |
Participantsdifferent | 3-10 | 4-10 | 2-6 | 3-8 |
Formatdifferent | Workshop | Workshop | Workshop + async | Workshop + async |
Outputdifferent | FMEA Table, Risk Priority, Mitigation Actions | Decision Frame, Decision Question, Criteria List, Evidence Plan | Barrier Inventory, Failure Analysis per Barrier, Action Backlog | Problem Statement, Cause Hypotheses, Confirmed Causes, Action Plan |
Tagsno overlap | RiskQualityOperationsRoot cause | Decision framingAlignmentCriteriaOptions | Root causeSafetyIncident | Root causeProblem solvingQualityIncident |