View methods side by side.
Choose up to four methods. Add them using the search and share the comparison by copying its link.
| Criterion | 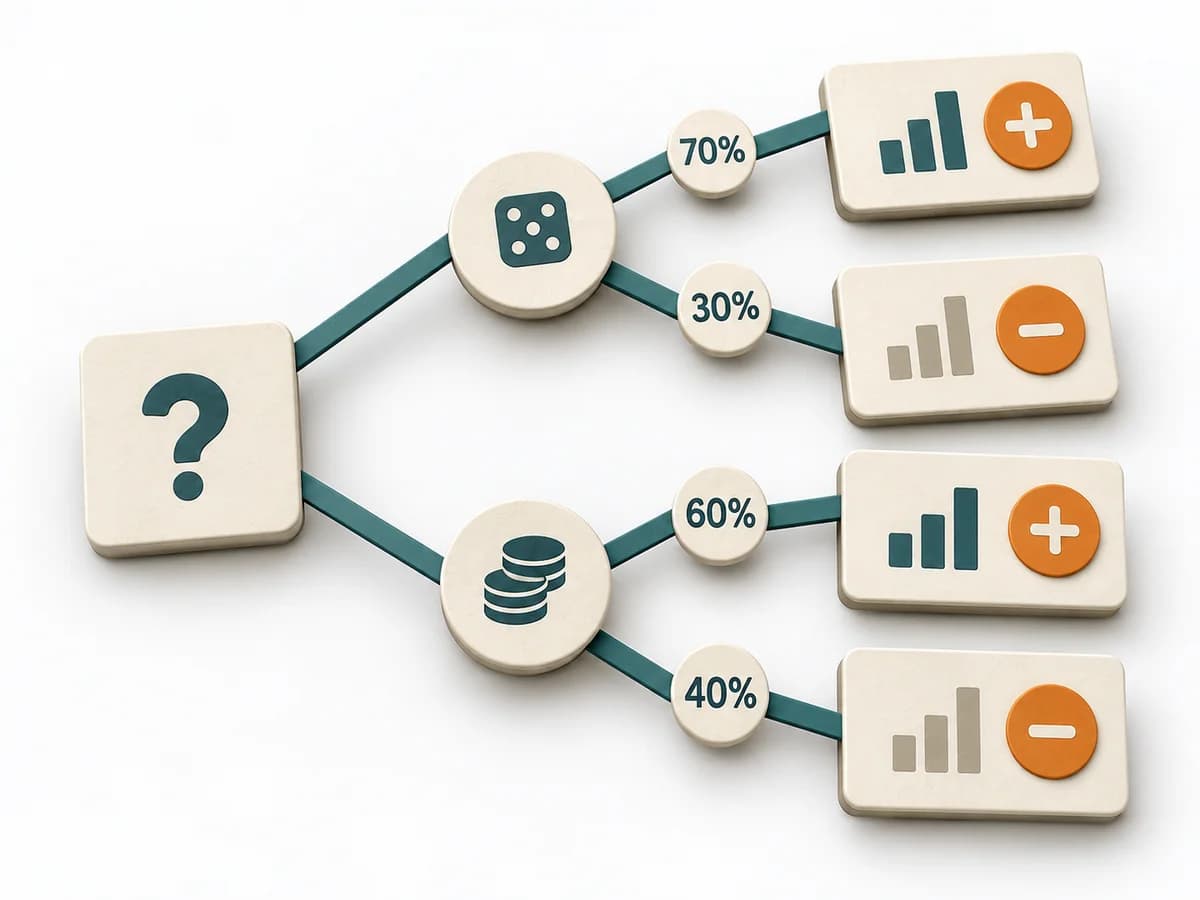 Decision Making Decision Tree | 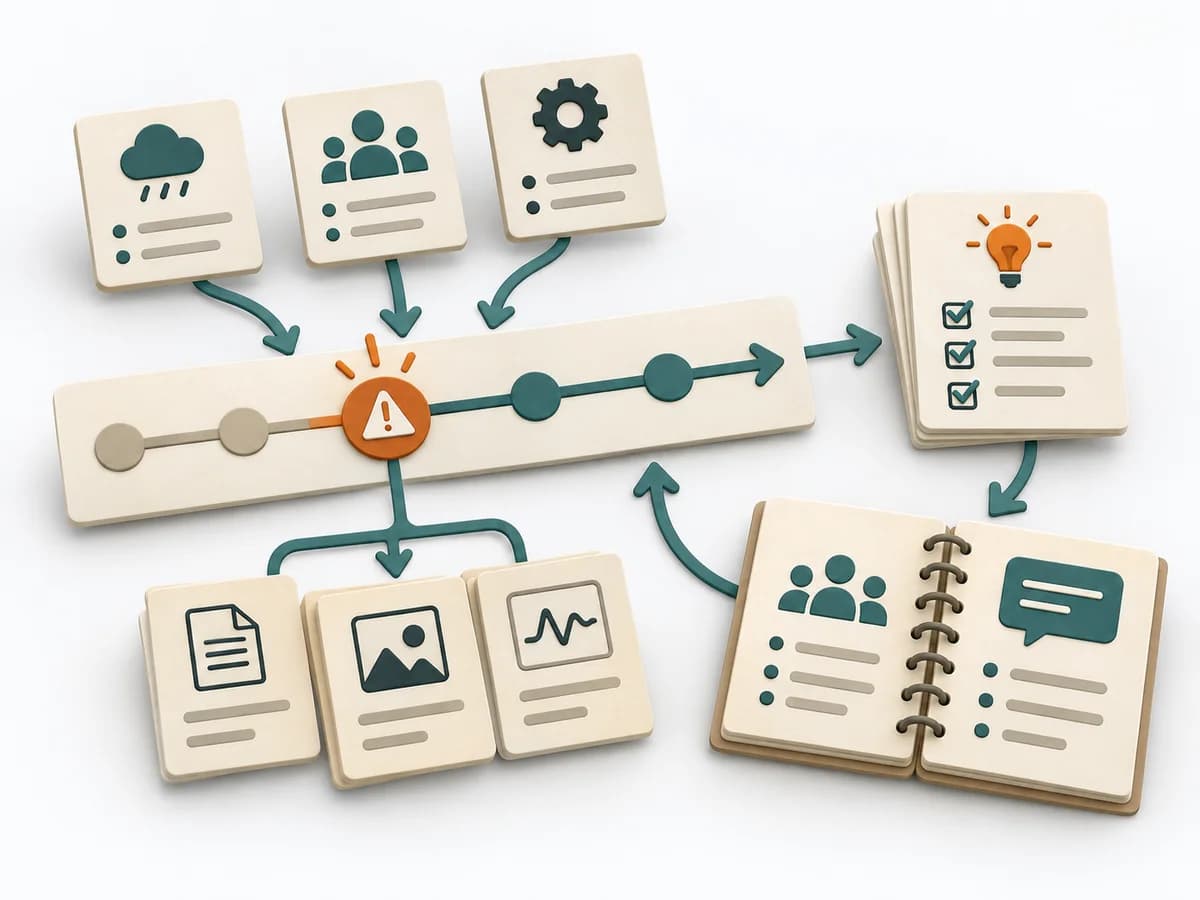 DevOps Blameless Postmortem | 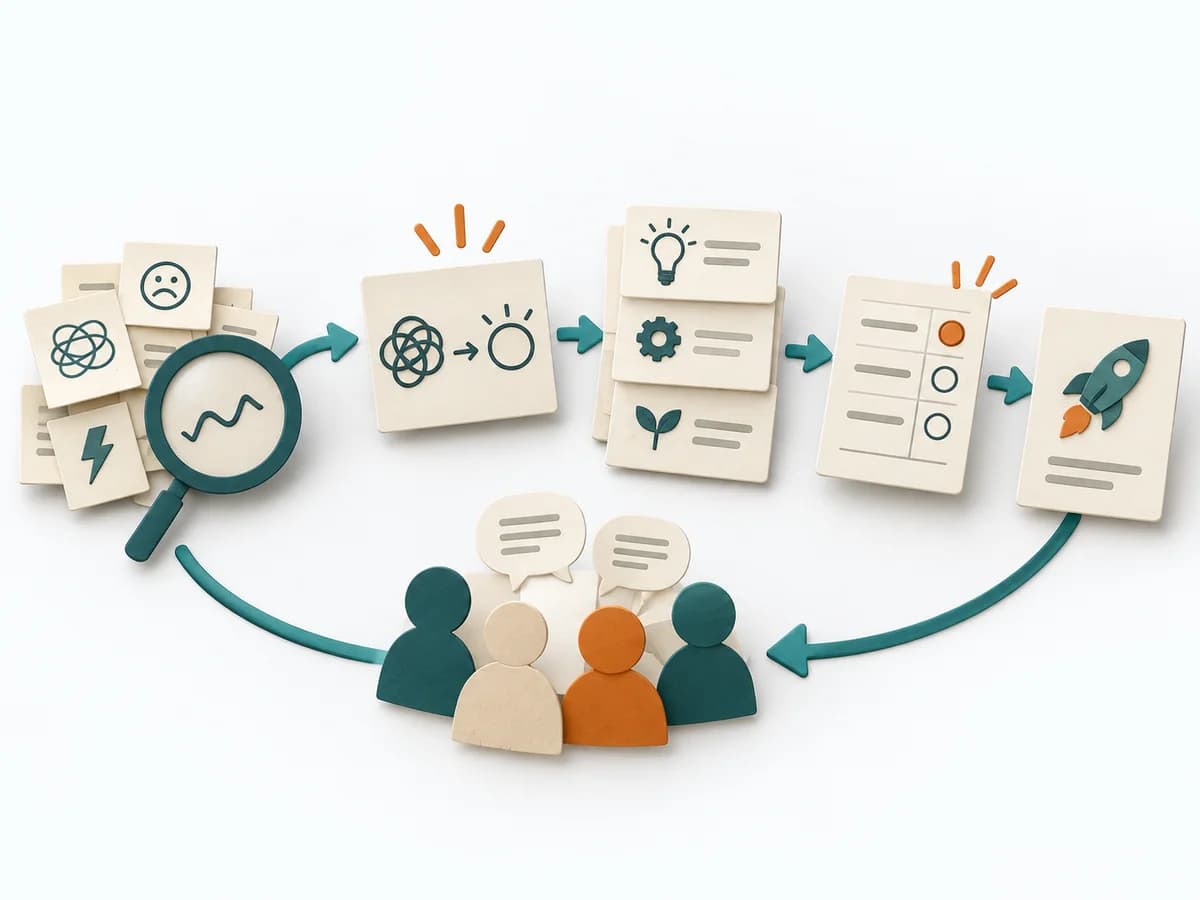 Facilitation Decision Jam | 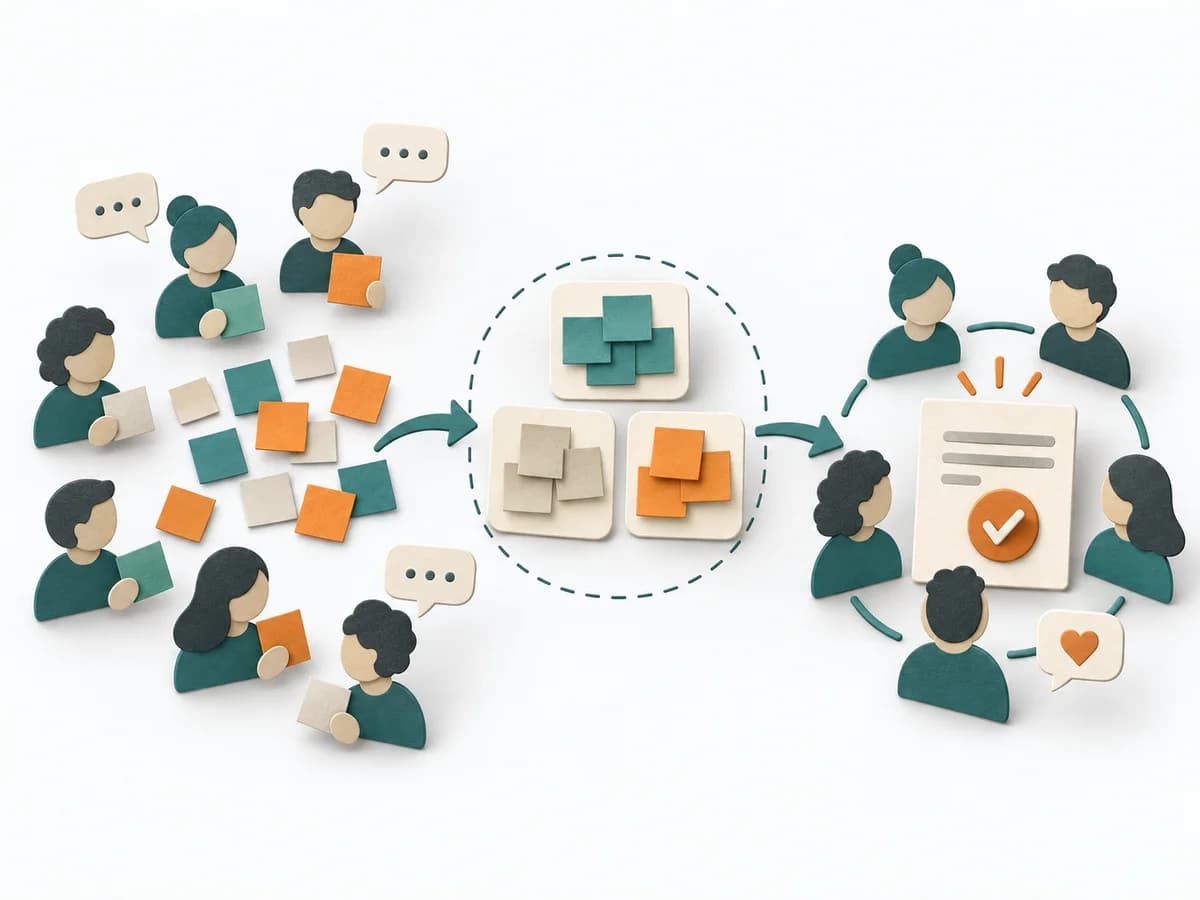 Facilitation Consensus Workshop |
|---|---|---|---|---|
Purposedifferent | For decisions with follow-on paths and dependencies, a linear comparison is often not enough. A Decision Tree shows how options branch under conditions and which consequences hang on each branch. | After an incident with damage or a near miss, the method creates a sober field for learning without assigning blame. It directs attention to the course of events, conditions, and effective countermeasures. | When a decision is stuck, Decision Jam loosens the knot through structured separation of problem, idea, and selection. The format creates movement without jumping prematurely at the first seemingly elegant answer. | When a group needs a solid decision without outvoting individual factions, a Consensus Workshop creates a negotiable common ground. It makes agreement, reservations, and open tensions discussable at the same time. |
Complexitydifferent | Medium | Medium | Low | Medium |
Timedifferent | 30-90 min | 30-90 min | 60-90 min | 1-3 h |
Participantsdifferent | 1-6 | 3-12 | 4-10 | 5-30 |
Formatdifferent | Workshop + async | Workshop + async | Workshop | Workshop |
Outputdifferent | Decision Tree, Option Map, Assumption List | Postmortem Doc, Action Items, Timeline | Problem Cluster, Prioritized Challenge, Experiment | Consensus Clusters, Theme Titles, Priority Areas |
Tagsno overlap | DecisionTreeOptions | Site Reliability EngineeringIncidentLearningReliability | FacilitationDecisionProblem solvingWorkshop | FacilitationConsensusWorkshopAlignment |