View methods side by side.
Choose up to four methods. Add them using the search and share the comparison by copying its link.
| Criterion | 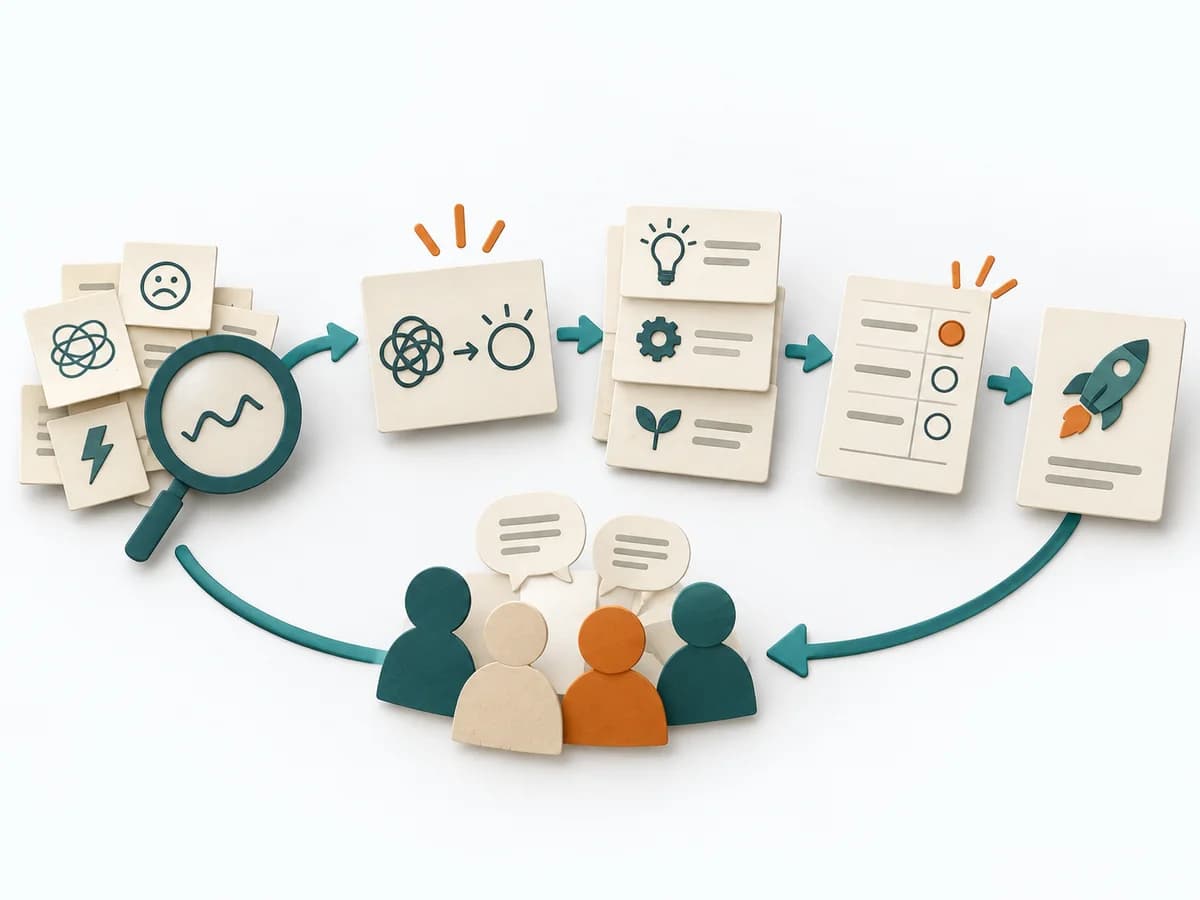 Facilitation Decision Jam | 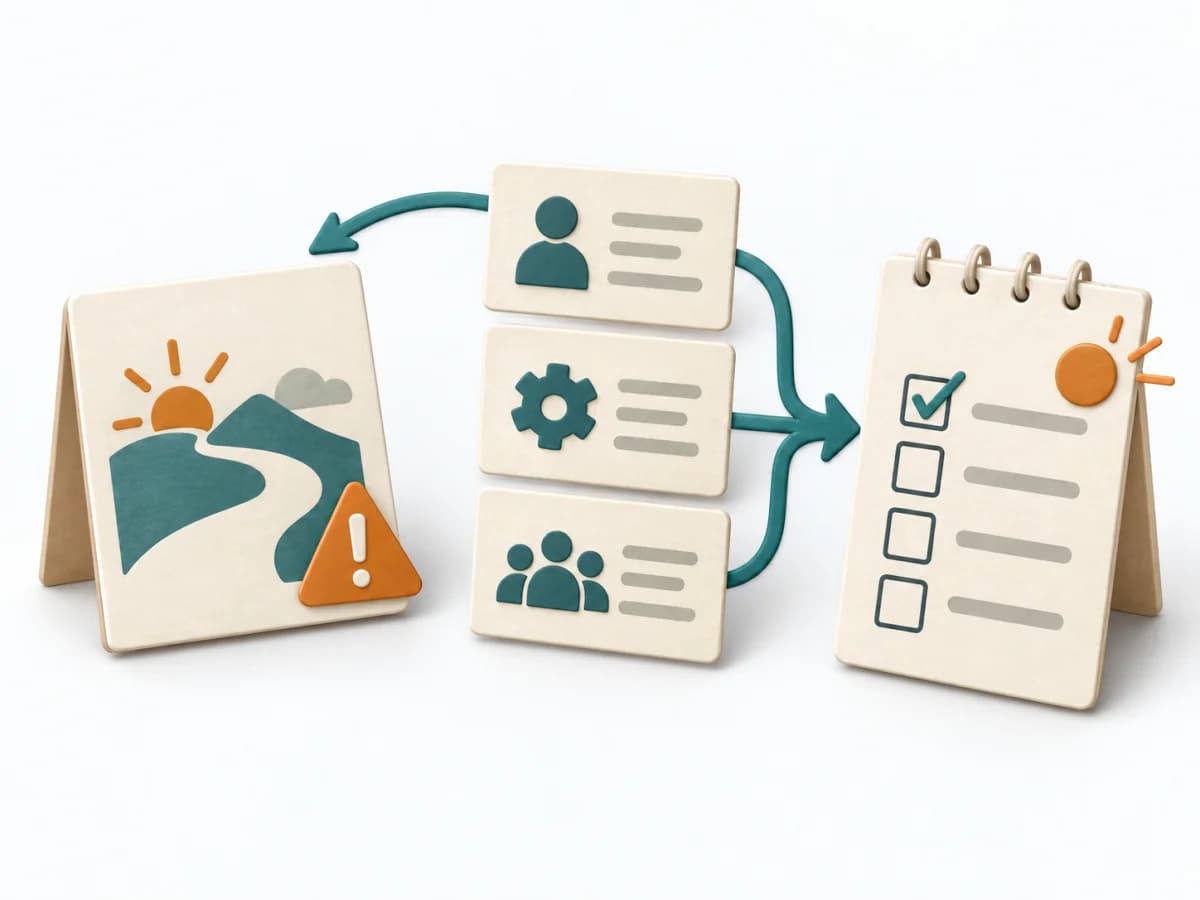 Decision Making Pre-Mortem | 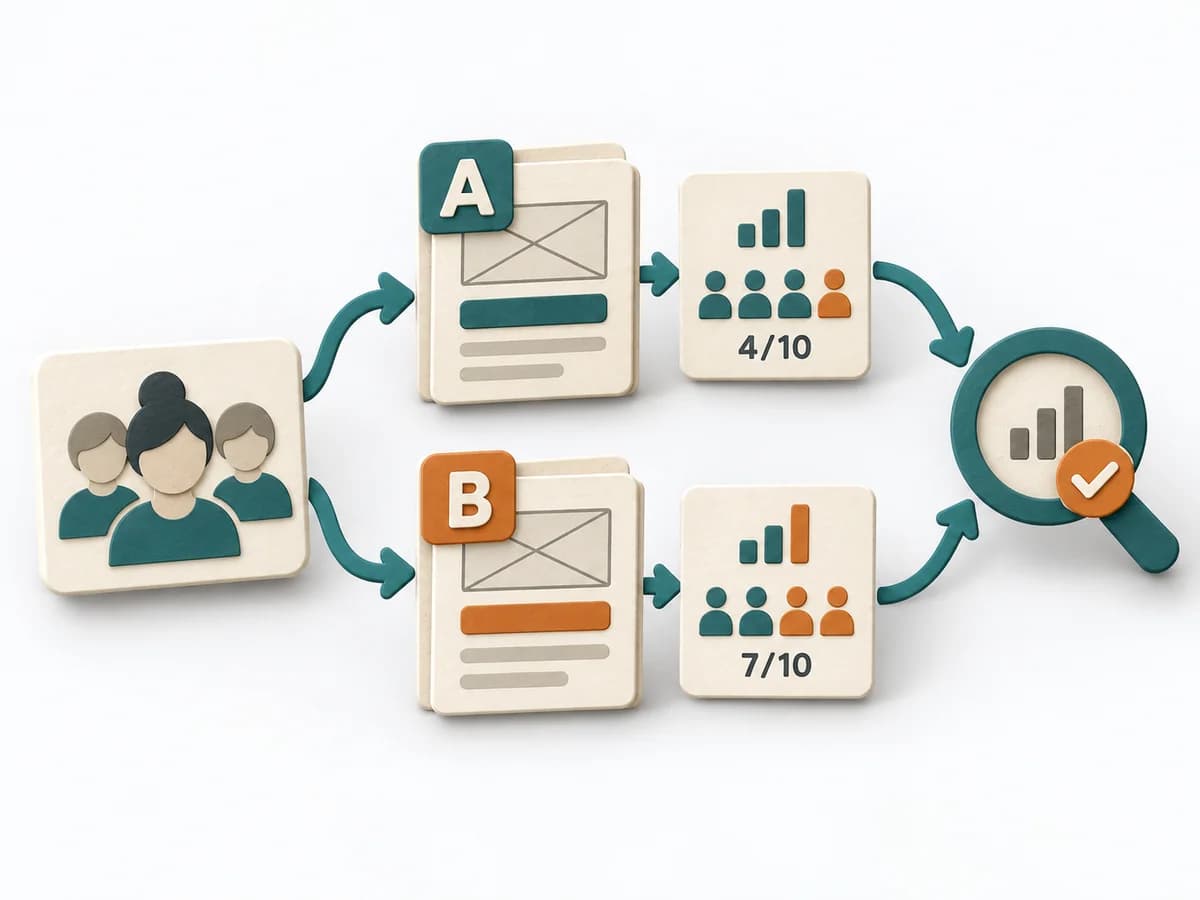 Growth A/B Testing | 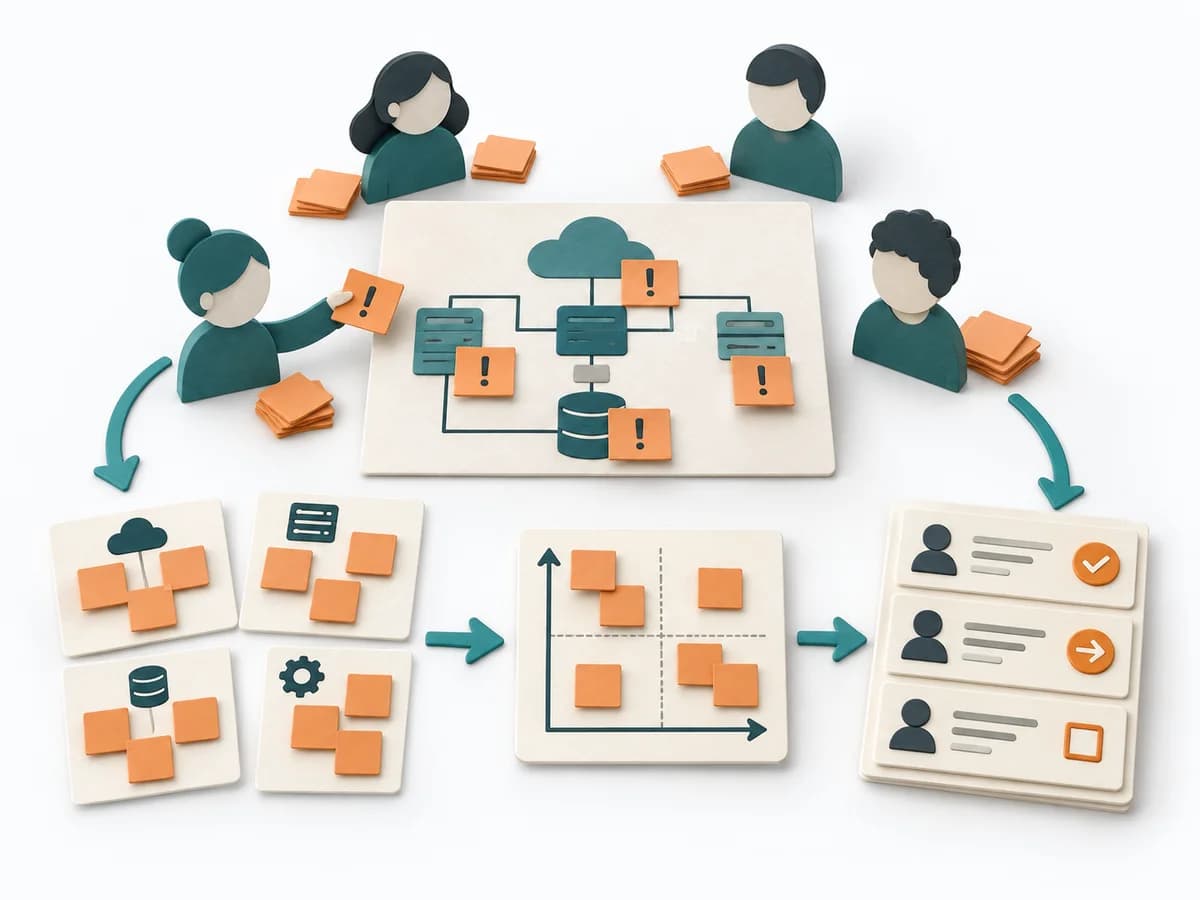 Architecture Risk Storming |
|---|---|---|---|---|
Purposedifferent | When a decision is stuck, Decision Jam loosens the knot through structured separation of problem, idea, and selection. The format creates movement without jumping prematurely at the first seemingly elegant answer. | In early initiatives with many uncertainties, planning quickly turns too optimistic. A pre-mortem makes the expected failure visible in advance and sharpens the view of causes, gaps, and countermeasures. | When two variants compete, discussions quickly decide by taste rather than effect. A/B Testing checks behavior under controlled conditions and separates real improvement from chance or expectation effects. | Helps clarify architecture context, options, and consequences in concrete terms. It organizes technical context, alternatives, and consequences. The result is captured as an Annotated Diagram, a Prioritized Risk List, and an Action Backlog. |
Complexitydifferent | Low | Low | High | Low |
Timedifferent | 60-90 min | 20–45 min | 1-4 Wochen | 60-90 min |
Participantsdifferent | 4-10 | Small cross-functional group | 1-6 | 4-12 |
Formatdifferent | Workshop | Workshop | Async | Workshop |
Outputdifferent | Problem Cluster, Prioritized Challenge, Experiment | Risk list, Mitigation plan, Assumption log | Experiment results, Decision log, Learning summary | Annotated Diagram, Prioritized Risk List, Action Backlog |
Tagsno overlap | FacilitationDecisionProblem solvingWorkshop | RiskDecisionFailurePlanning | ExperimentsGrowthAnalyticsValidation | RiskArchitectureWorkshopValidation |