View methods side by side.
Choose up to four methods. Add them using the search and share the comparison by copying its link.
| Criterion | 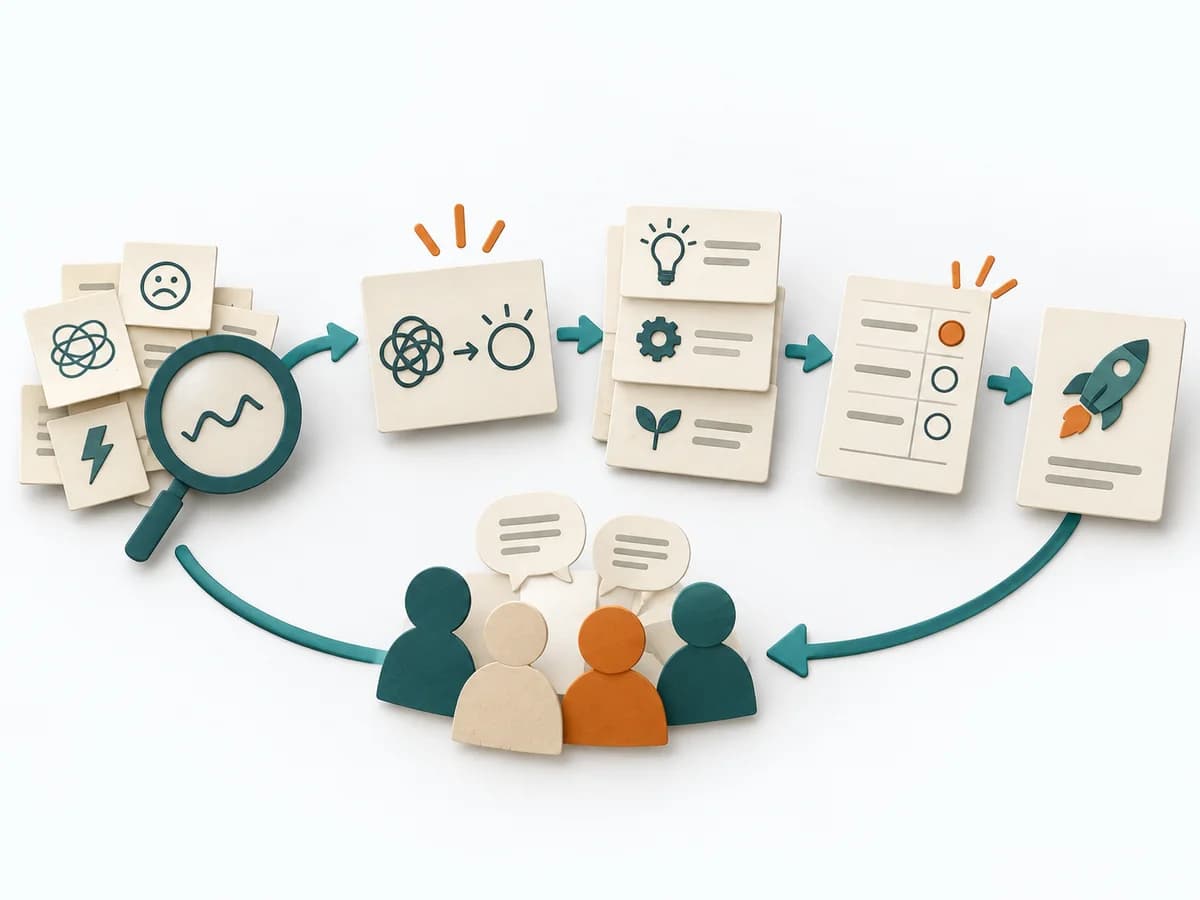 Facilitation Decision Jam |  Decision Making Decision Tree | 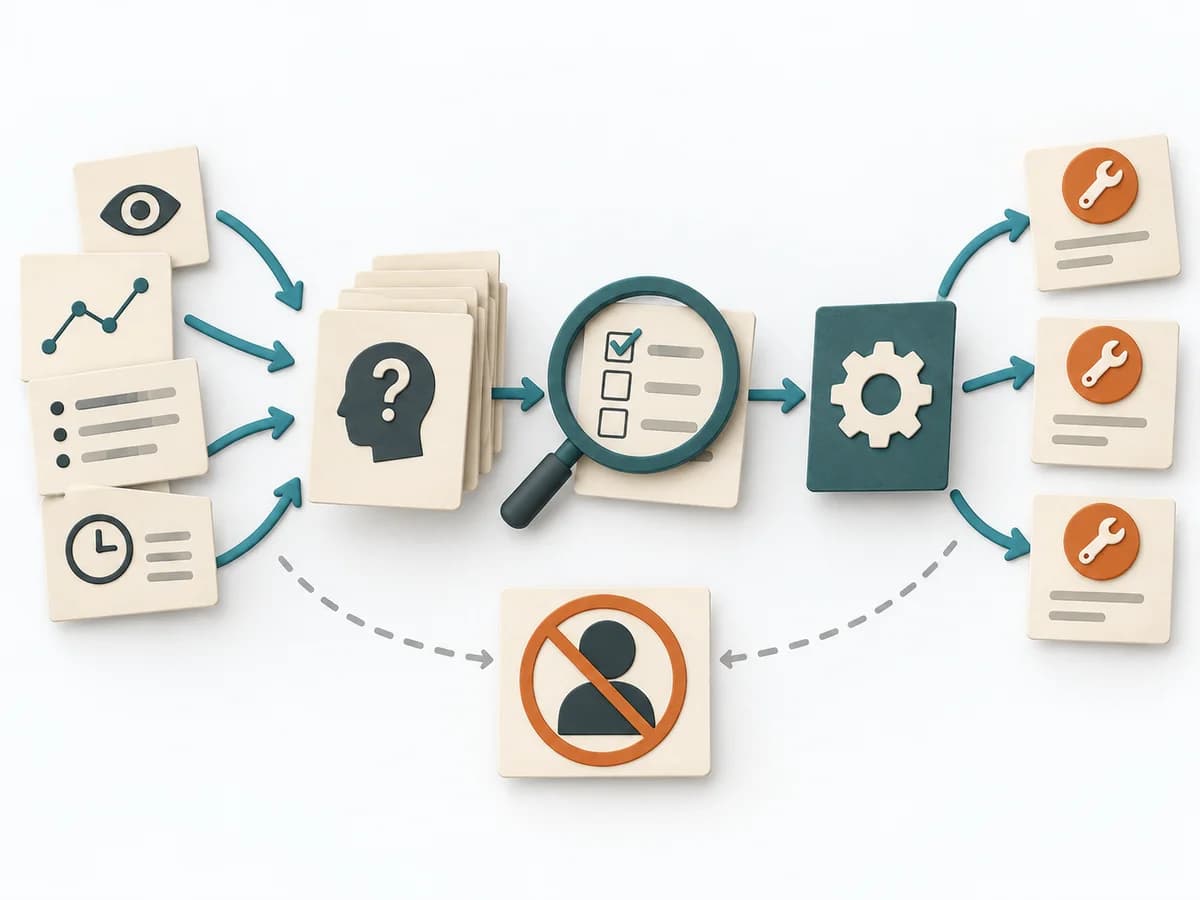 Operations Root Cause Analysis | 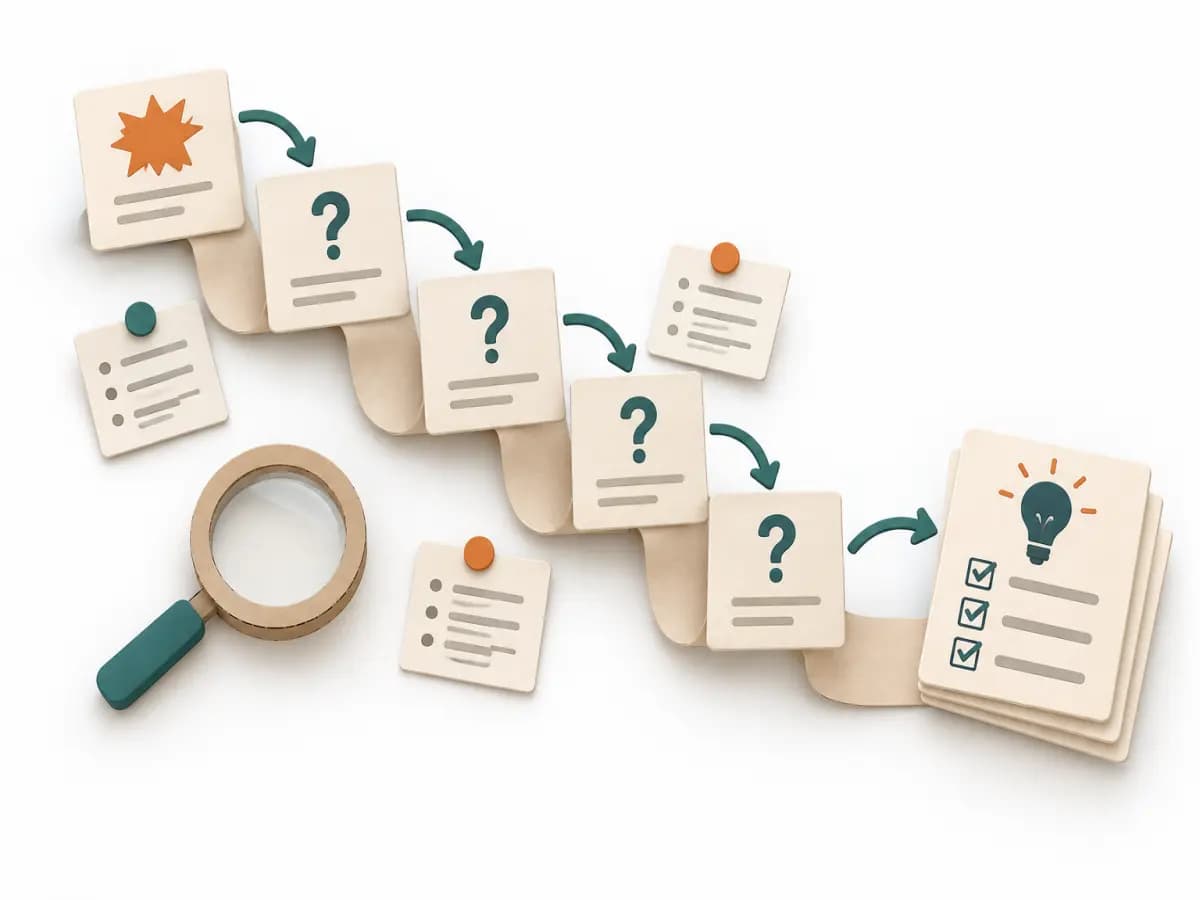 Operations 5 Whys |
|---|---|---|---|---|
Purposedifferent | When a decision is stuck, Decision Jam loosens the knot through structured separation of problem, idea, and selection. The format creates movement without jumping prematurely at the first seemingly elegant answer. | For decisions with follow-on paths and dependencies, a linear comparison is often not enough. A Decision Tree shows how options branch under conditions and which consequences hang on each branch. | When a problem keeps recurring and the cause stays unclear, the method exposes the underlying mechanism. It separates symptom, guess, and robust explanation from one another. | For a single, hard-to-explain deviation, the method exposes the causal chain behind the visible symptom. It keeps the cause open until a controllable condition emerges instead of a mere description. |
Complexitydifferent | Low | Medium | Medium | Low |
Timedifferent | 60-90 min | 30-90 min | 1-4 h | 15-30 min |
Participantsdifferent | 4-10 | 1-6 | 3-8 | 2-6 |
Formatdifferent | Workshop | Workshop + async | Workshop + async | Workshop |
Outputdifferent | Problem Cluster, Prioritized Challenge, Experiment | Decision Tree, Option Map, Assumption List | Problem Statement, Cause Hypotheses, Confirmed Causes, Action Plan | Root cause notes, Countermeasures |
Tagsno overlap | FacilitationDecisionProblem solvingWorkshop | DecisionTreeOptions | Root causeProblem solvingQualityIncident | Root causeIncidentLeanProblem solving |