View methods side by side.
Choose up to four methods. Add them using the search and share the comparison by copying its link.
| Criterion | 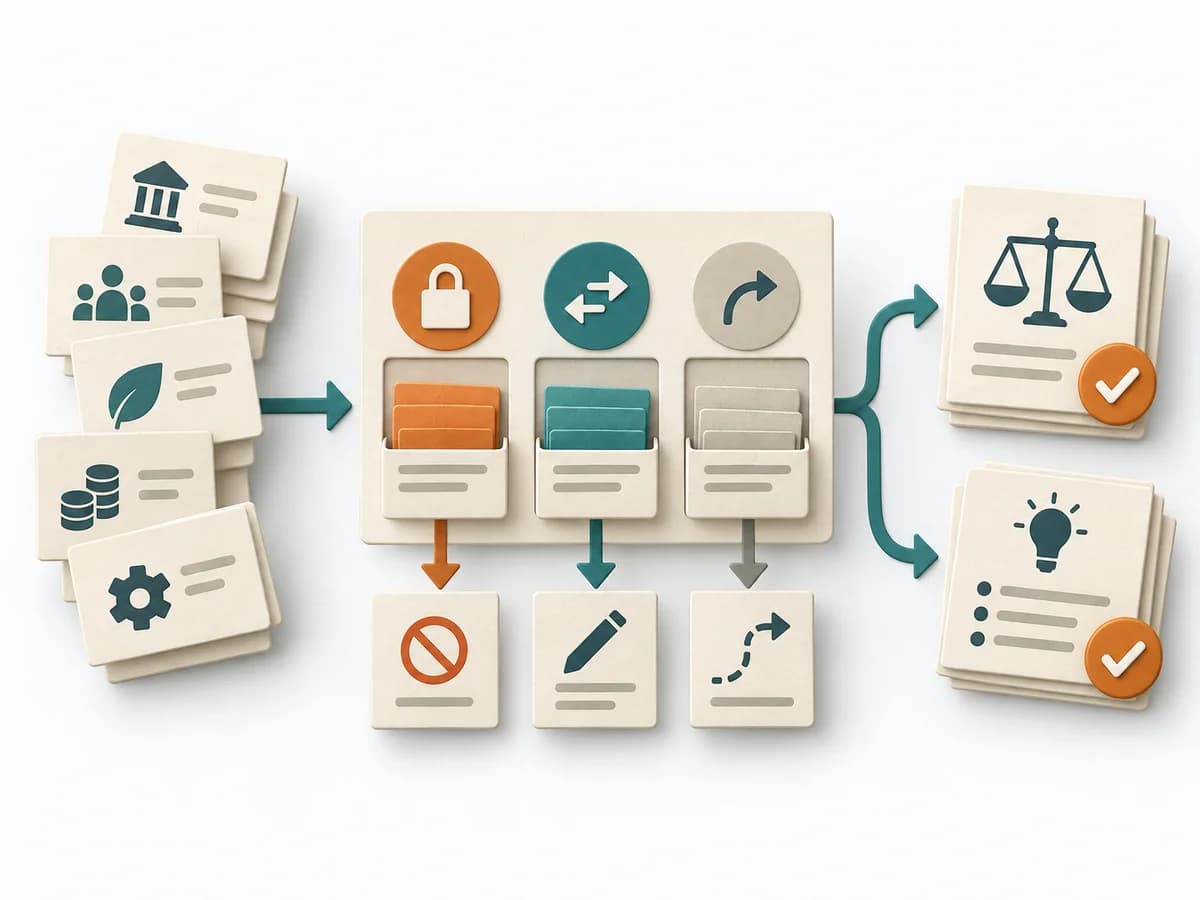 Decision Making Constraint Analysis | 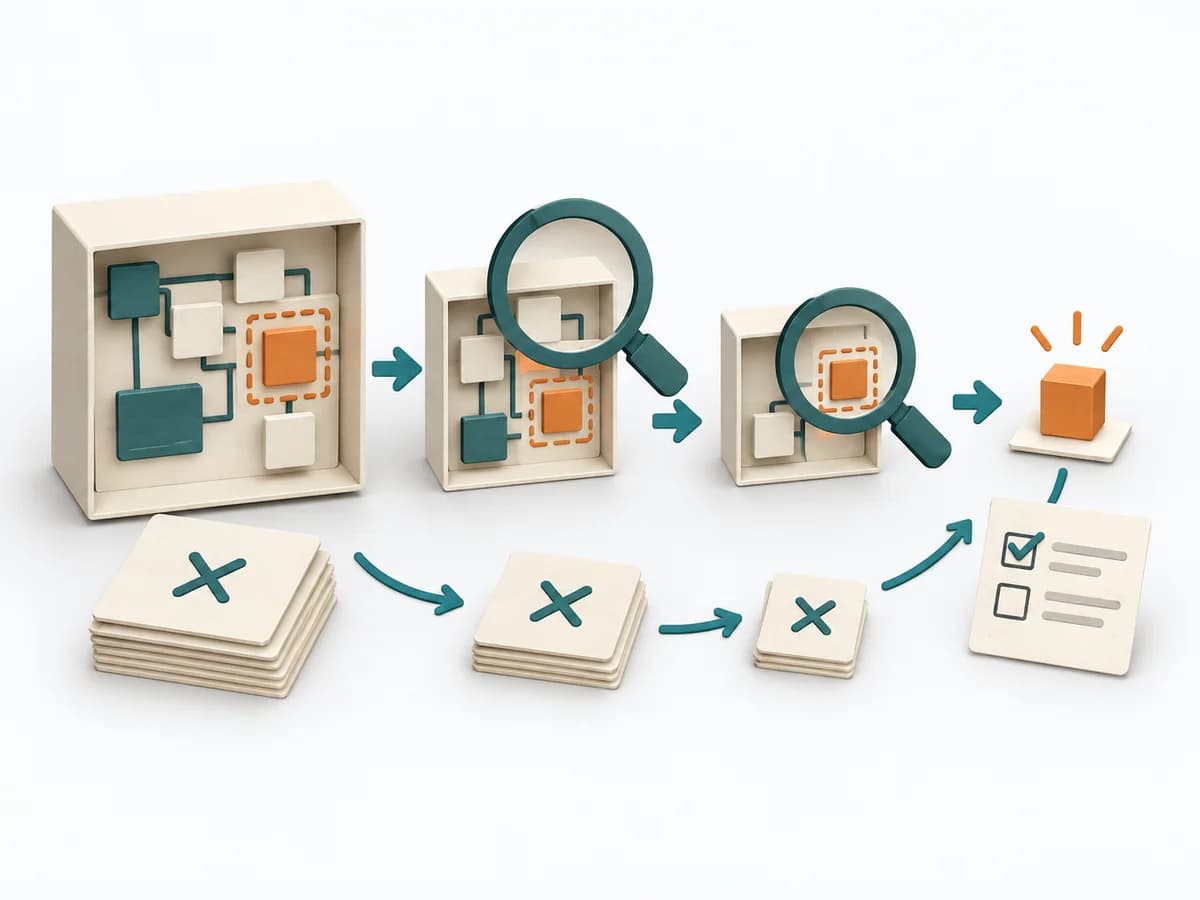 Engineering Fault Isolation | 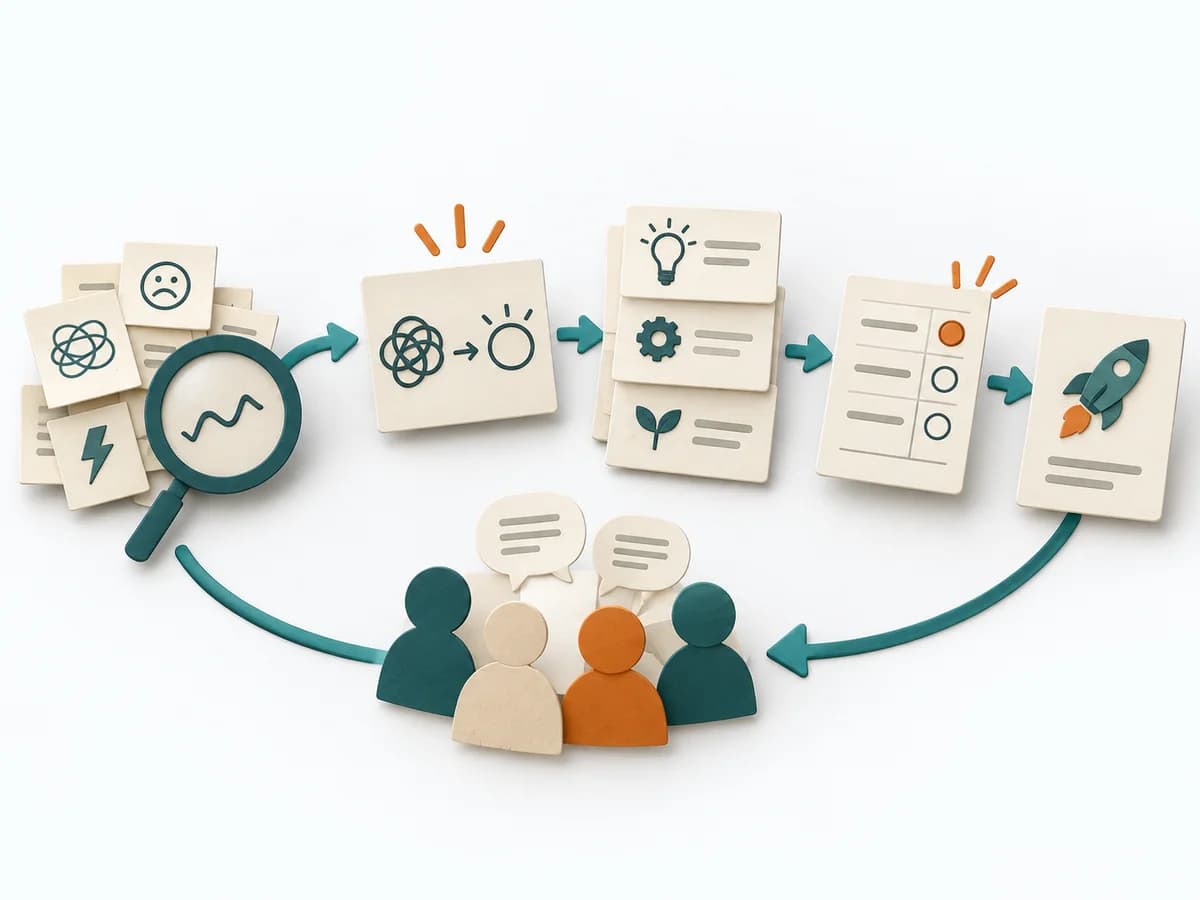 Facilitation Decision Jam | 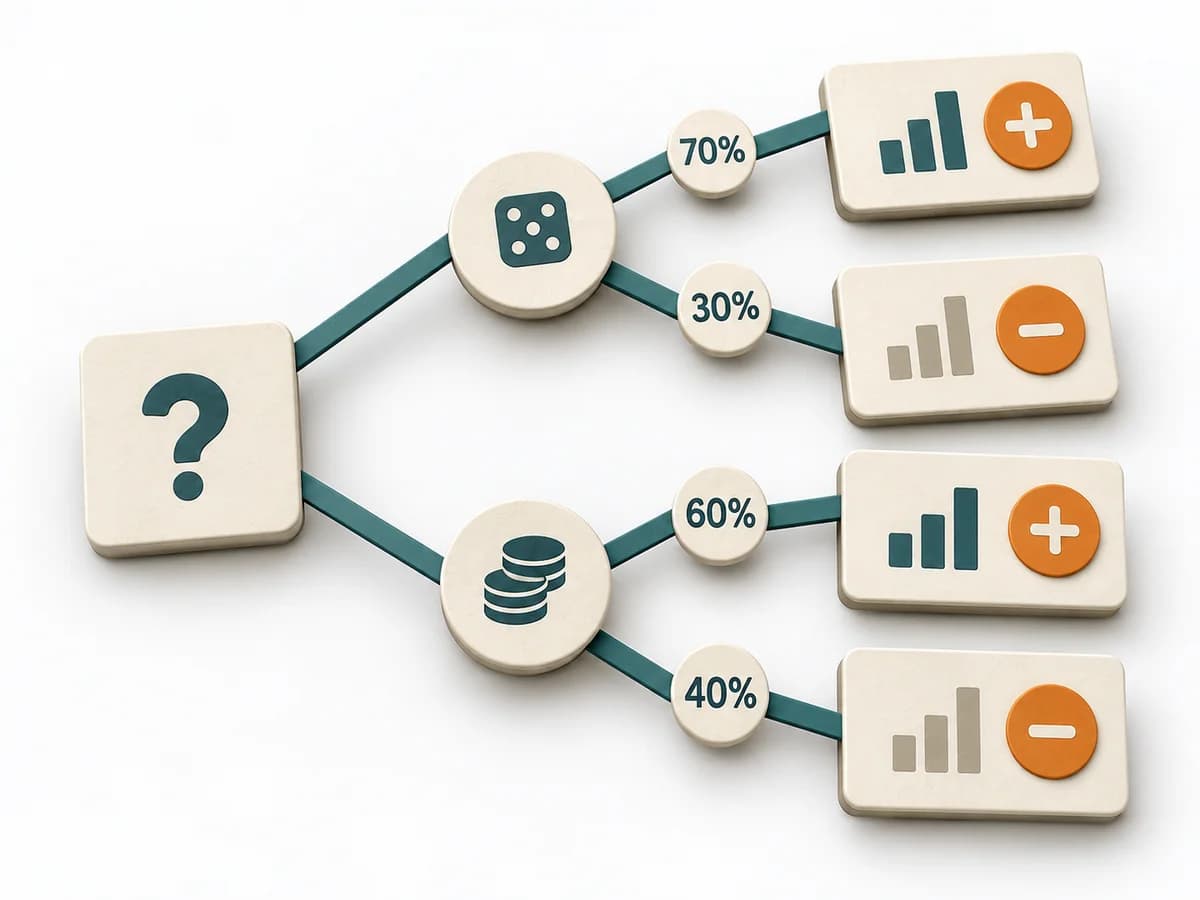 Decision Making Decision Tree |
|---|---|---|---|---|
Purposedifferent | When an initiative stalls, the limit often lies not in the idea but in hard or soft boundary conditions. Constraint Analysis separates these limits and shows which of them can actually be shaped. | In technical failures, the visible symptom often gets mixed up with the actual cause. Fault Isolation narrows the fault space and progressively reduces which part of the system is truly affected. | When a decision is stuck, Decision Jam loosens the knot through structured separation of problem, idea, and selection. The format creates movement without jumping prematurely at the first seemingly elegant answer. | For decisions with follow-on paths and dependencies, a linear comparison is often not enough. A Decision Tree shows how options branch under conditions and which consequences hang on each branch. |
Complexitydifferent | Low | Medium | Low | Medium |
Timedifferent | 30-90 min | 30-180 min | 60-90 min | 30-90 min |
Participantsdifferent | 2-8 | 1-6 | 4-10 | 1-6 |
Formatdifferent | Workshop + async | Workshop + async | Workshop | Workshop + async |
Outputdifferent | Constraint List, Hard/Soft Classification, Option Impact Notes, Decision Boundaries | Fault Isolation Map, Test Log, Excluded Hypotheses, Narrowed Fault Area | Problem Cluster, Prioritized Challenge, Experiment | Decision Tree, Option Map, Assumption List |
Tagsno overlap | ConstraintsDecisionPlanningOptions | TroubleshootingDiagnosisEngineering | FacilitationDecisionProblem solvingWorkshop | DecisionTreeOptions |