View methods side by side.
Choose up to four methods. Add them using the search and share the comparison by copying its link.
| Criterion | 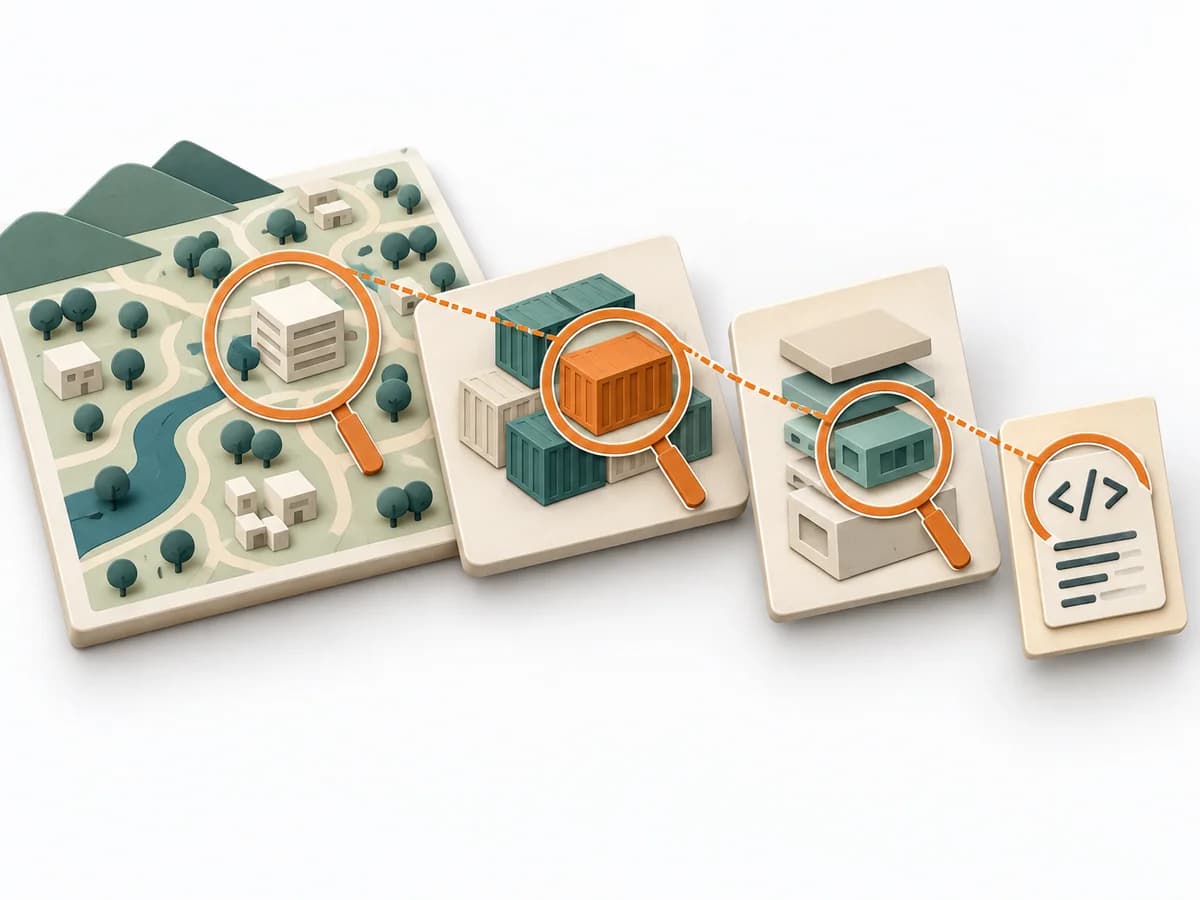 Architecture C4 Model | 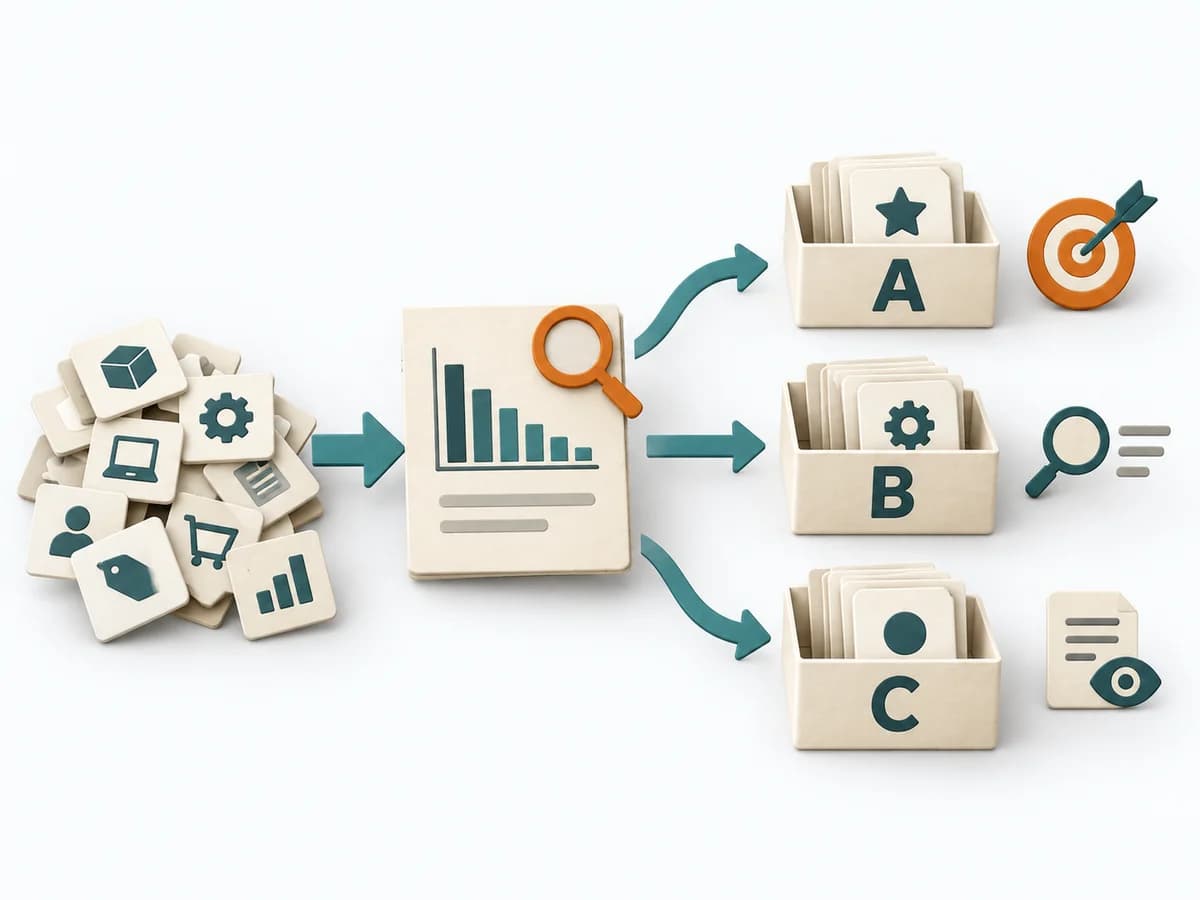 Operations ABC Analysis | 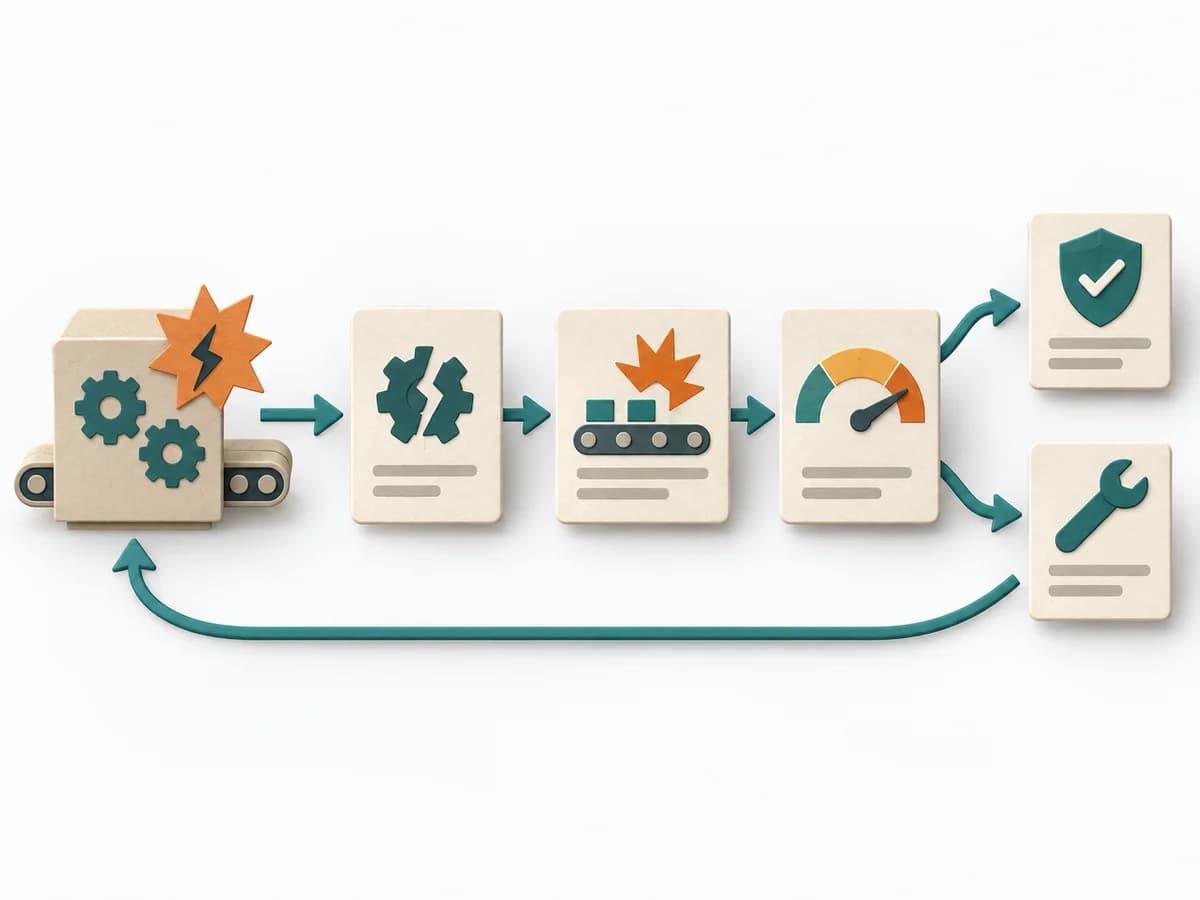 Operations Failure Mode and Effects Analysis |
|---|---|---|---|
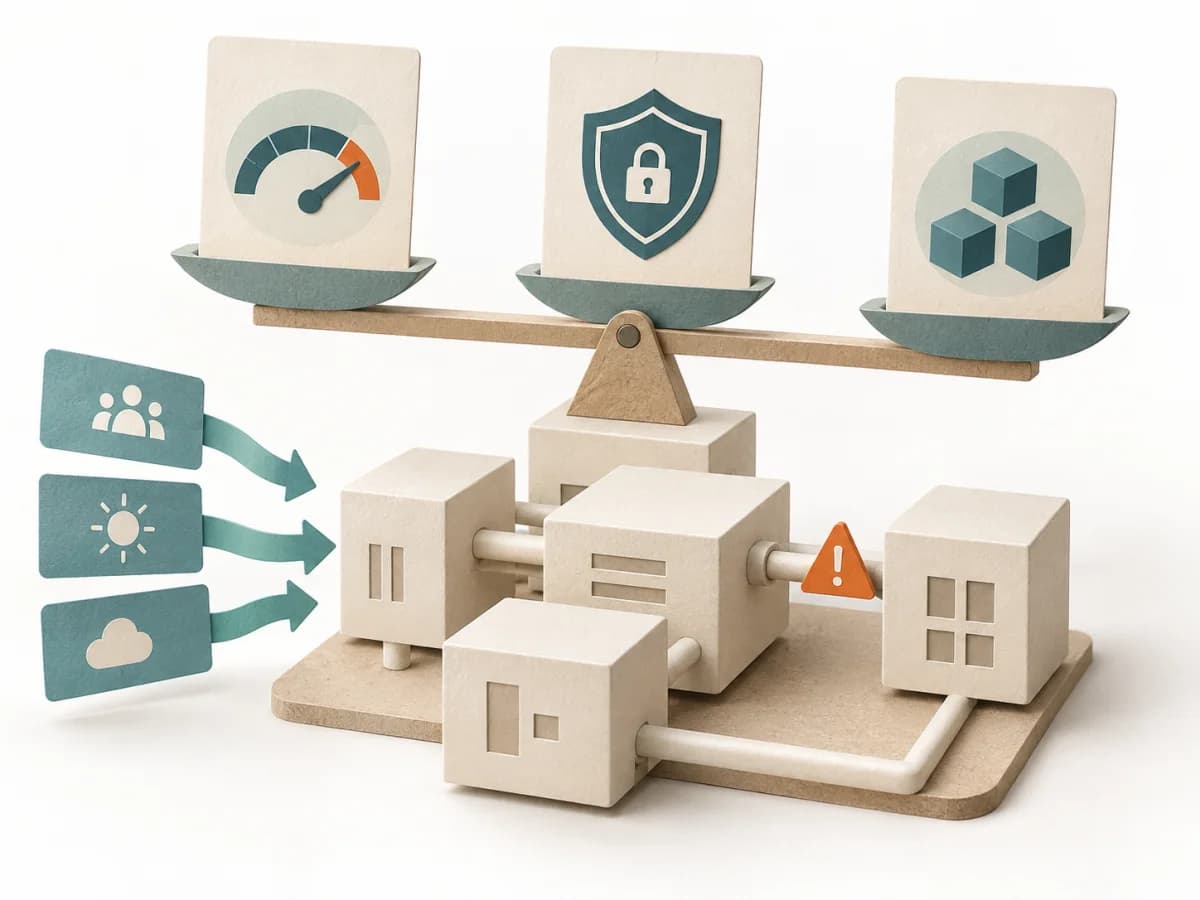
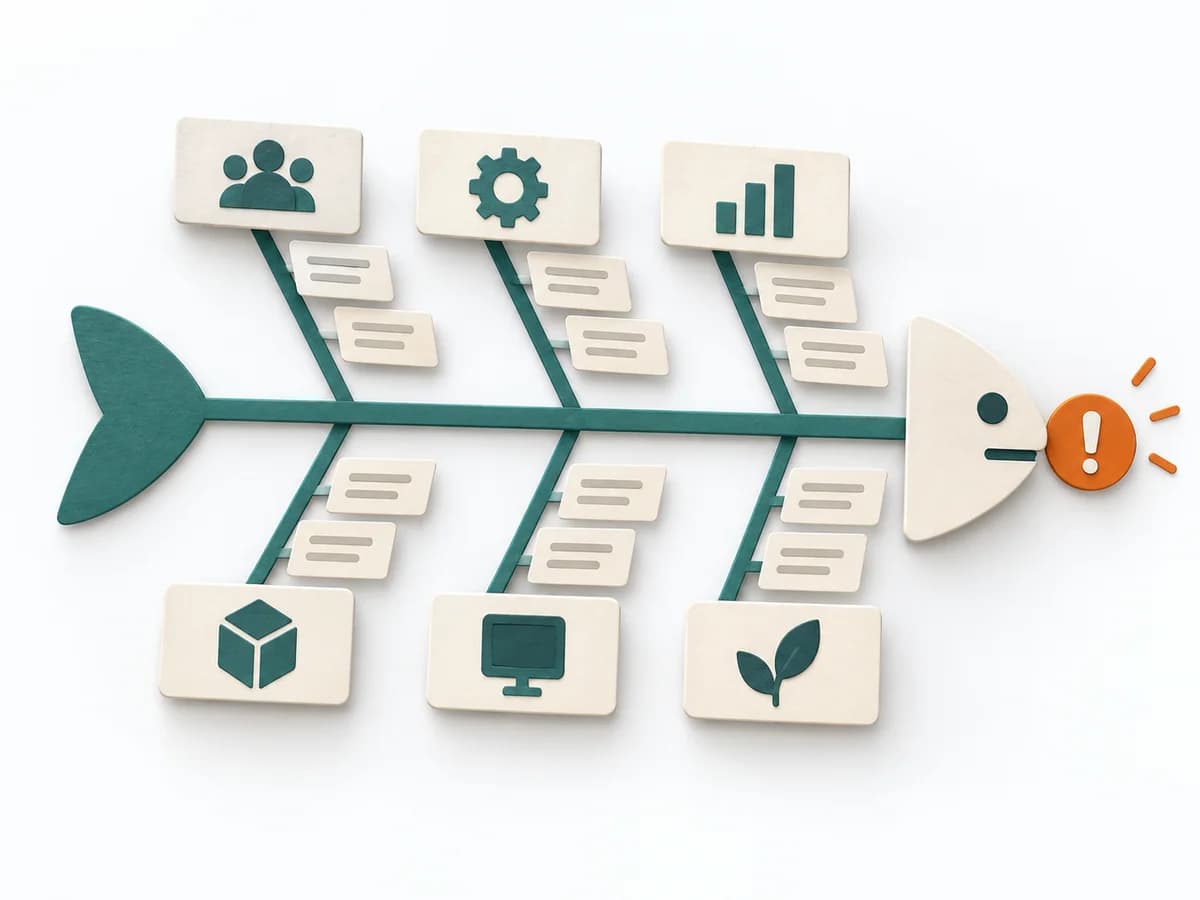
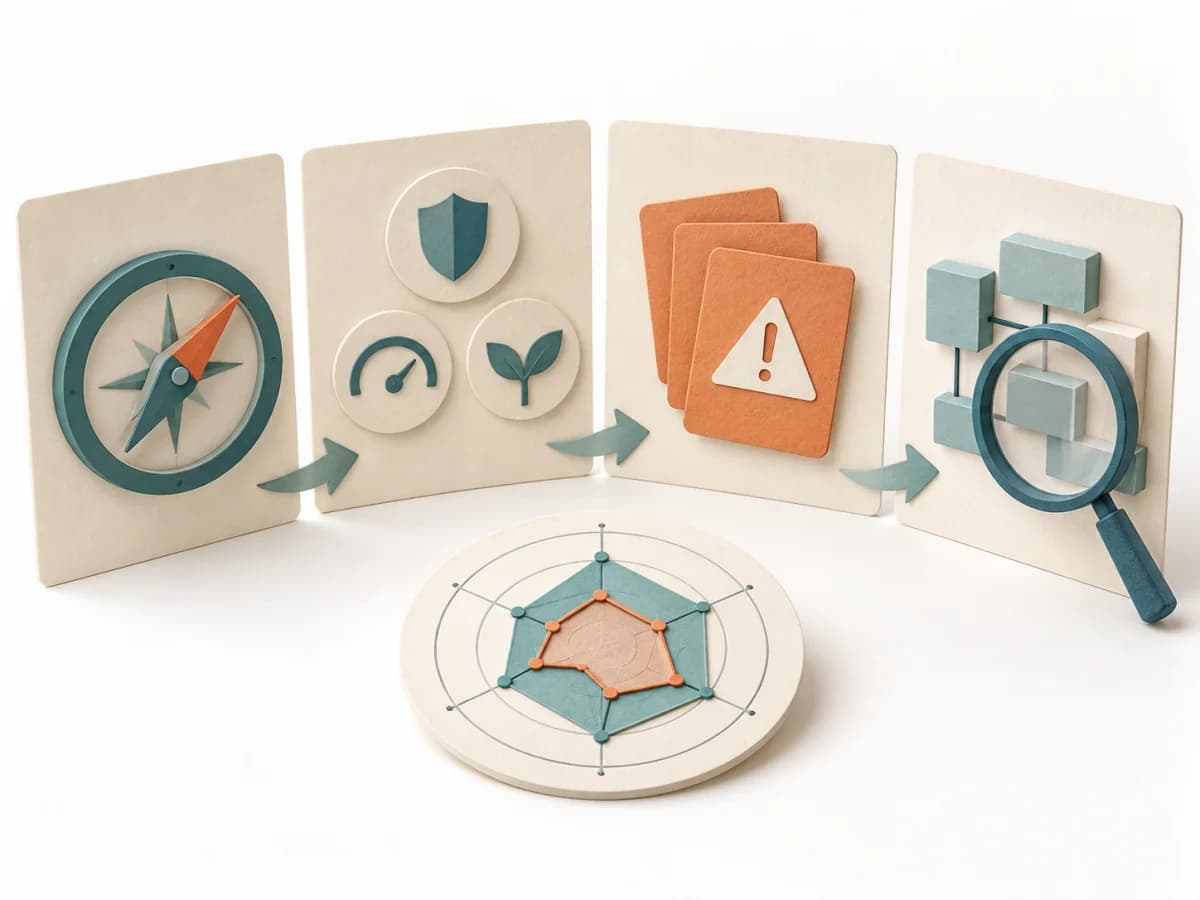
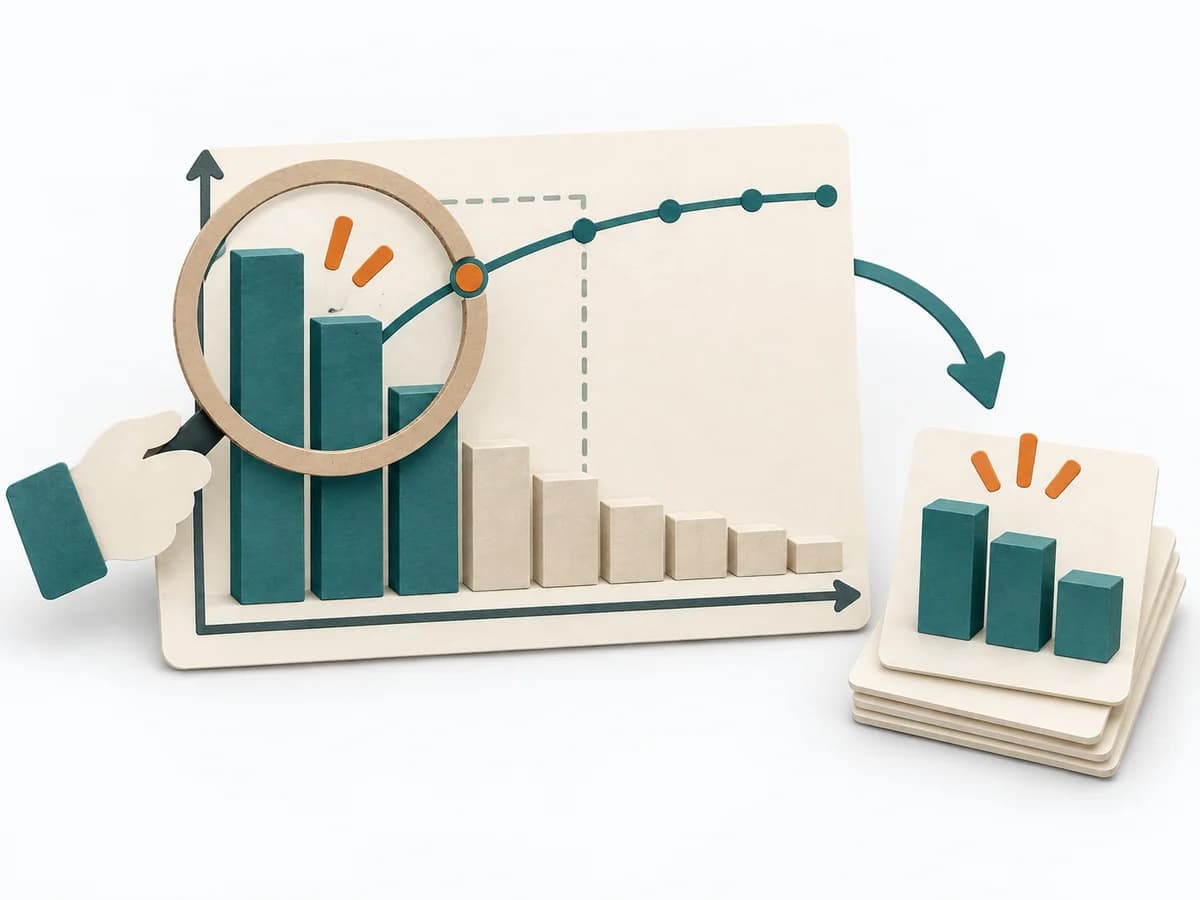
Purposedifferent | The C4 Model makes a system legible across several resolution levels, from context down to code. It suits situations where different audiences need to understand the same architecture from different altitudes. | With many similar objects of differing economic significance, the method prioritizes effort by effect. It separates what needs regular steering from what rarely needs attention. | For a process, product, or service with noticeable failure risks, the method assesses possible failure modes in advance. It directs attention to combinations of occurrence, effect, and detectability. |
Complexitydifferent | Low | Low | High |
Timedifferent | 1-4 h | 30-60 min | 2-6 h |
Participantsdifferent | 1-5 | 1-5 | 3-10 |
Formatdifferent | Workshop + async | Async | Workshop |
Outputdifferent | Context Diagram, Container Diagram, Component Diagram | ABC Classification, Focus Rules, Control List | FMEA Table, Risk Priority, Mitigation Actions |
Tagsno overlap | ArchitectureCommunicationVisualization | PrioritizationOperationsPortfolio | RiskQualityOperationsRoot cause |
Often compared together
Methods with strong topical overlap with the current selection, not yet in the comparison.