View methods side by side.
Choose up to four methods. Add them using the search and share the comparison by copying its link.
| Criterion | 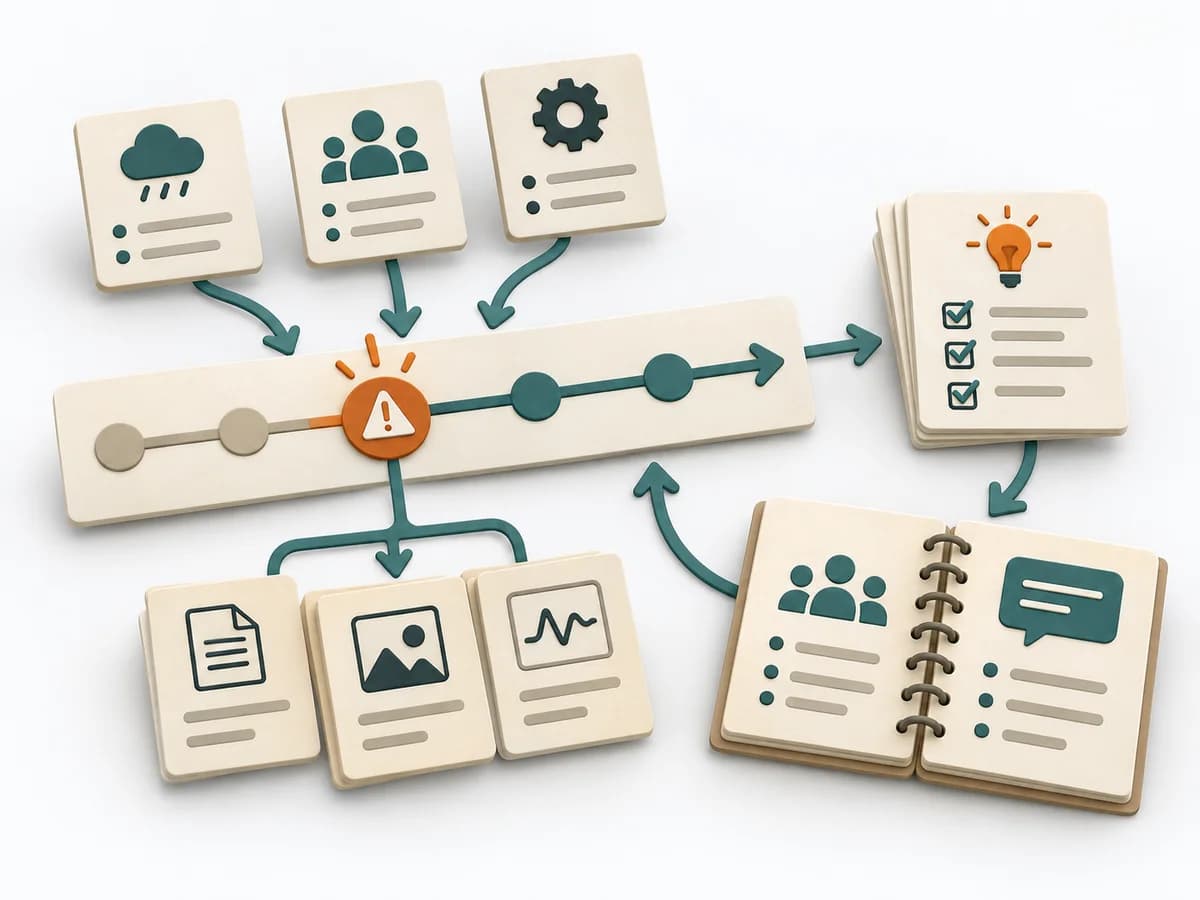 DevOps Blameless Postmortem | 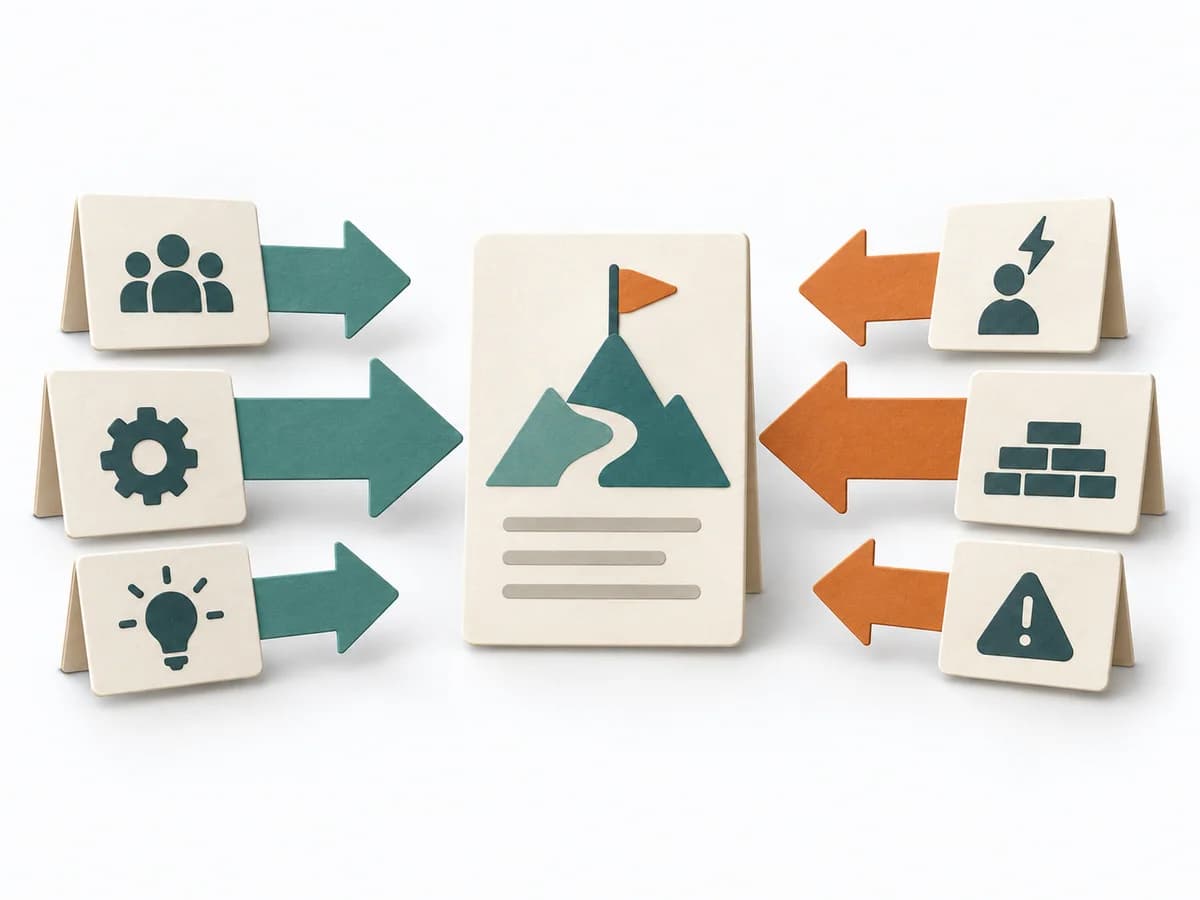 Decision Making Force Field Analysis | 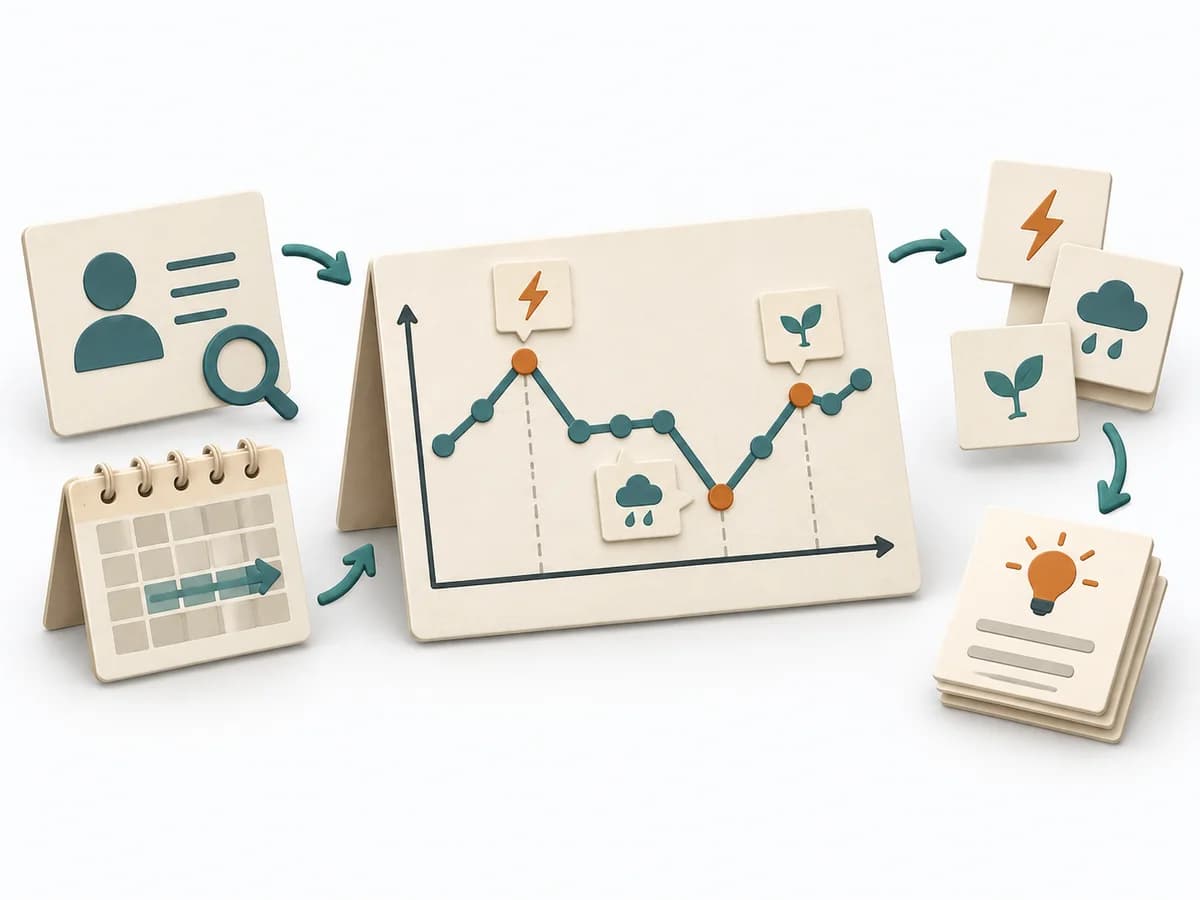 Systems Thinking Behavior Over Time Graph | 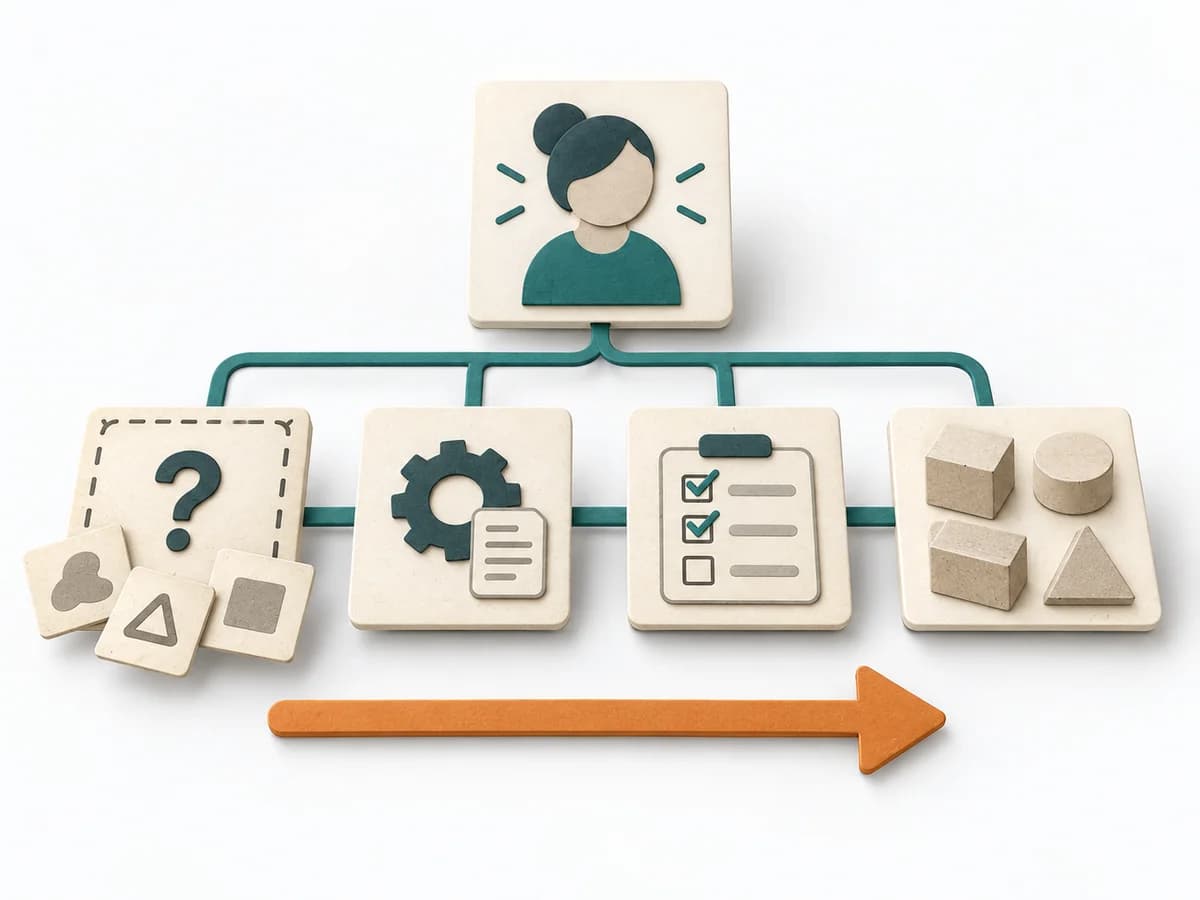 Systems Thinking Wardley Mapping |
|---|---|---|---|---|
Purposedifferent | After an incident with damage or a near miss, the method creates a sober field for learning without assigning blame. It directs attention to the course of events, conditions, and effective countermeasures. | In change initiatives, supporting and restraining forces sit at the table at the same time. Force Field Analysis makes these tensions explicit and shows where change can be pushed forward by strengthening or relieving. | A Behavior Over Time Graph shows how a metric or observation develops over time. The method makes trends, breaks, and recurring patterns visible that get lost in snapshots. | Wardley Mapping makes visible where an offering stands today and where it can evolve. The method connects user need, value chain, and evolution stages into a strategic basis for platform, build, or buy decisions. |
Complexitydifferent | Medium | Low | Low | Medium |
Timedifferent | 30-90 min | 45-90 min | 20-45 min | 1-3 h |
Participantsdifferent | 3-12 | 3-12 | 1-10 | 2-10 |
Formatdifferent | Workshop + async | Workshop | Workshop + async | Workshop + async |
Outputdifferent | Postmortem Doc, Action Items, Timeline | Force Field Map, Change Levers, Risk Notes | Behavior Over Time Graph, Trend Hypotheses, Key Events | Wardley Map, Strategic Options, Evolution Notes |
Tagsno overlap | Site Reliability EngineeringIncidentLearningReliability | ChangeDecisionStrategy | Systems thinkingPatternsDynamics | StrategySystems thinkingDynamics |