View methods side by side.
Choose up to four methods. Add them using the search and share the comparison by copying its link.
| Criterion |  DevOps Blameless Postmortem |  Decision Making Decision Rights Mapping |  Agile Start Stop Continue | 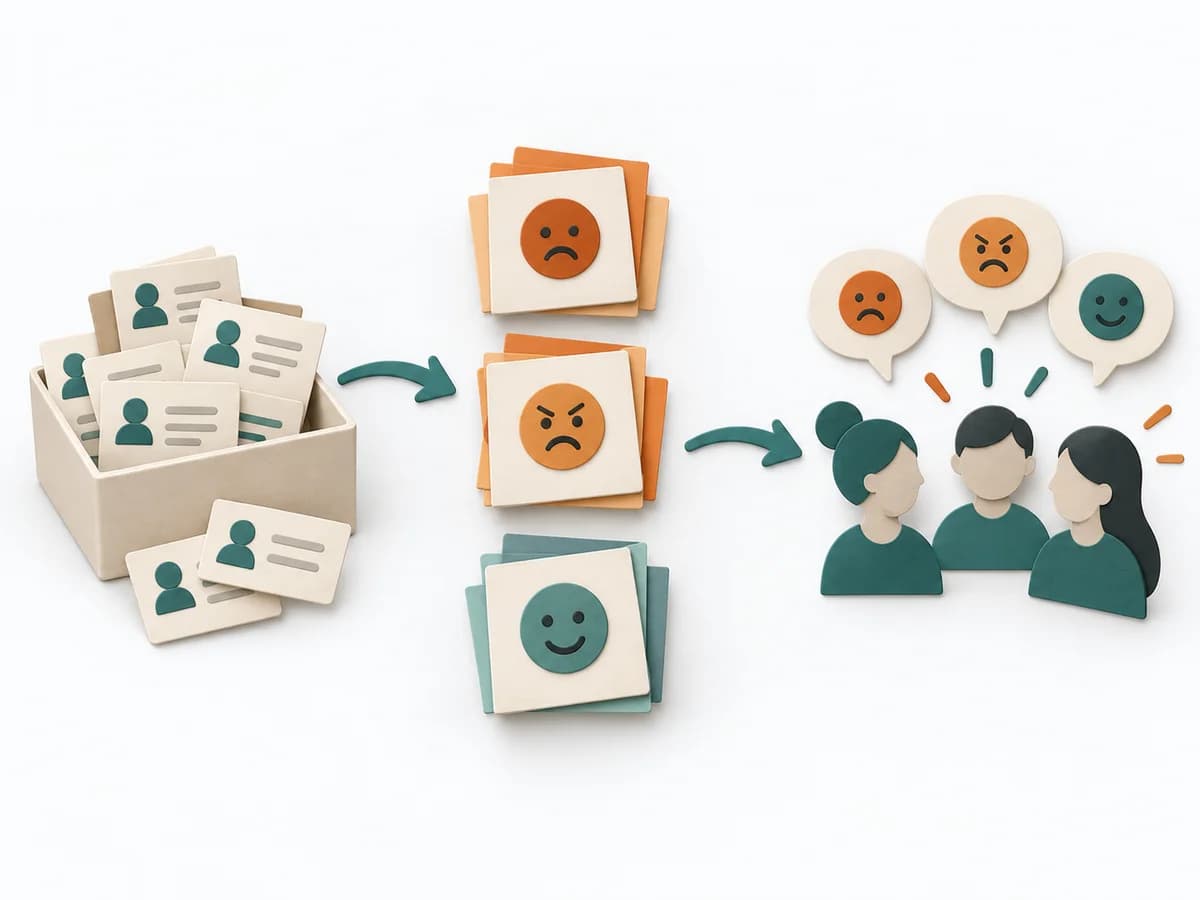 Agile Mad Sad Glad |
|---|---|---|---|---|
Purposedifferent | After an incident with damage or a near miss, the method creates a sober field for learning without assigning blame. It directs attention to the course of events, conditions, and effective countermeasures. | In organizations with many stakeholders, it often blurs who actually decides and who is merely consulted. It separates options, evaluation criteria, and open risks. The result is captured as a Decision Rights matrix and an agreement. | When a team wants to deliberately adjust its working behavior, it makes habits visible and assessable. It focuses on concrete changes instead of diffuse mood. | When a team's or workshop's mood needs to become readable, it structures emotional signals with little setup. It makes strain, relief, and sources of energy tangible. |
Complexitydifferent | Medium | Medium | Low | Low |
Timedifferent | 30-90 min | 90-180 min | 30-60 min | 30-60 min |
Participantsdifferent | 3-12 | 4-12 | 3-12 | 3-10 |
Formatdifferent | Workshop + async | Workshop | Workshop | Workshop |
Outputdifferent | Postmortem Doc, Action Items, Timeline | Decision Rights Matrix, Agreement | Start Stop Continue Board, Improvement Actions | Emotion Board, Themes, Action Items |
Tagsno overlap | Site Reliability EngineeringIncidentLearningReliability | DecisionGovernanceAlignmentResponsibility | RetrospectiveImprovementTeamReflection | RetrospectiveTeamReflection |